
Here is how to sew a hem the right way with only a few simple steps that every beginner will enjoy working with!
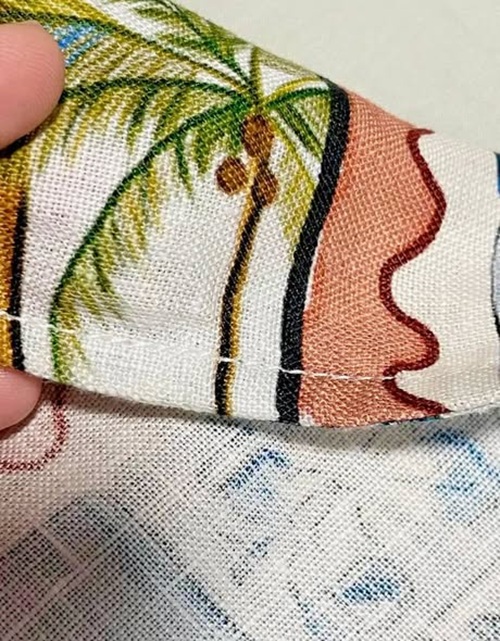
There’s a difference between a hem that just holds and one that looks like it came out of a proper sewing room. And most of the time, that difference comes down to a few details most beginner tutorials skip. So, here is everything on how to sew a hem!
What Is a Hem, Exactly
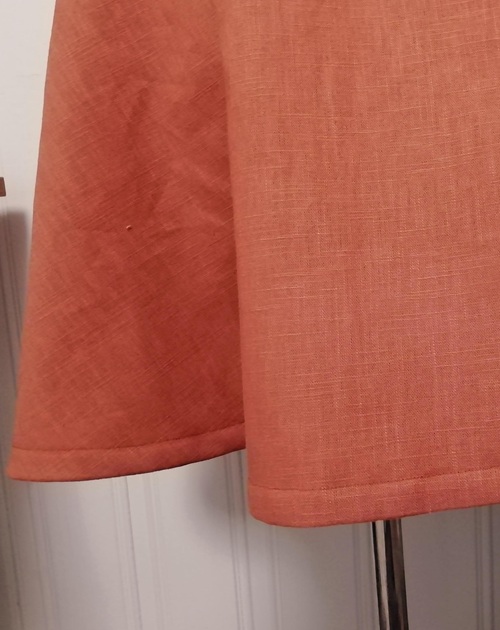
Do you see a clean, secured line stitched along the edges of your clothes? That folded edge on fabrics is a hem, basically! You’ll find them at the bottom of skirts, dresses, pants, curtains, tablecloths, and on every sitched garments!
Beyond stopping fabric from fraying, a clean hem is what makes a project look polished!
Tools You’ll Need to Sew a Hem
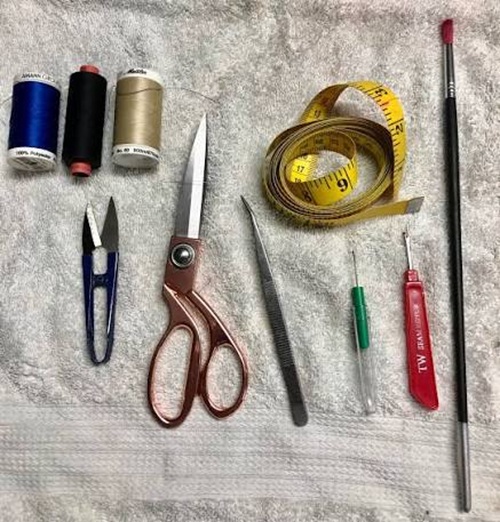
A few supplies like a sewing machine or hand needle, matching thread, fabric scissors, measuring tape, pins or clips, an iron, and a fabric marker or tailor’s chalk. You can keep a seam ripper nearby too; it comes in handy!
If you’re building a basic sewing kit, sharp fabric scissors, good-quality pins or clips, a flexible measuring tape, and washable fabric markers are good options.
Next, pick your hem allowance based on the fabric. Yes, don’t just guess the hem width before you start.
Lightweight fabrics such as chiffon, voile, and silk need a narrow 1/4- to 1/2-inch hem, while cotton and linen work well with about a 1-inch hem. And, heavier fabrics like denim, wool, and quilted fabric can handle a 1 1/2- to 2-inch hem.
Pro Tip: Always measure and mark the allowance before cutting, since trimming away too much fabric can leave you without enough room to finish the edge neatly.
These supplies can be useful for you as a beginner:
- Fabric Scissors on Amazon
- Sewing Pins on Amazon
- Sewing Clips on Amazon
- Fabric Measuring Tape on Amazon
- Fabric Marking Pens on Amazon
- Seam Rippers on Amazon
- All-Purpose Sewing Thread on Amazon
How to Sew a Hem With a Sewing Machine
1. Measure and Mark the Desired Length
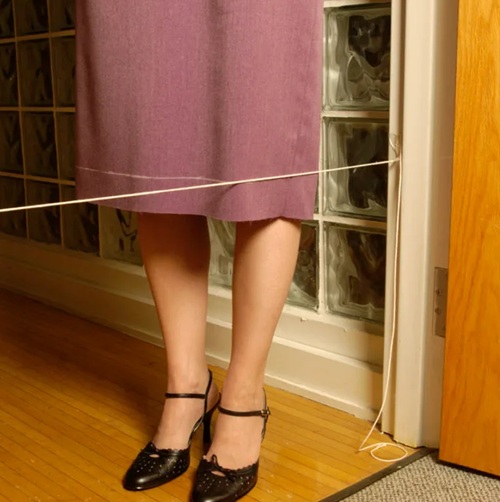
For clothing, try the garment on with the shoes you plan to wear and mark your preferred length. And, for household projects, use a measuring tape or ruler.
Then mark the finished hemline with washable fabric chalk or a fabric marker, measuring at several points to keep the line even.
2. Trim and Prepare the Edge
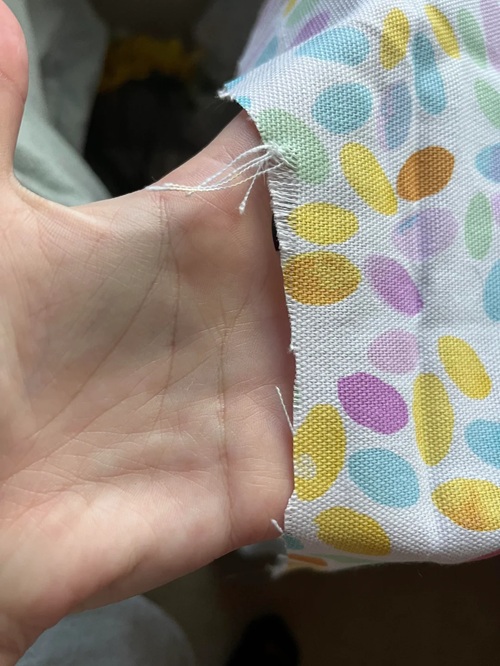
If the raw edge is uneven, carefully trim away the excess to create an even edge. Measure twice before cutting, because you can’t easily add fabric back once it’s gone.
For a simple double-fold hem, fold the raw edge toward the wrong side of the fabric, press it, then fold it inward again to enclose the raw edge, simple!
3. Press and Secure the Hem
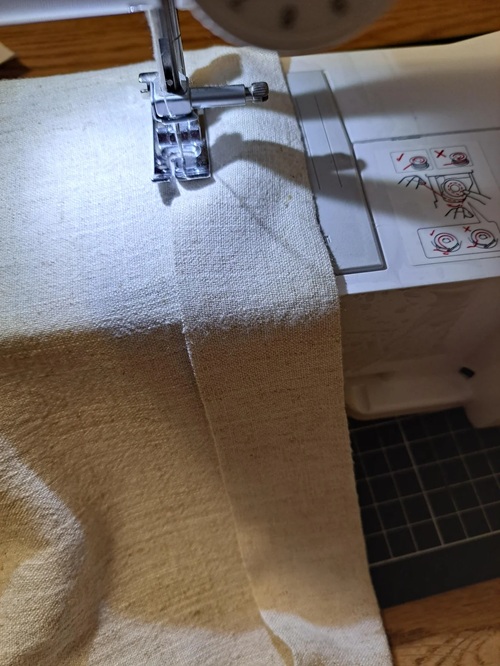
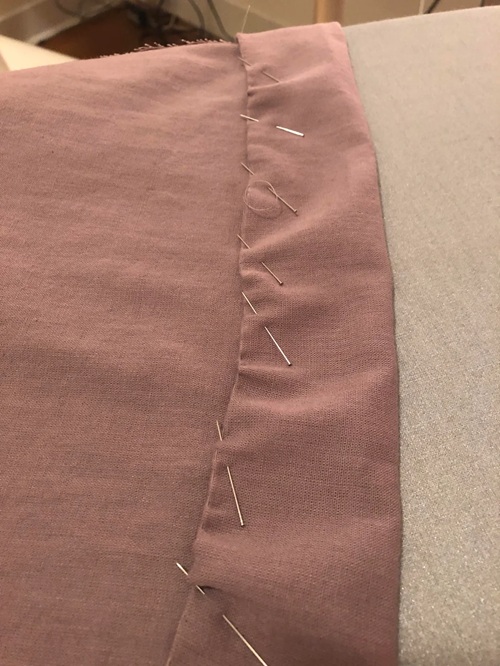
Now, press the folded hem with an iron so it stays in place while you sew. Then secure it with pins or fabric clips. Clips are especially useful for thicker fabrics and can make the hem easier to manage.
4. Choose Your Stitch and Test It
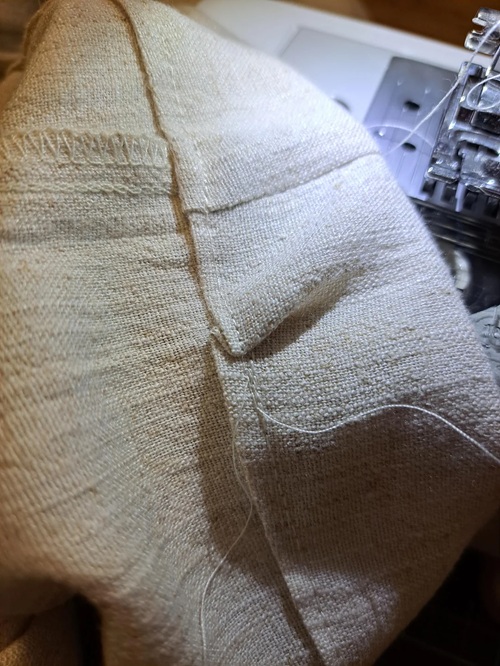
For most fabrics, a basic straight stitch works well. But when you’re working with stretchy fabric, you may need a stitch that allows the fabric to stretch.
So, before sewing the actual hem, test your stitch and tension on a scrap of the same fabric.
5. Sew the Hem
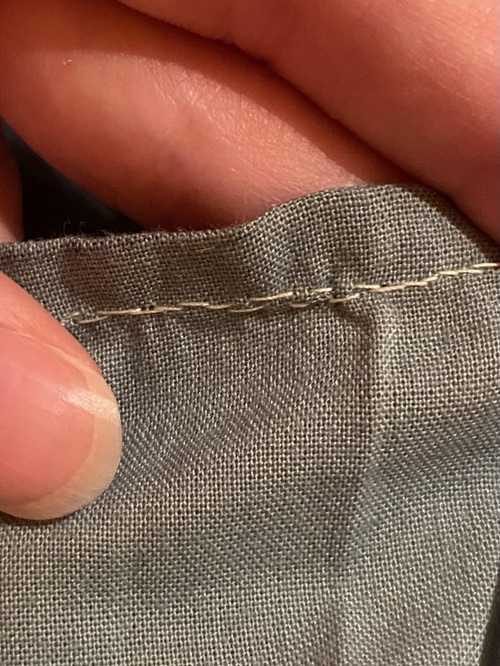
Place the folded edge under the presser foot and lower it. Sew slowly, keeping the hem aligned with a consistent guide on your machine. Easy?
Remember, you don’t need to pull or stretch the fabric as you sew; let the feed dogs move it through while you gently guide the edge.
6. Secure and Finish
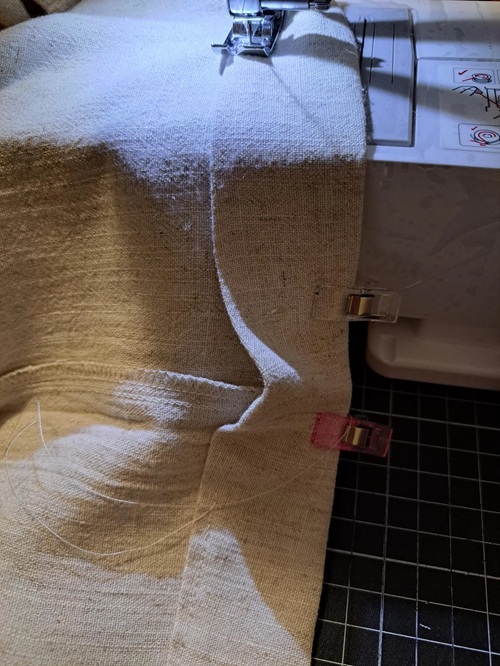
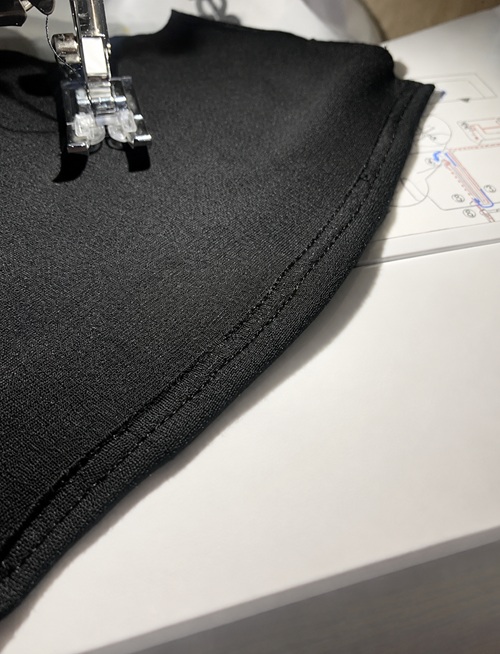
When you reach the end, use a few backstitches to secure the seam, then trim the thread tails. Give the finished hem one final press, and you’re done. Now smile!
These sewing clip options might come in handy!
How to Sew a Hem by Hand
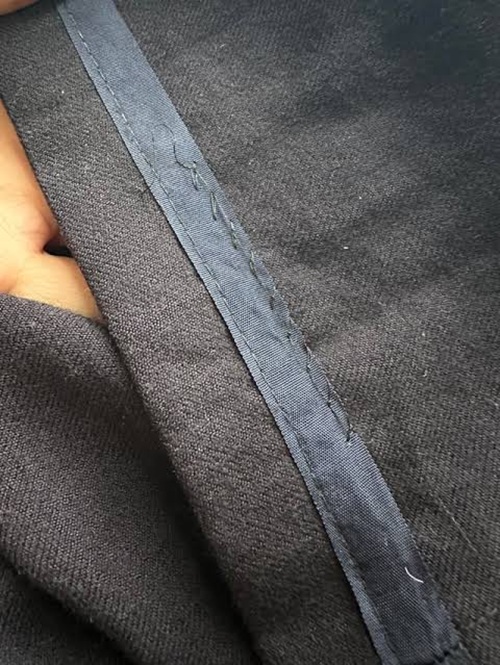
Hand-sewing is worth learning for very delicate fabrics, quick repairs, or anywhere you don’t want visible stitching.
Start off by folding and pressing the same way you would for a machine hem, thread a needle with matching thread, and use a slip stitch (small stitches that catch just a thread or two of the outer fabric), so the stitching stays nearly invisible from the front.
Want to try a quick hack for emergencies? Use fusible tapes! It sits between the folded layers of fabric and bonds when pressed with an iron; no needle needed. It’s a fast fix for a quick repair, though it holds up better with light use only!
What Is a Double-Folded Hem
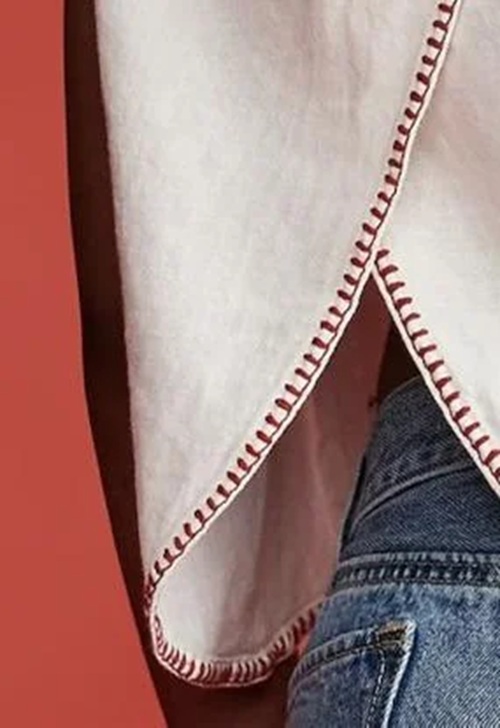
A double-fold hem is made by folding the raw fabric edge inward twice, then stitching it in place. This is simple: the first fold hides the raw edge, while the second creates a neat edge that won’t easily fray. It’s one of the easiest and most common hems for beginners.
Interested in learning about it in the next tutorial? Leave us a comment if you do!
Mistakes That Can Ruin a Hem
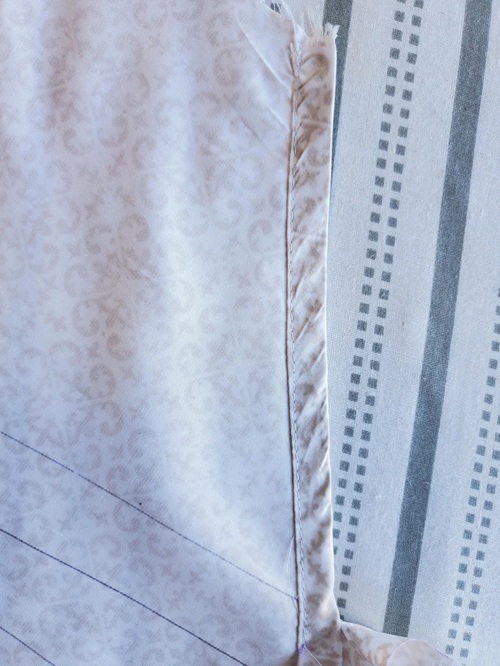
Don’t skip pressing! This is the first thing to keep in mind. And yes, a quick press keeps the fold in place and helps prevent a wavy or uneven hem.
If you’re working with a bias-cut skirt or dress, let it hang for about 24 hours before marking the final length, as the fabric can drop slightly.
Next, use the right needle for your fabric. Think of it like this: a needle that works well on quilting cotton may not be suitable for denim or knit! So choose one that matches the fabric’s weight and type.
Lastly, give heavier fabrics enough room. Denim, wool, and other thick fabrics need a deeper hem allowance.
A good hem isn’t complicated; it just rewards a little patience. And we think you are just on the right path now! Stay tuned for more helpful lessons like these and check out this beginner’s guide on how to start sewing.