
Starting your sewing journey? Then you’re in the right place! Read along to learn how to sew a zipper confidently.
You may feel overwhelmed at first with so much information online. Just remember, you don’t need to read everything, only what will actually help you! We’ve curated a list of everything you need to learn if you’re looking for an answer to how to sew a zipper.
What You’ll Need to Sew a Zipper
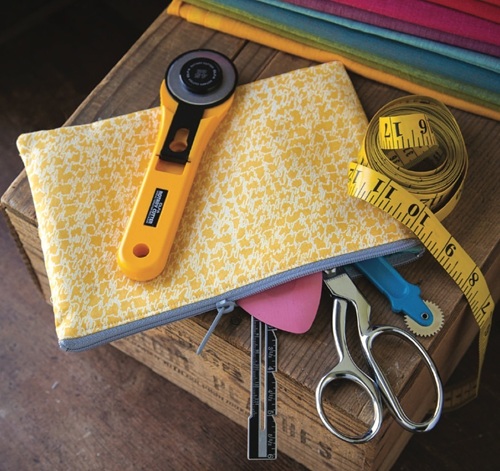
To begin with, make something that uses regular zippers and has a fairly straight construction, like a simple pouch or a square throw pillow. This will help you build your muscle memory so that you can tackle trickier fabrics with ease later on!
Here are some basic supplies to begin with: a fabric scissor, zipper presser foot, sewing clips or wonder clips, seam rippers, wash-away quilting tape/masking tape, and an iron. Pick some assorted sewing zippers, like a nylon coil zipper, since it’s easier to handle and sew over if you make a mistake!
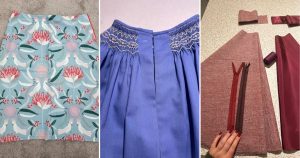
Are you wondering how to choose the right zipper? Nylon coil zippers are good options because you can easily shorten them. They also come with coiled plastic teeth, so you won’t damage your sewing machine needle if you accidentally sew over them.
Avoid metal zippers, separating zippers, and invisible zippers at first (you’ll thank us later!).
Prepare the Fabric Before Sewing
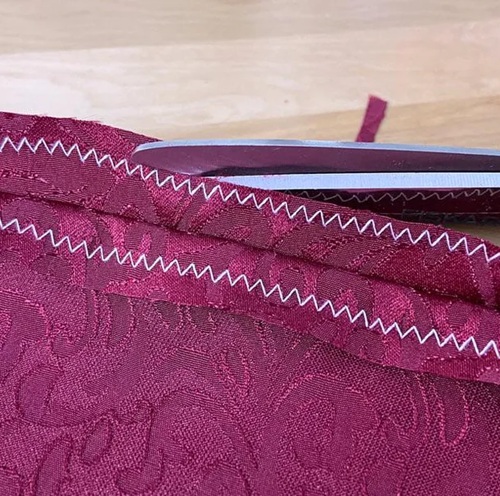
Start with stitching the raw edges of the fabric using a zigzag stitch! You can also maybe wash and dry it out before cutting, as most fabrics tend to shrink on their first wash! Then iron your washed fabric completely flat.
Beginners often think the zipper itself is the problem when the fabric around it starts puckering.
But a lightweight strip of fusible interfacing along the zipper seam allowance can help stabilize the fabric, especially with lightweight or stretchy fabrics.
Finally, align the edges by folding your fabric in half lengthwise and match the long, finished edges called “selvages”.
Pro Tip: Check the pattern’s fabric requirements first, then consider buying a little extra if you’re working with a directional print, plaid, large pattern, or fabric that’s likely to shrink.
How to Sew a Zipper, Step-by-Step Instructions
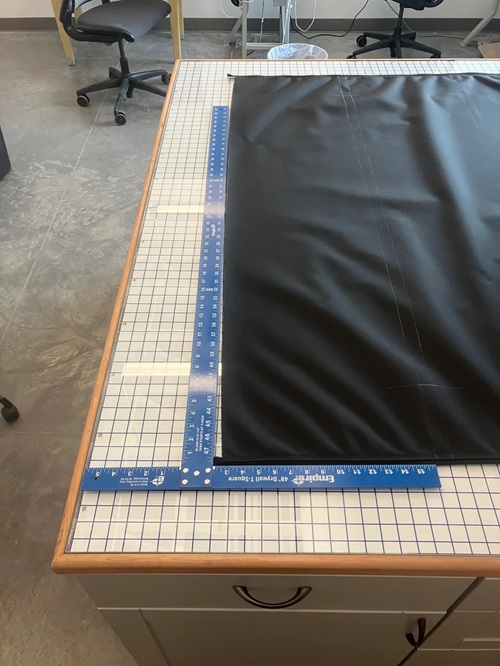
The main principle for sewing a zipper is taking it slow! And, remember, let your machine feed the fabric for you. Don’t pull or push the fabric as you sew the zipper. Just guide it gently and let the feed dogs do their job.
Step 1: Paste two fabric pieces and sew their seam using a temporary “baste stitch” where you’ll place the zipper, and then press it open with an iron!
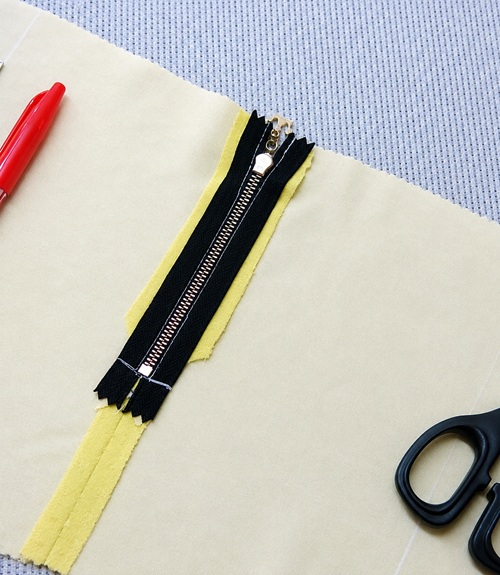
Step 2: Position your zipper by placing the fabric down to see the seam allowance clearly. Align the zipper teeth perfectly with the center line.
Step 3: Now you’ll need some pins or wash away sewing tapes to secure your zipper tape, but be cautious not to pierce the garment’s front!
Step 4: Stitch your way down the sides, using your machine’s zipper foot, starting from the top and going down on one side of the zipper. You’ll have to pivot at the bottom, cross over the teeth, and then sew up the other side.
Step 5: Finally, here comes the moment you’ve been waiting for! Pick up your seam ripper and carefully remove the temporary “baste stitch” that you made in the first step.
Quick check before you stitch it up: Close the zipper and look at both sides of the fabric. Do the edges, seams, or pattern lines meet where they should? If something looks off now, it’s much easier to fix it before you’ve sewn the final stitches.
Voila! You have made your very first zipper; don’t forget to give yourself a little pat on the back.
Can You Sew a Zipper by Hand
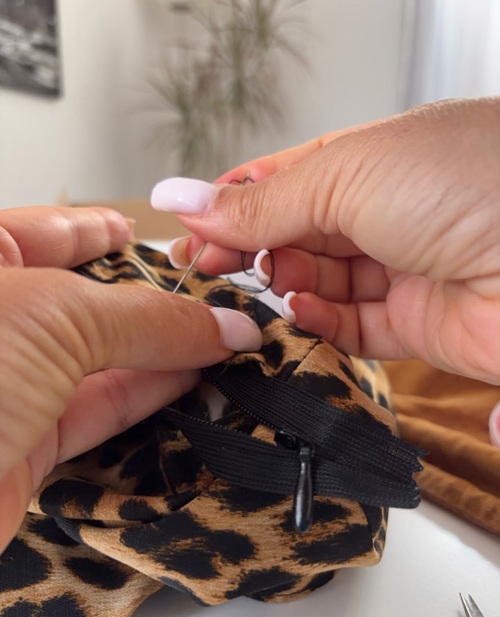
Yes! A zipper can also be sewn by hand, especially if you’re working on a delicate fabric or don’t have a sewing machine. A strong backstitch can secure the zipper neatly, although it will naturally take longer than using a machine.
Start by basting your fabric while it’s seam closed. Then press it open, pin it to tape the zipper facing down along the center of the seam allowance at the back.
Go on to flipping your fabric with its right side upwards and use a secure backstitch. Keep the stitches close to the zipper teeth and use a matching thread to finish it!
Finally, remove the temporary basting stitches with a seam ripper after you’ve finished sewing down both sides.
Pro Tip: Don’t start sewing right at the zipper pull. If the zipper pull is in your way, move it down or temporarily stop and reposition it before continuing. Try to keep the fabric flat and your stitching line steady rather than sewing around the pull in an awkward position.
Zipper Sewing Mistakes to Avoid
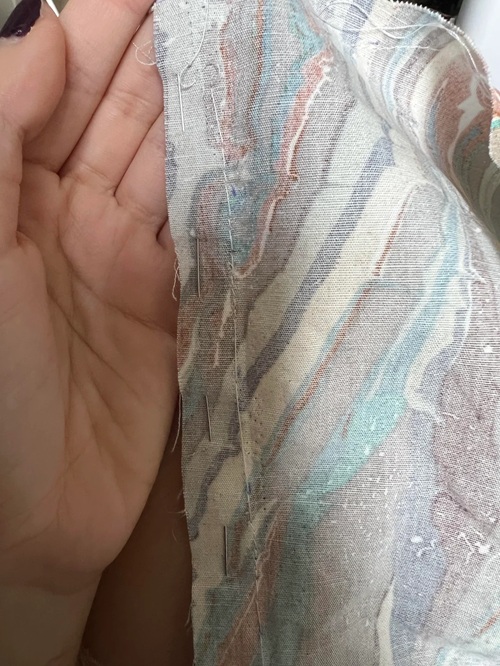
As beginners, people tend to sew too close to the zipper teeth that e, which traps the fabric, and the zipper pull jams sometimes because of this! Another common mistake is stretching the fabric as you sew, which ends up looking unprofessional and untidy.
To fix an incorrectly sewn zipper, a seam ripper is your knight in shining armour! Unpick the incorrect stitches carefully and use a wash-away sewing tape to hold the zipper smooth before sewing again.
Sewing a zipper may feel tricky at first, but once you understand the basic steps, it gets much easier with practice. So start with a simple project, take your time, and don’t worry if your first zipper isn’t perfect.