
Here is how to appliqué by hand with a beginner-friendly approach and techniques that are very simple to handle!
Do you want to add a DIY look to a shirt, quilt, tote, or other fabric project? Go for hand appliqué sewing DIYs that are very small projects that need no complicated techniques! In this beginner-friendly guide, we’ll show you how to prepare, turn, and hand-stitch an appliqué piece, plus a few small tricks that help prevent puckering, fraying, and visible stitches.
What Makes Hand Appliqué Difficult
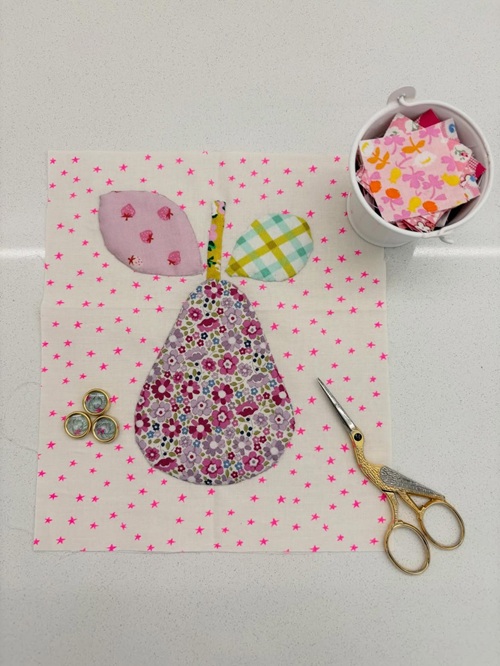
Hand appliqué works by turning the raw edge of a fabric shape under and stitching it to the background fabric. The goal is to make those stitches so small and neat that the appliqué looks like it naturally belongs there.
The biggest challenge is keeping the edge smooth while you stitch! Gentle curves can bunch or form tiny pleats if there is too much fabric along the edge. Sharp points may fray or become bulky, while inside curves can be difficult to turn neatly.
Even your thread tension matters—pull it too tightly, and the background fabric can pucker.
Here is what you need! First, choose a simple design and test your technique on a scrap. It doesn’t require complicated stitches or advanced sewing skills. Once you learn how to handle curves, points, and thread tension, the technique becomes much easier. And small, even stitches and a little patience!.
Is hand appliqué suitable for beginners? Yes! Hand appliqué is a great technique for beginners because you can learn it slowly, one stitch at a time. Start with an easy shape such as a circle, oval, leaf, or heart rather than a design with lots of tiny points and tight curves.
Quick Advice: Don’t start with the smallest appliqué you can find! A slightly larger shape is easier to hold, turn, and stitch. Once your hands get comfortable with the technique, you can move on to smaller and more detailed designs
Tools You’ll Need to Appliqué by Hand
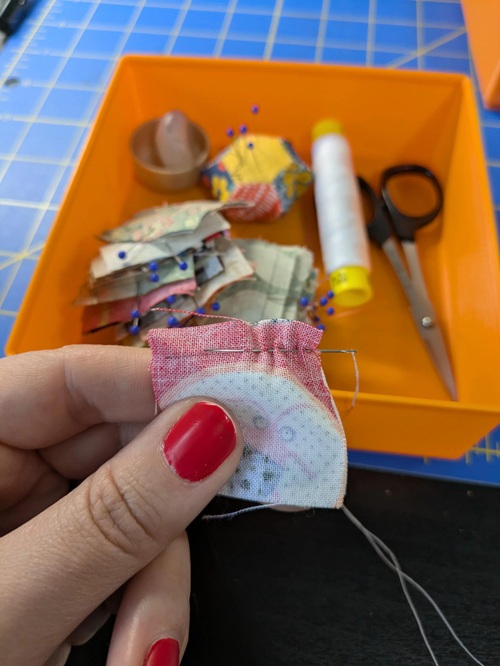
Next, pick your thread based on how invisible you want your stitches to be. A very fine thread, like a 100-weight silk, all but disappears into the fabric. A slightly heavier cotton thread is easier for beginners to handle and still gives a clean result.
Pair a thin thread with a fine needle with a sanded eye. This combination glides through the fabric without leaving visible holes or fraying the thread as you stitch.
Quick Advice: Always turn under and press your appliqué edge, using a little starch if you have it, before you start stitching. A crisp, pre-folded edge is much easier to sew neatly than one you’re folding under as you go.
How to Appliqué by Hand: 7 Easy Steps
1. Prepare The Appliqué Shape
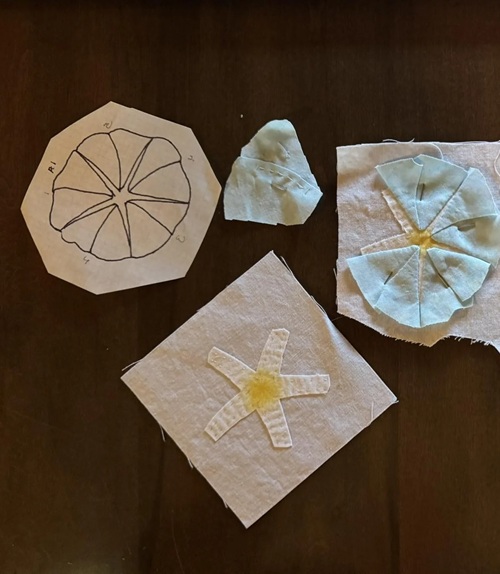
Trace your chosen design onto the appliqué fabric and cut it carefully, leaving a small seam allowance around the shape if your appliqué method requires one.
For beginners, simple shapes such as leaves, hearts, circles, and flowers are much easier to handle than tiny, detailed designs.
Position the shape on your background fabric and secure it temporarily with pins or another suitable method before you begin stitching.
If your design has a specific direction, such as a bird, letter, or flower, remember that some tracing and transfer methods can reverse the finished shape. Check the design before cutting!
2. Prepare and Knot Your Thread
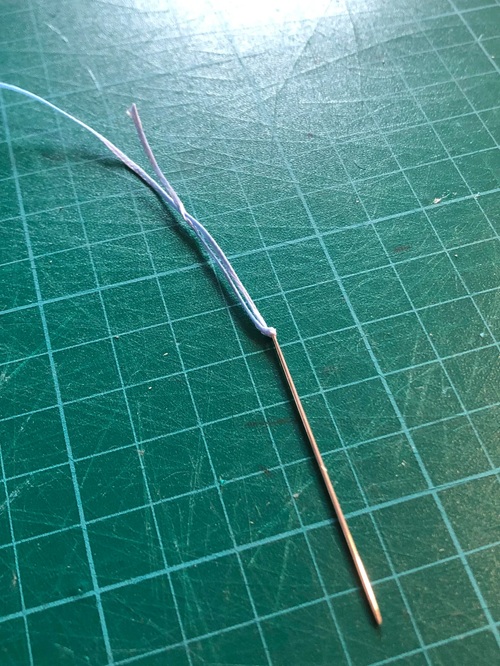
Start with a fine, sharp hand-sewing needle and a length of thread that is comfortable to work with. About 18–24 inches is a good starting point.
A longer thread may seem convenient, but it is more likely to tangle, fray, or knot as you work.
Choose a thread that blends with the appliqué or background fabric. Thread it through the needle and make a small knot at one end.
Keep the knot secure but not overly bulky; you don’t want a noticeable bump underneath your appliqué.
Quick Advice: If you’re new to hand appliqué, don’t worry about making the knot perfectly invisible. The important thing is to keep it small and secure so it doesn’t pull through the fabric.
3. Turn and Prepare the Fabric Edge
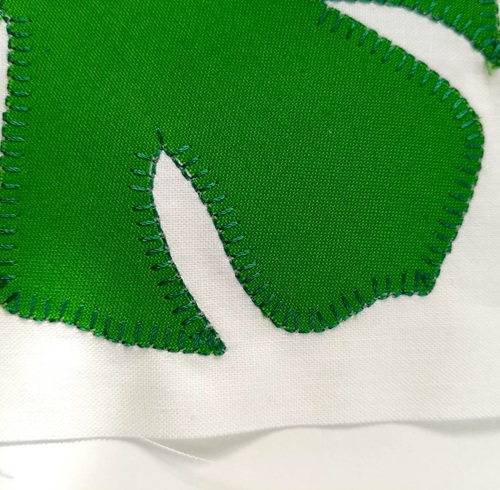
Before stitching, prepare the raw edge of your appliqué piece. If your design includes a seam allowance, gently turn the fabric edge toward the wrong side, working a small section at a time. You can use the tip of your needle to help tuck in stubborn edges.
Besides, for small shapes, avoid turning too much fabric at once. This can make curves bulky and difficult to control. Instead, fold only a short section ahead of your needle as you work.
If the fabric is prone to fraying, handle it gently and keep the folded edge as even as possible.
For very small or detailed shapes, you may also find it easier to use a method such as freezer paper or fabric glue to help hold the shape before stitching.
Quick Advice: The smoother your folded edge is before you start stitching, the less you’ll have to fight with it later.
4. Start Your First Stitch
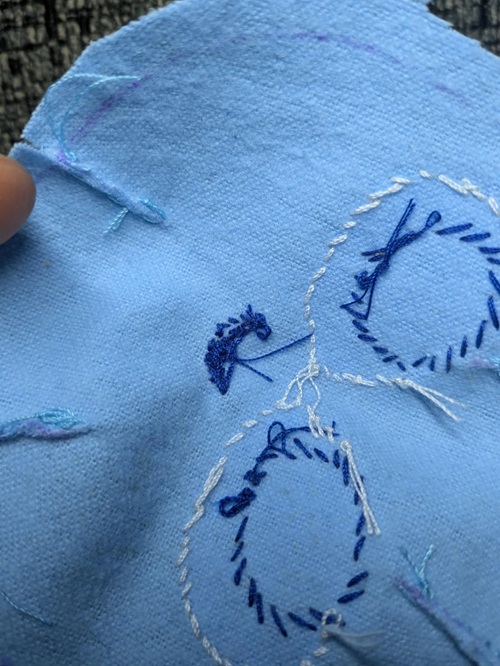
Place the appliqué piece on the background fabric and make sure it is positioned correctly.
Then bring your needle up from the back of the background fabric, close to the folded edge of the appliqué. This helps keep the knot hidden underneath.
Now, take a tiny stitch into the folded edge, catching just enough fabric to hold it in place. And bring the needle back through the background fabric a short distance away.
The stitches should be small and spaced evenly around the edge. You don’t need to pull the thread hard after every stitch.
A gentle, even tension is enough to hold the appliqué securely without distorting the fabric.
Work in whichever direction feels most natural to your hands. There’s no prize for stitching right-to-left or left-to-right!
5. Stitch Along the Edge
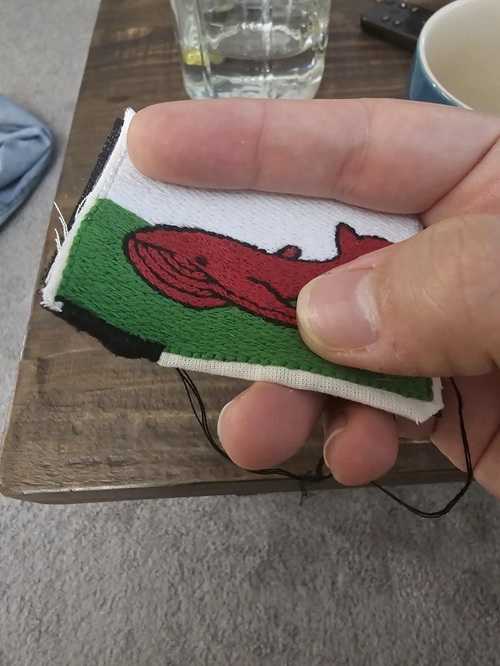
Continue making small stitches around the appliqué, catching the folded edge and a tiny amount of the background fabric with each stitch.
Keep your needle close to the edge so the thread doesn’t create large visible gaps.
As you sew, check the front of your work every few stitches. This makes it easier to spot uneven stitches, loose areas, or puckering before you’ve gone too far.
Most importantly, don’t pull the thread tight. Your stitches should lie flat against the fabric. If the background starts to wrinkle or gather around the appliqué, loosen your tension slightly.
For a neat finish, try to keep your stitch size consistent. You don’t need every stitch to be identical, but large and tiny stitches mixed together can make the edge look uneven.
6. Handle Curves and Points Carefully
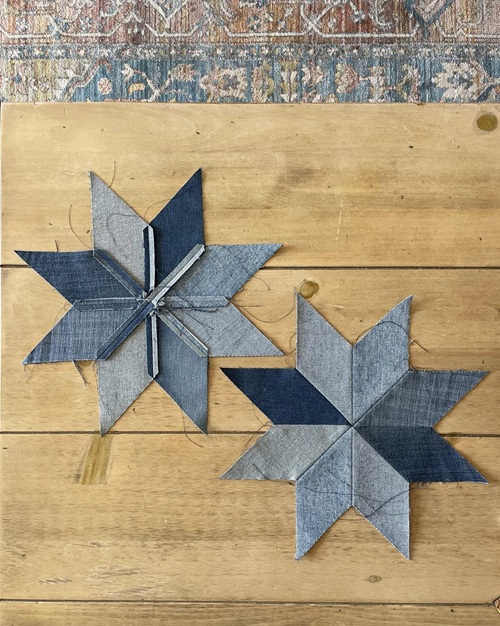
Curves and points are where hand appliqué really tests your patience, but there are a few tricks that make them much easier.
For gentle outside curves, use smaller stitches and turn the edge gradually. Don’t try to fold a large section of fabric around the curve at once. Those small adjustments will give you a much smoother shape.
On the other hand, for inside curves, make tiny clips into the seam allowance before turning the edge if your method allows it. These small cuts give the fabric room to spread around the curve. Just be careful to stop well before the stitching line.
Lastly, for sharp outside points, reduce the bulk at the tip by trimming the seam allowance carefully. Turn the point as neatly as possible and use a tiny stitch to hold it in place. Avoid trimming so close that you cut into the area you’re stitching.
Quick Advice: When a curve starts looking wrinkled, don’t pull harder on the thread. Stop, loosen the thread, and adjust the fabric first. Tightening the stitch usually makes the pucker worse.
7. Finish and Tie Off
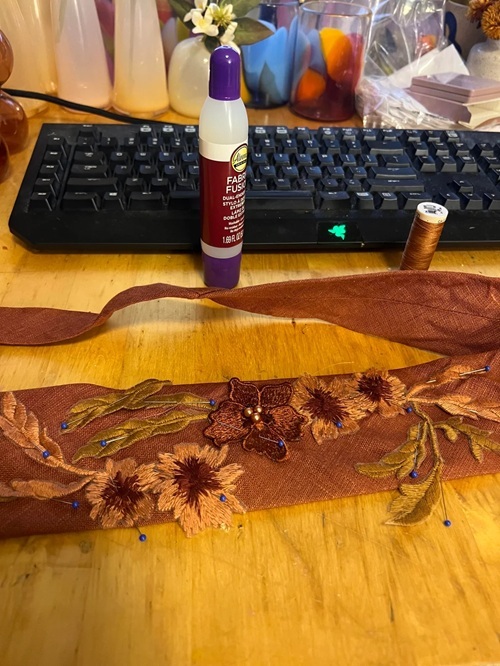
Once you’ve stitched all the way around, take a final small stitch close to where you started. And before tying off, turn your work over and check the back and front for loose stitches, puckering, or areas where the edge isn’t secured.
To finish, make a small knot on the back of the background fabric, close to your last stitch. Take one or two tiny stitches through the same area if you need extra security, then trim the thread.
Make sure you don’t cut the thread immediately after making a loose knot. Give it a gentle tug first to make sure the knot is secure.
And that’s it! Your appliqué should now sit flat against the background fabric with small, neat stitches holding the edge in place.
These fine hand-sewing needles might come in handy!
Want a Raised Appliqué? Try This Simple Trick
The puff effect is a small, deliberate curve you can build into your appliqué edge, rather than stitching it down completely flat.
Instead of catching the fold flush against the background, insert the needle just under the aappliqué’sedge before coming out at the fold. This lets the edge sit up slightly, giving the shape a soft, dimensional look instead of a flat one.
Interested in learning about it in the next tutorial? Leave us a comment if you do!
Few Hand Appliqué Mistakes To Avoid
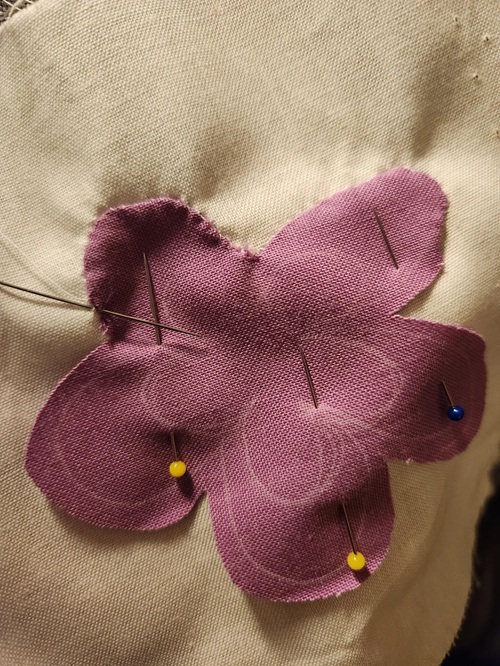
Don’t skip pressing your fold before you start! This is the first thing to keep in mind. A crisp, pre-turned edge is far easier to stitch neatly than one you’re trying to fold under with your needle as you go.
If you’re working with fine thread, don’t skimp on your knot. Fewer wraps than you need can leave you with a knot that slips loose partway through your project.
Next, do give inside points that extra stitch. Skipping it might not show right away, but it’s often where fraying starts to creep in over time.
Lastly, keep your stitches small and consistent. A few larger stitches mixed in with small ones are one of the fastest ways to make a neat appliqué edge look uneven.
Appliqué by hand isn’t complicated; it just rewards a little patience. And we think you are just on the right path now! Stay tuned for more helpful lessons like these and check out this beginner’s guide on how to start sewing.