
Jump into this guide to learn how to sew an easy skirt! With these simple steps, you’ll be creating one this weekend in no time!
You may feel overwhelmed at first with so much information online. Just remember, you don’t need to read everything, only what will actually help you! Here’s everything you need to learn if you’re looking for an answer to how to sew an easy skirt by hand.
What You’ll Need to Sew an Easy Skirt by Hand
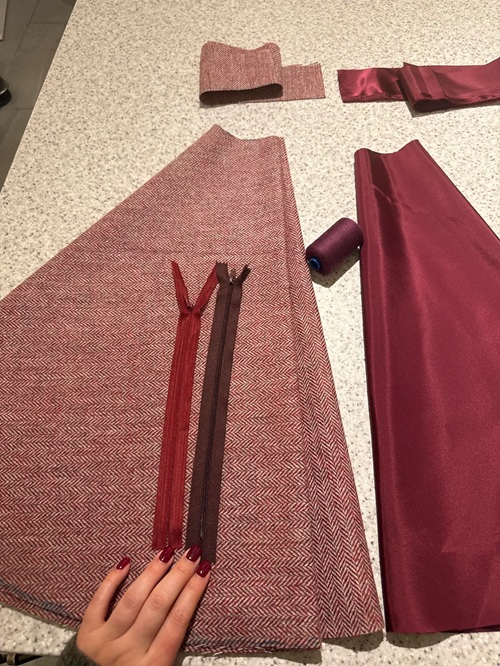
This project works best with a big piece of fabric that already has a finished edge, like a thrifted bed sheet. A full-size sheet gives you plenty of fabric to work with. And you can often find one secondhand for just a few dollars.
Here are some basic supplies to begin with: a hand-sewing needle, matching thread, fabric scissors, sewing pins, a length of yarn or string for measuring, and a button.
Pick a sheet made of soft, easy-to-sew cotton or a cotton blend. It holds a needle well and won’t fight you while you’re learning!
Wondering how to choose the right fabric? A thrifted bed sheet is a great option. It’s cheap, comes in a large enough size for a full skirt, and already has a factory-finished hem you can put to good use.
Avoid slippery fabrics like satin or anything very thick like denim; at first, you’ll thank us later!
Prepare the Fabric Before Sewing
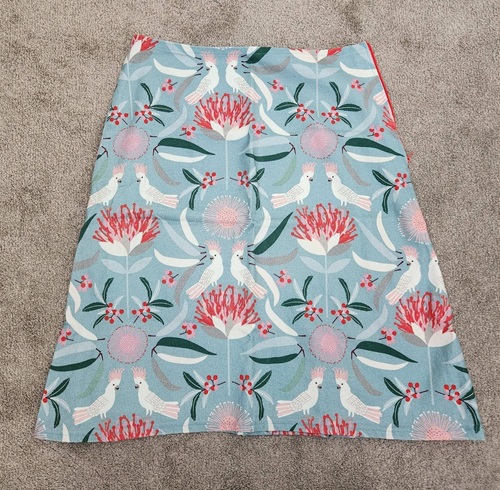
Skip the tape measure fuss and grab a piece of yarn instead. Wrap it around your waist, add about two inches of overlap for your button flap, and cut it there. This gives you a simple, foolproof waist measurement without any back-and-forth adjusting.
Do the same for your skirt length: measure the yarn from your waist down to where you want the hem to fall.
Here’s the best part: Don’t cut off the sheet’s existing hem! Instead, cut away the sheet’s top hem, then divide the remaining fabric into two panels sized to your waist and length measurements, using the sheet’s original factory hem as your skirt’s finished bottom edge. That’s one less thing to sew!
Quick Advice: At this stage, don’t worry about ironing every seam as you go. Skipping the iron keeps the process quick and a lot less intimidating for a first project.
How to Sew an Easy Skirt by Hand
The main principle for sewing this skirt is to keep it simple! You really only need two stitches for the entire project: a backstitch for anything that needs to hold securely, and a running stitch for basting or areas that don’t take much stress.
1. Sew Panels
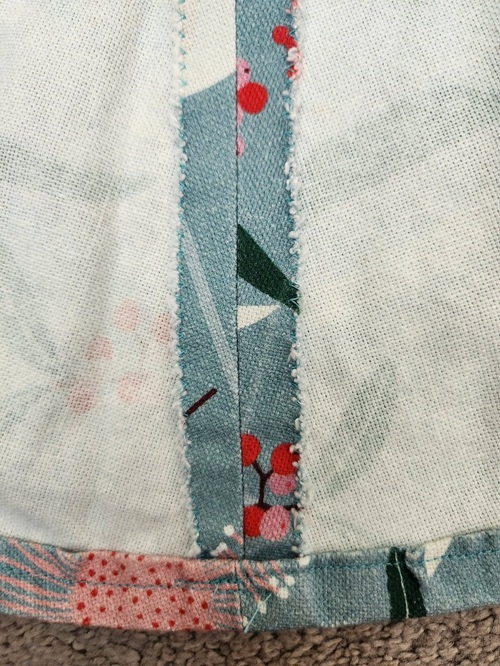
Sew your two fabric panels together at the side seams, starting at the bottom factory-hemmed edge and working your way up with a backstitch. Starting at the bottom keeps that finished edge aligned as you go.
2. Mark Waistband
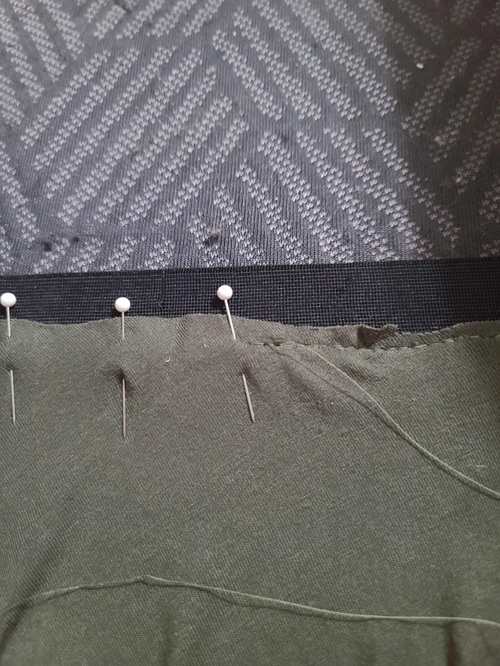
Cut and fold a long strip of fabric to make your waistband, then pin it to the top edge of your skirt panels.
Note: Don’t sew it down permanently just yet.
3. Adjust and Pleat Fabric
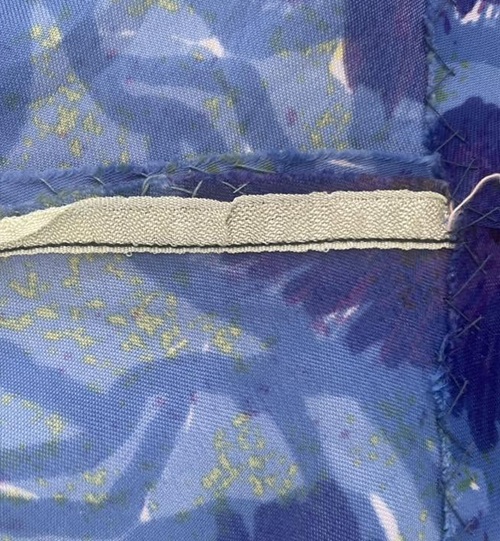
Try the skirt on with the waistband pinned up. As you go, begin to gather the excess fabric into loose, freeform pleats around the waistband, fiddling until the fit feels comfortable, not perfect symmetry.
4. Sew Waistband
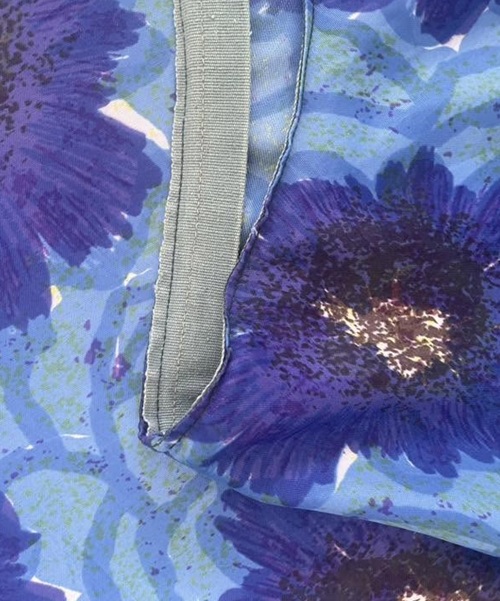
Once you’re happy with the fit, sew the waistband down. Use a fell stitch for a neat, finished look on the inside, or a plain running stitch if you’d rather prioritize speed.
5. Mark Buttonhole
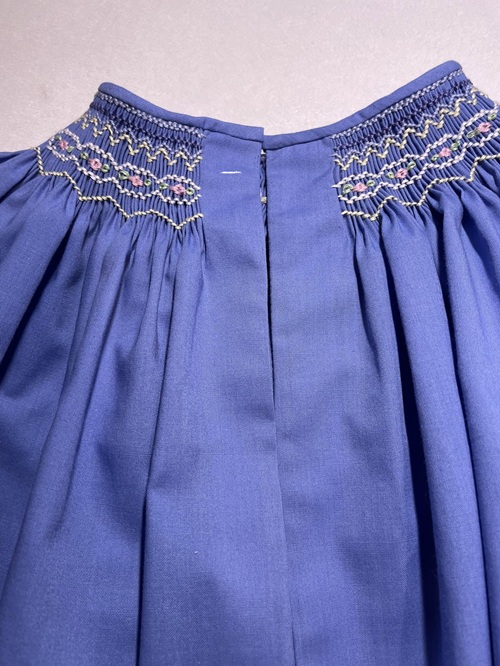
Mark your buttonhole at the end of the waistband flap, setting it back about half an inch from the edge, and place a pin on either side to mark its width.
Start at the back of the fabric and bring your needle through to the front. Now wrap the thread around the needle to form a small reinforced knot before stitching around the edge of the hole. This keeps the fabric from fraying once you cut it open.
6. Sew the Button
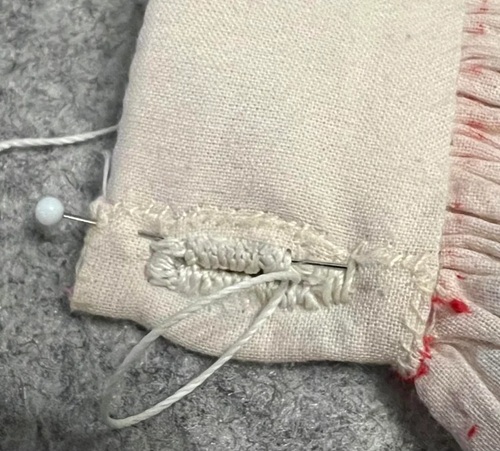
Put the skirt on and mark exactly where the button should sit at the edge of the buttonhole, then sew it in place. Marking it while you’re wearing the skirt ensures the fit feels right, rather than guessing the measurement on a flat surface.
Here’s a step-by-step guide on how to sew a button.
If you want to add a zipper to your skirt, then here’s an easy guide on how to sew a zipper for beginners.
7. Finish Sewing the Seams
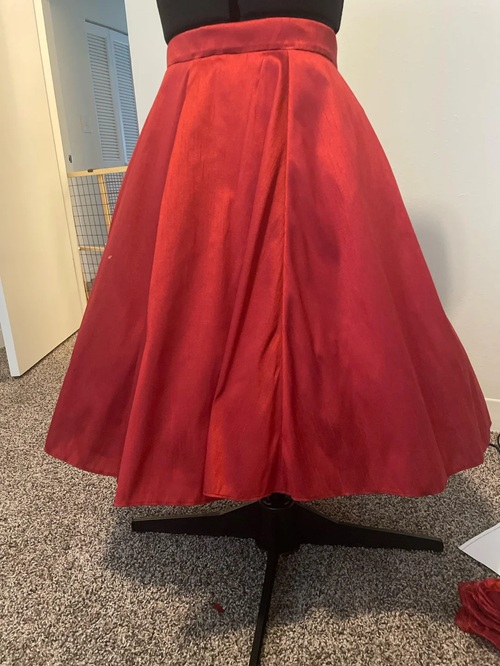
Finish sewing your last side seam, but leave about four to five inches open at the top so you can actually get the skirt on and off. A little gap at the opening is completely normal here.
Quick check: Put the skirt on, close the button, and see how it sits. If a pleat feels off or the waistband gapes somewhere, it’s much easier to adjust now than after everything is fully sewn down.
Voila! You have made your very first hand-sewn skirt; don’t forget to give yourself a little pat on the back.
Give Yourself Some Grace
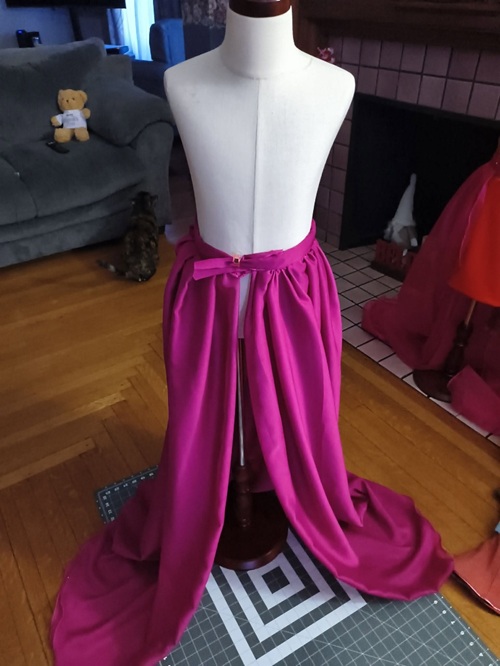
This is a beginner project, and it’s meant to be forgiving, not perfect. If a pleat looks a little uneven or a seam isn’t perfectly straight, that’s completely fine.
Give yourself permission to be imperfect, and finish the skirt rather than stalling over small mistakes.
A rough estimate for a project like this comes in well under twenty dollars. A thrifted sheet for around a dollar, a needle and thread for a few dollars, and some pins to round it out. It’s a low-cost, low-pressure way to end up with something you can actually wear.
Easy Skirt Sewing Mistakes to Avoid
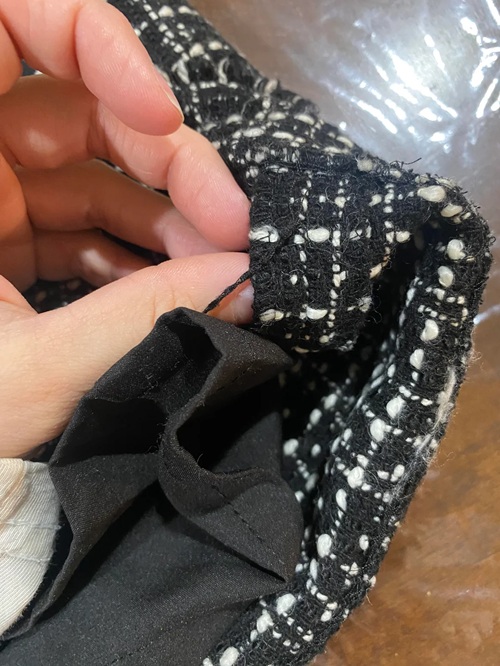
As beginners, people tend to skip measuring the yarn and guess the waist and length instead, which usually ends in a skirt that’s too tight or too long.
Take the extra minute to measure properly; it saves you from unpicking a finished seam later. Another common mistake is cutting off the sheet’s factory hem along with the rest of the excess fabric.
Keep that finished edge for your skirt’s bottom hem; it saves you an entire step. Also, watch out for over-tightening your pleats before you’ve tried the skirt on.
Pin the waistband first, put the skirt on, and adjust from there, rather than committing to pleats you haven’t actually tested for comfort.
To fix a wonky buttonhole or a lopsided seam, a seam ripper is your knight in shining armor! Carefully unpick the stitches and try again. There’s no shame in a second attempt!
Sewing a skirt by hand may feel tricky at first. But once you understand the steps, it gets easier with practice. So start with a thrifted sheet, and take your time. Don’t worry if your first skirt isn’t perfect. You will get it right on your next try for sure!