
Don’t toss your old denims just yet. Instead, learn how to sew a patch on jeans with some of the best and simplest methods!
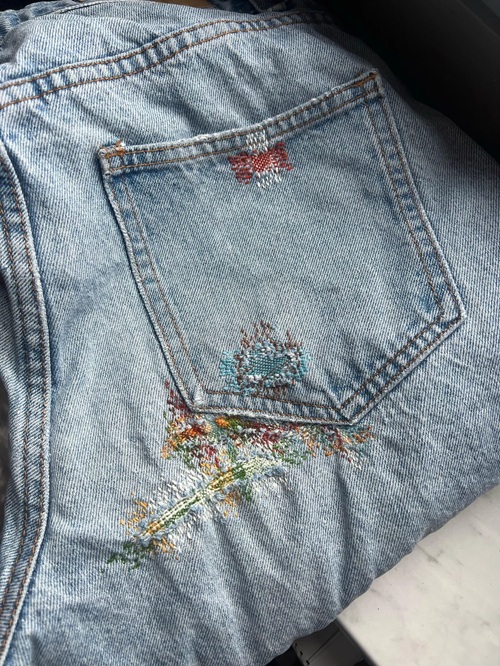
That tiny hole in your favorite jeans has a funny way of getting bigger every time you wear them. But don’t worry, this is where we have a wonderful solution for you! First, grab a good pair, a patch, and a needle.
Then just help yourself through this detailed guide on how to sew a patch on jeans, and that’s it! You’ll learn everything easily till you reach the end.
Materials You Need to Sew a Patch

You know what? Just a quick run through your scrap bin will cover most of what you need! Start with a few pieces of scrap denim, fabric remnants, or even embroidered sections cut from an old pair of jeans; these make great focal patches.
Next, grab a spool of thread in a contrasting color if you want the stitching to show, or a matching one if you’d rather it blend in, along with sharp fabric scissors and sewing pins.
It is also essential to use a sewing machine that can do a wide zigzag stitch, a seam ripper, tailor’s chalk or a washable fabric marker, and an iron to press everything flat!
Do you need to open the seams first? Not always! Yes, for a single small patch, you can usually sew it straight onto the jeans.
But if you’re covering a bigger area or want patches to cross over an existing seam line, opening that seam first gives you a flat surface to work with.
Patch Placement and Cutting Technique
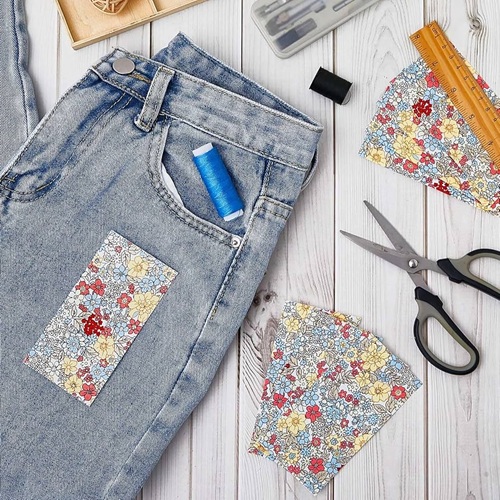
Dimensions
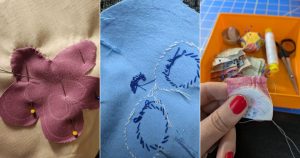
For patches that read as intentional rather than random, cut irregular ovals or petal shapes somewhere between 1.5 and 4 inches across, and vary the sizes a little from patch to patch.
Uneven, imperfect shapes actually work better here than neat circles or squares.
If you have an embroidered scrap you love, keep the motif intact and just trim around it, since that piece can become the focal point of your whole patch arrangement.
Cutting
Lay your jeans on a flat, hard surface, and if you’re opening a seam, turn them inside out first so the stitching is visible.
Go with a seam ripper to break a few stitches at a time, then slide it under the thread to pull the seam open, working from the hem upward and stopping once you reach the pocket.
Cut your patches freehand rather than with a ruler; small imperfections in the shape are part of the look.
Quick Advice: Lay your patches out on the jeans and live with the arrangement for a bit before pinning anything down. Freely experiment with layering and color balance, since it’s much easier to move a patch around now than to unpick it later.
How to Sew a Patch Onto Jeans in Easy Steps
1. Gather Materials and Tools
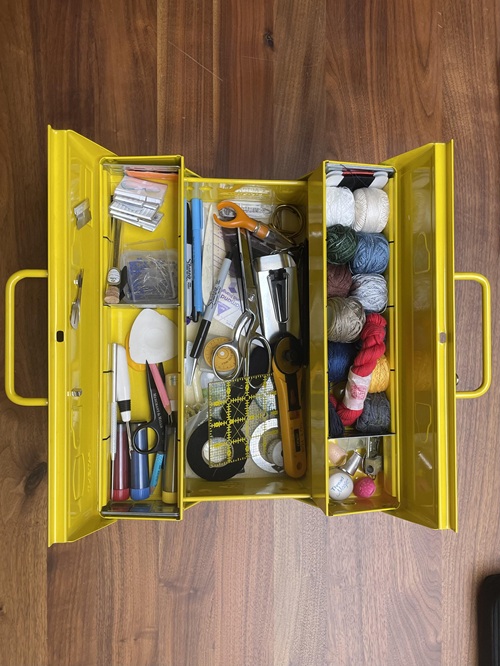
First and foremost, set up a sewing station with your jeans, your cut patches, matching or contrasting thread, pins, scissors, an iron, and a machine set up for zigzag stitching.
2. Prep the Jeans
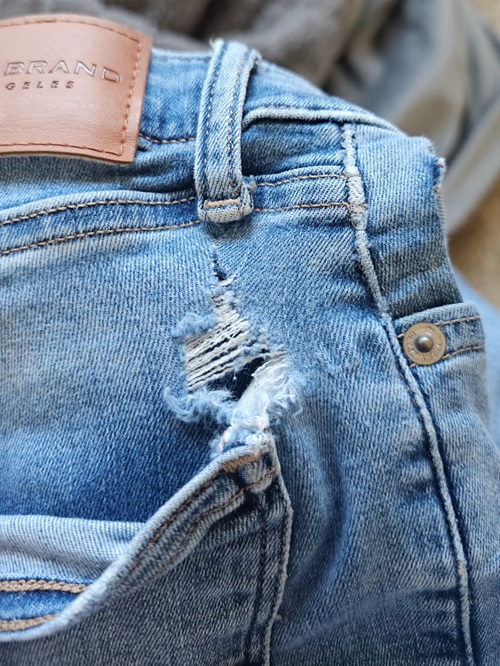
If you’re patching over a seam or a larger area, turn the jeans inside out and open the relevant seam with your seam ripper, then press it flat with an iron. For a single, smaller patch, you can skip this step entirely and work directly on the jeans as they are.
3. Cut and Arrange Your Patches
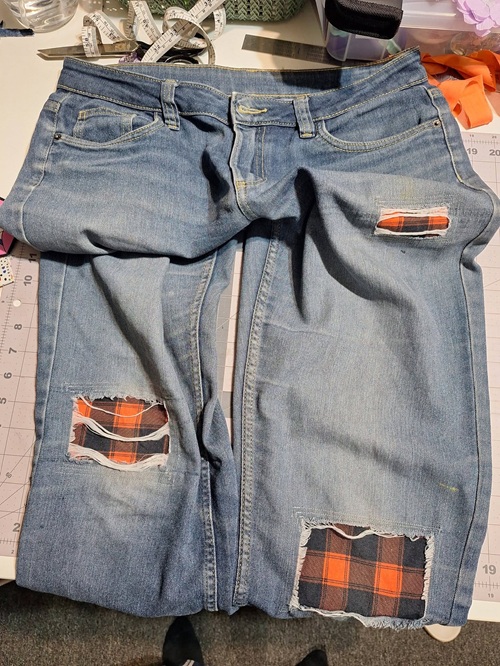
Cut your chosen scraps into irregular shapes, then lay them across the area you want to cover. Overlap the edges slightly rather than leaving gaps, and step back every so often to check how the whole arrangement is looking.
4. Pin Your Patches in Place
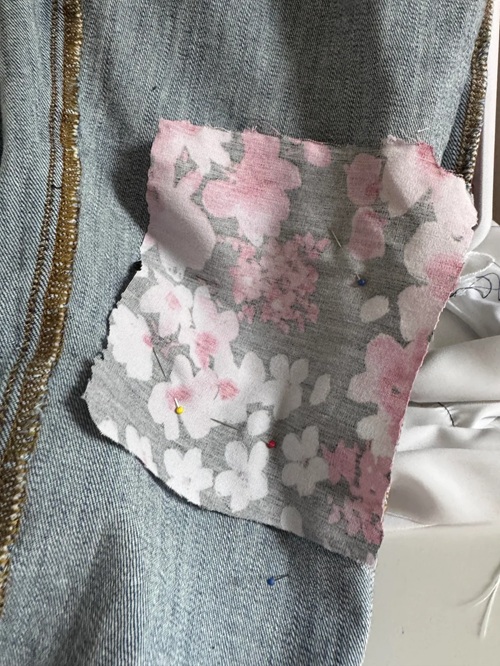
Once you’re happy with the layout, pin each patch down individually, working from the bottom layer up if you’re stacking patches on top of each other.
5. Sew With a Wide Zigzag Stitch
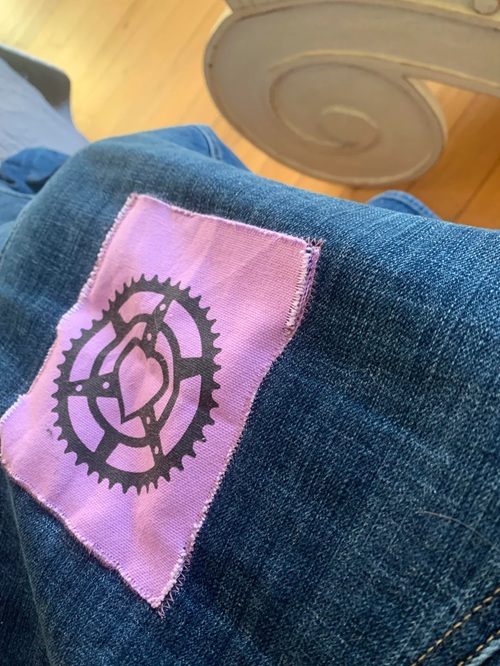
Set your machine to a wide zigzag, around a width of 6, and begin stitching at one edge of your first patch. Guide the fabric slowly so the zigzag passes just over the patch’s raw edge, catching the denim underneath as it goes.
Pivot at any curves by stopping with the needle down, lifting the presser foot, turning the fabric, and continuing. Backstitch a few stitches at the start and end of each patch to lock the stitching in place.
Note: Let the feed dogs move the fabric at their own pace rather than pushing or pulling it yourself; fighting the machine’s rhythm usually leads to uneven zigzag coverage.
6. Secure the Edges and Press
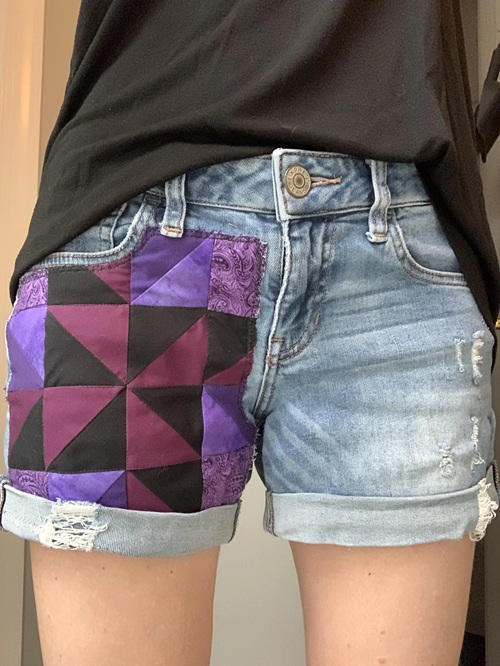
Once every patch is stitched down, iron the whole area flat from the front and the back to help the patches blend visually with the rest of the denim and to flatten any bulk from overlapping edges.
If you opened a seam earlier, you can now close it back up, sewing your original seam line or a new one, depending on the fit you’re going for.
Tips for a Perfect Zigzag Patch Finish
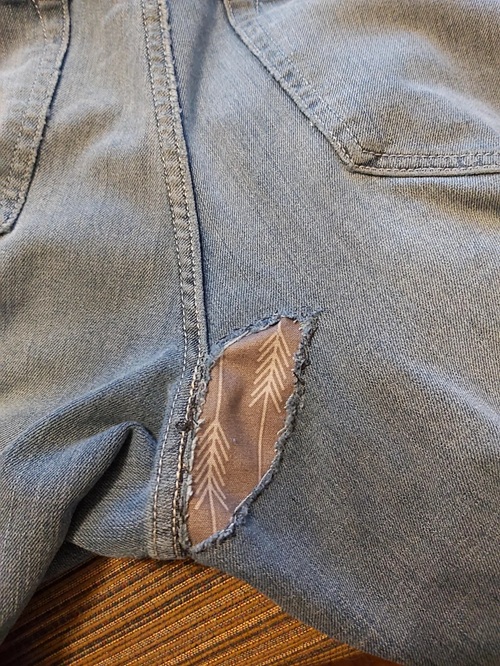
If the zigzag stitch keeps catching or bunching up, slow your feed down, double-check your thread tension, and try lowering the presser foot pressure a little.
If your patches start to pucker as you stitch, shorten your stitch length slightly or place a lightweight stabilizer underneath the patch before you sew.
Expect this to take some time, roughly an hour per leg depending on how many patches you’re adding and how fast your machine runs, so don’t rush through it.
And if an edge frays more than you’d like once it’s finished, a few whip stitches by hand will reinforce it without much extra effort.
Care Advice: Once in a while, check your zigzag stitching for any loose threads or spots starting to fray, and reinforce them with a few extra stitches before they turn into a bigger repair.
So, are you ready to sew your first patch onto jeans? Do you share your experience with us whenever you do! Besides, you will love reading this listicle of some of the best things to sew as a beginner!