
Let’s learn to sew a handkerchief skirt pattern with this step-by-step tutorial, from cutting the fabric to finishing the pointed hem.
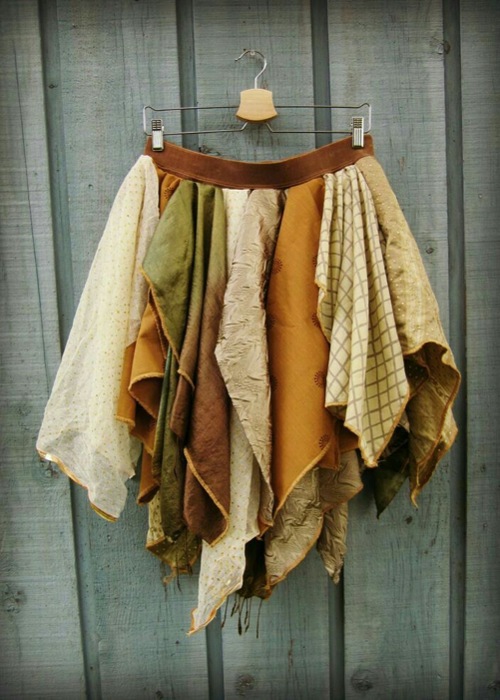
You may feel overwhelmed at first by all the information online. Just remember, you don’t need to read everything, only what will actually help you! Here’s everything you need to learn if you’re looking for an answer to how to sew a handkerchief skirt.
The Handkerchief Skirt Pattern
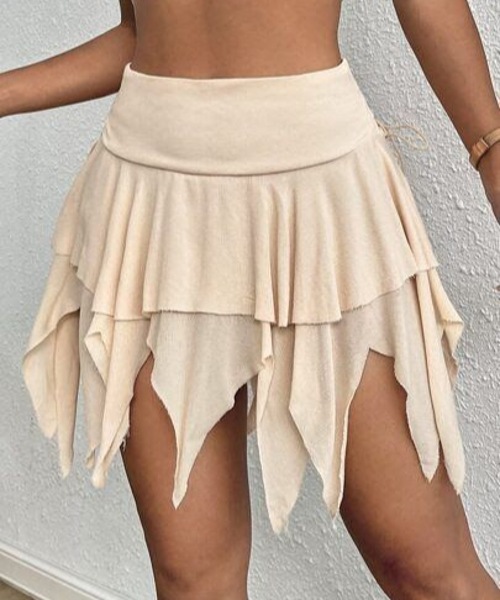
A handkerchief skirt is really just a square of fabric cut into a pointed, uneven hem. Then you layer it over a second, smaller version of the same shape.
The tricky part is usually getting your waist curve and your pointed hem symmetrical on both sides. And then gathering the finished waist down to your actual size once both layers are stacked and joined.
It looks fussy at first, but it’s really just careful measuring and a bit of patience with your gathers.
You don’t have to be an expert to get a great result. With a steady hand while marking your fabric and a sewing machine to handle the seams, you can end up with a flowy, two-layer skirt on your very first try.
How to choose the right fabric? A soft crepe drapes beautifully and usually comes in a 60-inch width, which is wide enough on its own. Ankara fabric gives you bold, printed color but usually comes in a narrower 45-inch width.
So you’ll need a little more yardage and an extra joined panel to get the same coverage.
Essentials That You’ll Need
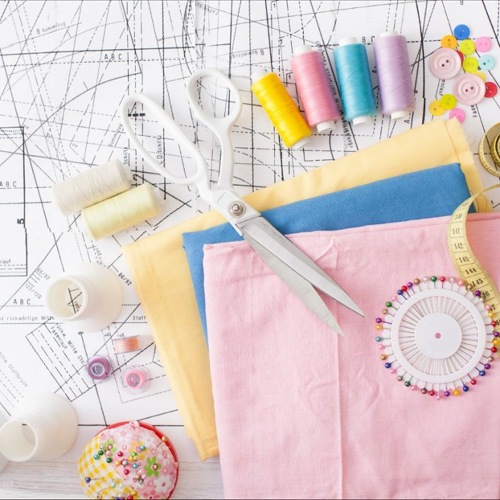
This project works well with a standard sewing machine, since the gathering and waistband steps go much faster with one.
Here are some basic supplies to begin with:
- 4 to 5 yards of Ankara fabric, or 2.5 to 3 yards of crepe,
- matching thread,
- sharp fabric scissors,
- sewing pins or clips,
- a fabric marker or tailor’s chalk,
- a flexible measuring tape,
- a zipper,
- a strip of fabric for your waistband.
Pick crepe if you’d rather skip joining extra fabric panels, since its wider bolt usually covers a full skirt on its own. Or go with Ankara if you want bold color and pattern, and plan on joining a bit of extra fabric to the side to bring your width up to around 60 inches.
Wondering how to finish your raw edges? A serger works best since this skirt isn’t lined, but a zigzag stitch does a solid job too if you don’t have one.
Prepare the Fabric Before Sewing
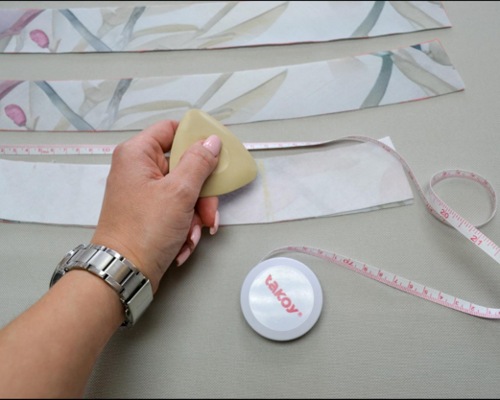
Fold your fabric into four layers, the same way you would to cut a full, 360-degree flare skirt. If you’re working with Ankara and need to join an extra panel for width, do that first and press the seam flat before you fold.
Take your waist measurement at the folded point of the fabric. If you’re planning to add a zipper, divide your waist measurement by four and use that to draw your waist curve, adding a couple of extra inches for the zipper allowance.
If you’d rather skip the zipper and use an elastic waistband instead, use your hip measurement in place of your waist measurement for this curve.
Quick Advice: At this stage, don’t worry about getting your fabric perfectly flat and wrinkle-free. Focus on getting your fold even and your waist curve accurate; you can press properly once your pieces are cut.
How to Sew a Handkerchief Skirt
The main idea here is to build your skirt in layers: draft and cut your bigger piece first, then your smaller layer, then join and finish them together.
1. Draft and Cut the Waist Curve
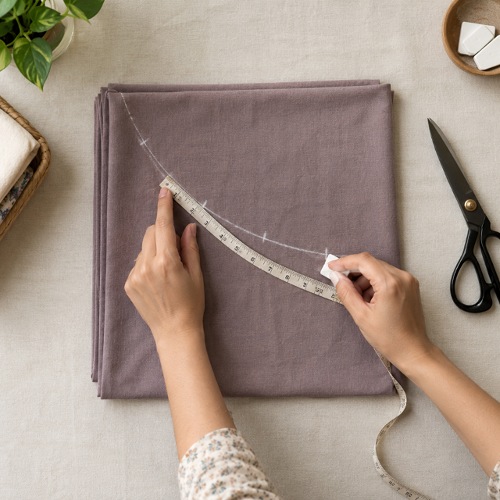
With your fabric folded into four, mark and draw your waist curve at the fold using your calculated measurement. This becomes the top edge of your skirt once everything is cut and opened.
2. Mark and Cut the Handkerchief Hem
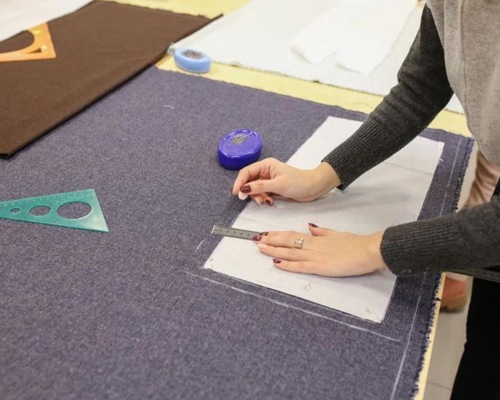
Decide on your shortest skirt length; somewhere around 22 to 23 inches works well as a starting point, and measure down from your waist curve on both sides of the folded fabric, marking that length at each point.
Draw straight lines across the fabric from these marks until they meet in the middle; this creates the pointed, handkerchief-style hem. Cut along your lines, treating the shape roughly like a square or box.
Note: Keep the same measurement on both sides of your fold as you mark this. A mismatch here is what throws off your symmetry once the fabric is unfolded.
3. Open the Fabric and Create the Back Opening
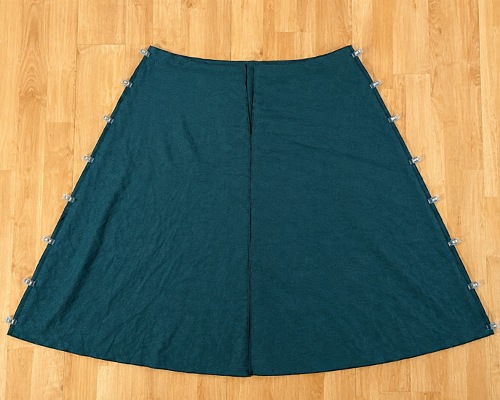
Unfold your fabric to see the full handkerchief effect take shape. If you joined fabric panels earlier, find that seam and cut it open; this becomes your center back opening.
4. Cut a Second, Smaller Layer
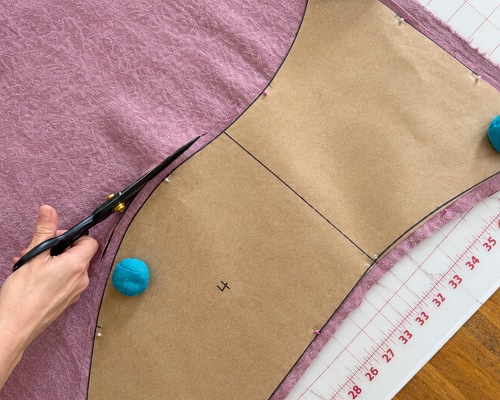
Fold a second piece of fabric into four, just like your first. Use your first piece’s waist curve as a template to trace the waist of this smaller layer, or measure it manually if you’d rather.
Repeat your hem marking process on this smaller piece too, marking your shortest length on both sides and drawing your intersecting lines, then cut it out the same way. Slash one side of this upper layer open to match your center back opening.
5. Stack and Join the Layers
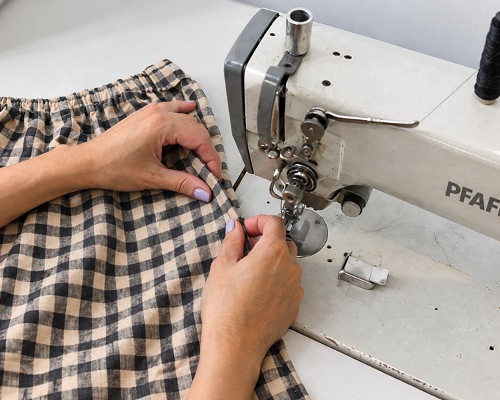
Stack your two cut layers on top of each other at the waist, lining up both back openings, and join them together with a topstitch so they function as one piece.
6. Finish the Hem and Check the Fit
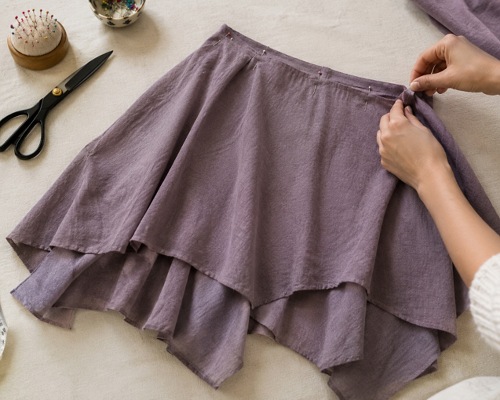
Fold down the raw edges of your top layer to finish the hem, since this skirt isn’t lined. Align your center back opening so you have four layers of fabric meeting at the top.
Check your waist measurement against the fabric. Chances are it’s a little roomy, so rather than cutting away the extra, gather the fabric evenly until your waist measurement matches your actual size.
7. Sew the Back Seam and Finish
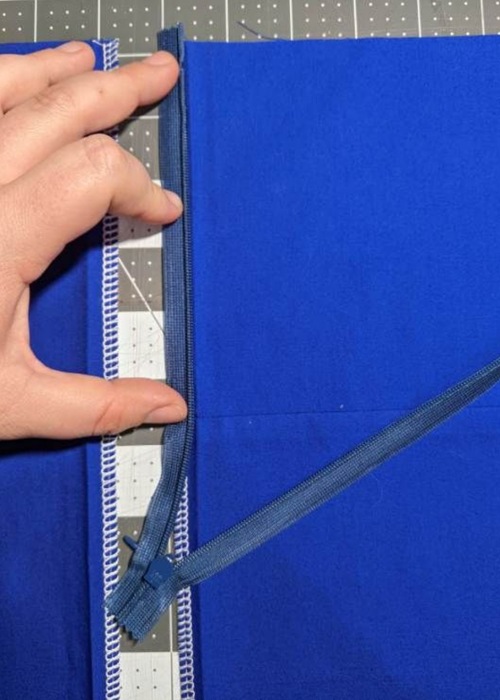
Leave about a 9-inch opening at the top of your center back for your zipper, then pin and stitch the rest of the center back seam closed. Fold and finish the hem around the entire remaining edge of the skirt.
8. Attach the Waistband and Zipper
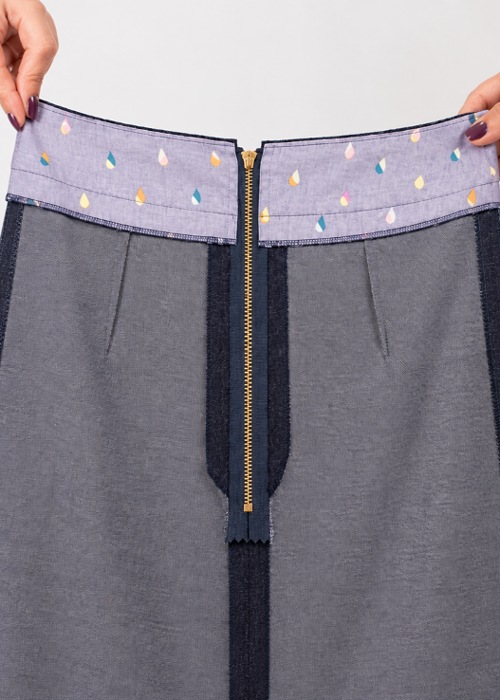
Fold your waistband strip in half to a finished width of about 1.5 inches, and stitch it around the waist of your skirt.
Since the skirt isn’t lined, finish the raw edges with your serger or a zigzag stitch, trimming away any excess fabric before you complete the waistband stitching.
Once your waistband is secured, install your zipper into the opening you left at the center back, and your skirt is complete.
Bonus: Want to Skip the Zipper? Try This
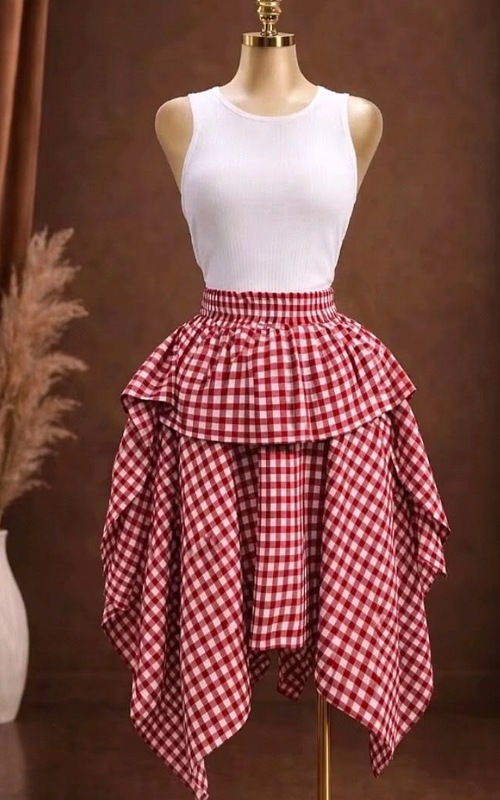
If you’d rather avoid installing a zipper altogether, draft your waist curve using your hip measurement instead of your waist measurement, and skip the zipper opening at the center back entirely.
Finish your waistband as a casing instead of a flat band, and thread elastic through it before closing the opening.
This swap trades a bit of fitted shaping for a much faster, beginner-friendly finish.
Few Mistakes to Avoid
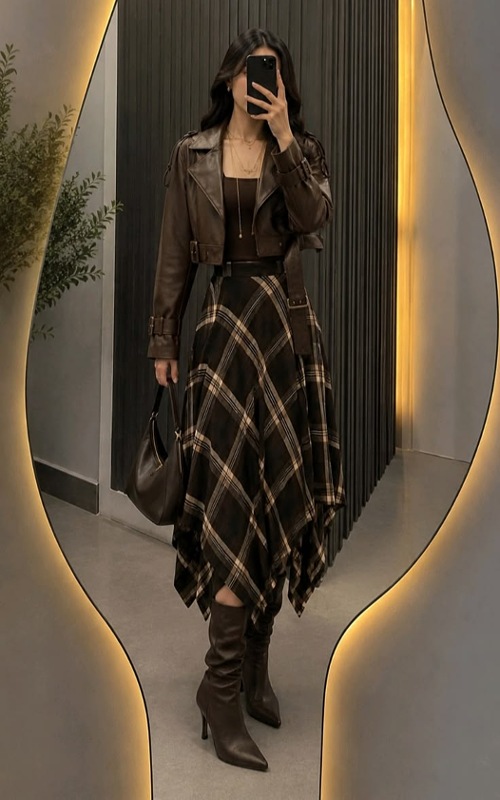
Don’t skip double-checking both sides of your hem marking before you cut! This is the first thing to keep in mind. A mismatched measurement on one side throws off the whole point of the handkerchief effect once the fabric opens up.
If you’re working with Ankara, don’t forget to account for the narrower width. Skipping the extra joined panel can leave you with a skirt that doesn’t have enough coverage once it’s gathered.
Next, do gather rather than trim if your waist comes out too large. Cutting away the extra fabric is permanent, while gathering is adjustable and keeps that flowy volume in the finished skirt.
Lastly, finish your raw edges before you attach your waistband, not after. When the skirt isn’t lined, unfinished edges left for later are much harder to clean up once you’ve sewn on the waistband.
Sewing a handkerchief skirt may feel tricky at first, especially around getting that hem symmetrical. But once you understand the steps, it gets much easier with practice. So gather your fabric, take your time, and don’t worry if your first skirt isn’t perfect.