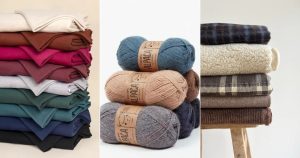

Learn how to make a DIY fabric chain garland for Christmas this year with this easy-to-follow tutorial and all the tricks!
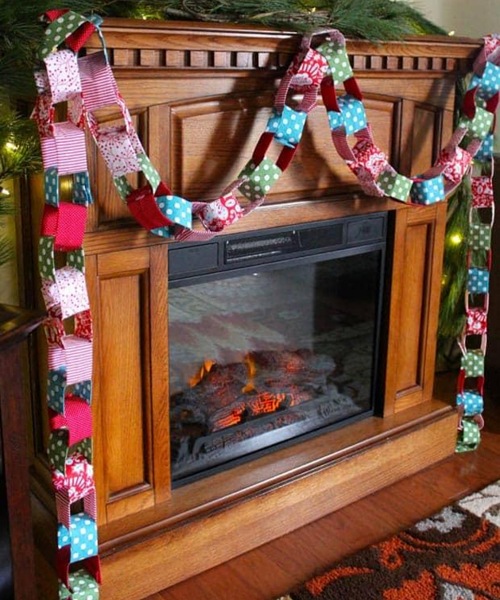
Want to add a DIY to your holiday decor without using a sewing machine? This DIY fabric chain garland turns cotton scraps into a festive decoration for your Christmas tree, mantel, or doorway. With iron-on adhesive and a little hot glue, you can create a cozy, homespun garland without sewing a single stitch!
Essentials That You’ll Need
To make this no-sew Christmas fabric chain garland, you’ll need cotton fabric scraps or fat quarters in coordinating colors, double-sided iron-on adhesive, a hot glue gun, and compatible glue sticks.
Then you need to keep a ruler, rotary cutter, cutting mat, iron, and ironing board handy for preparing the fabric. A pinking rotary blade is optional but useful for creating decorative zigzag edges.
Start by choosing lightweight cotton fabrics in red, tan, and cream, or mix and match leftover prints for a more eclectic look.
Smooth out wrinkles, measure the fabric, and cut pieces large enough to create strips measuring 1½ inches wide and 7 inches long.
Finally, fold each strip into a loop, secure the ends with hot glue, and thread the next strip through the previous loop before joining it. Repeat until your garland reaches the desired length.
DIY Fabric Chain Garland for Christmas Steps
Follow these instructions to make your very own DIY garland project.
1. Choose and Prepare Your Fabric
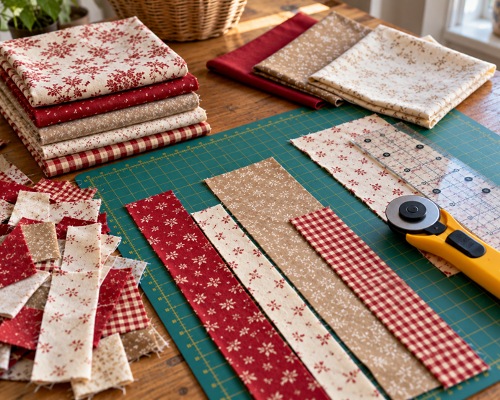
Pick coordinated red, tan, and cream fabrics. You may also use fabric scraps or fat quarters, as they have an appropriate width! Use a ruler to measure the strips accurately and a rotary cutter with a cutting mat for added consistency.
Pro Tip: Iron out any wrinkles on an ironing board before you begin so that you get smooth layers to work on.
Quick Advice: You can use random scraps instead of a red-and-cream color sequence for a more eclectic look!
2. Apply the Iron-on Adhesive
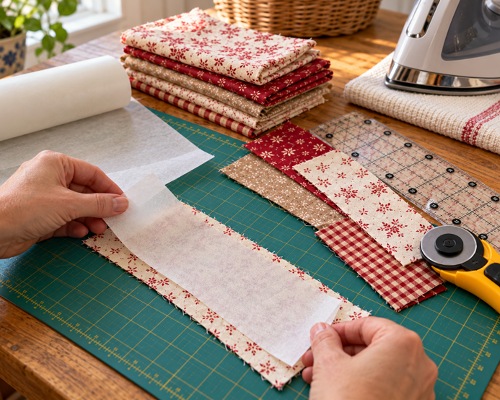
Next, cut the adhesive on a cutting mat so that it fits the fabric. Place the adhesive side against the wrong side of the fabric and follow along the product instructions to complete the process.
You can use Ultrahold as it works great for such projects. Just press from the centre outward to minimize wrinkles and bubbles!
3. Add the Second Fabric Layer
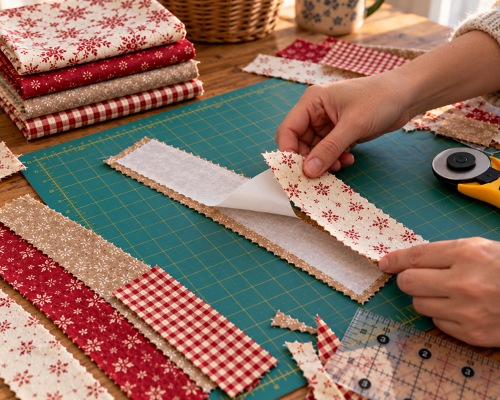
Now, trim excess fabric around the adhesive. Peel off the paper backing, align the second fabric layer, and press the two layers together.
Pro Tip: Since dark fabric may show through lighter fabric, use similar light or dark tones on both sides for a cleaner reversible finish!
4. Cut the Fabric Into Strips
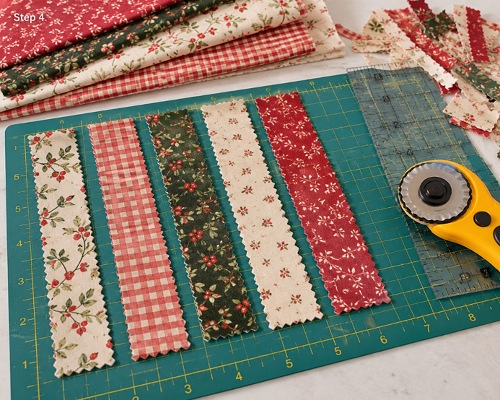
After the fabric has been bonded, cut strips measuring 1½ inches wide and 7 inches long. Use a pinking rotary blade to create zigzag edges, which will help reduce fraying and give the garland a decorative look.
Pro Tip: It’s advisable to test a link before you cut a large batch and glue it. The strips can change the entire scale of the project! You may also adjust the strip dimensions for smaller trees.
5. Assemble The Chain Links
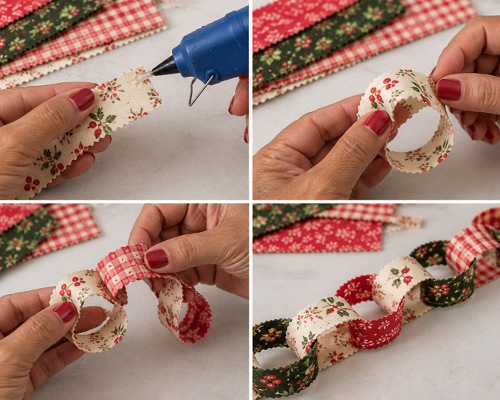
Finally, apply a small bead of hot glue along one end of a strip, then bring the other end around to form a loop and press the ends together.
Now, thread the next strip through the previous loop before gluing its ends together. Repeat to build a connected chain.
Note: You’ll have to work promptly because hot glue sets quickly.
Helpful Tips and a Few Mistakes to Avoid
Choose lightweight cotton fabric for your Christmas chain garland, as it’s easy to cut, fold, and shape into loops.
You can use leftover fabric scraps, old cotton shirts, or quilting fabric in festive colors and prints. Mixing solid colors with checks, stripes, or Christmas patterns will give the garland a more interesting, handmade look.
For the adhesive, use iron-on bonding tape to secure the folded fabric edges and help each strip hold its shape.
HeatnBond Ultrahold is one option to consider, especially if you want a no-sew project. Follow the manufacturer’s instructions for the correct iron temperature and application time, and test the adhesive on a small fabric scrap first to make sure it bonds well without damaging the material.
Again, hot glue can also help secure the chain links and keep them in place. Apply only a small amount at each join to avoid bulky, stiff spots that make the garland difficult to bend.
If you’re using a hot glue gun, handle it carefully and allow the glue to cool completely before moving or hanging your finished garland.
This DIY fabric chain garland is a fun, budget-friendly way to turn leftover fabric scraps into something festive. Try different fabric prints and color combinations to make it your own, and enjoy creating a Christmas decoration you’ll look forward to bringing out year after year!