
A jacket is a big project, but it’s easier when you take it one piece at a time. This DIY winter jacket tutorial has all the steps!
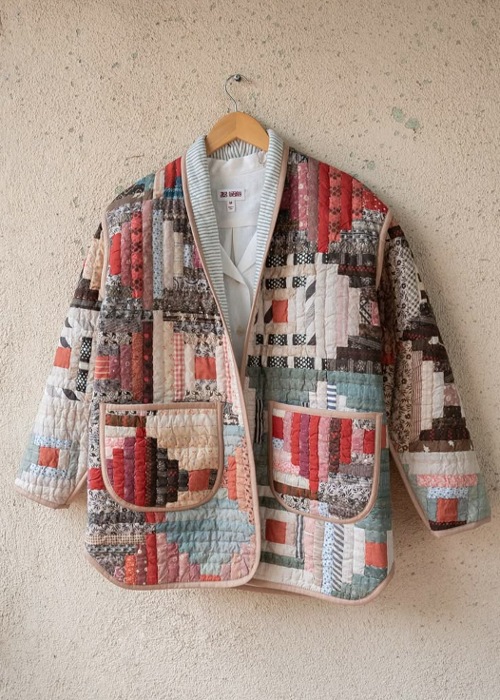
Ever tried on a winter jacket and thought, “I love everything about this except…”? Maybe the sleeves are too short, the pockets are useless, or the fit just isn’t there. Sewing your own gives you a chance to fix those little annoyances from the start. So, let’s start with this DIY winter jacket tutorial!
How to Sew a Winter Jacket
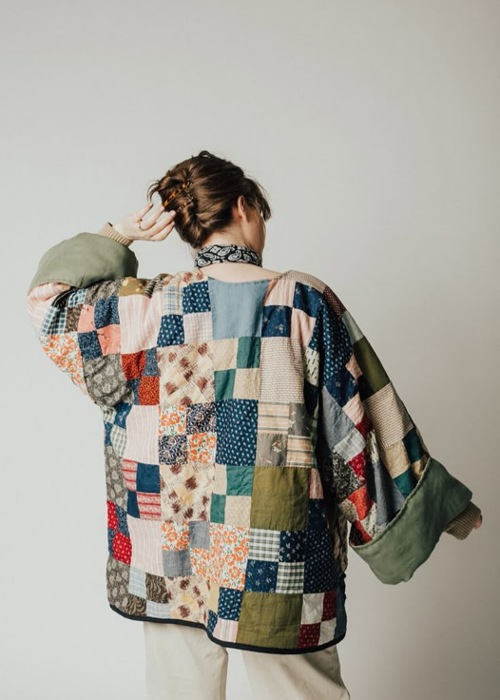
A blanket jacket is really just a tracing of a garment you already own, cut out of a much heavier fabric, with a full lining, oversized pockets, and a shaped collar added on top. That part is simple enough once you see it broken down.
The tricky part is usually working with the thickness of the fabric itself. A heavy picnic rug or blanket has a lot more layers to push a needle through than your average cotton, and the collar shaping involves a little extra length and angling.
With a reference garment to trace, a stronger needle for the thick layers, and a steady hand while shaping your collar, you can end up with a cozy, wearable jacket on your very first try.
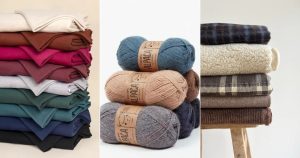
Choose the right fabric for your jacket: A heavy picnic rug or wool blanket works for the outer layer, since it holds its shape and gives the finished jacket that structured, textured look.
Essentials You’ll Need
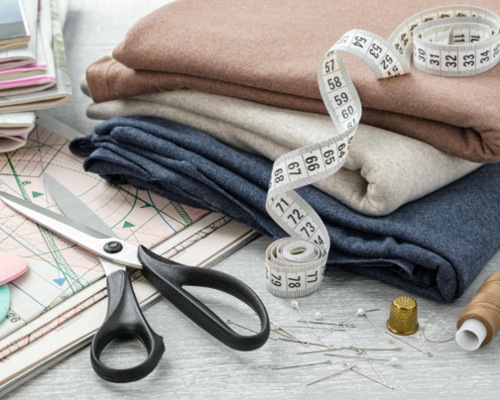
Start with a few essentials:
- outer fabric (a picnic rug, wool blanket, or similar heavy material),
- lining fabric, in about the same yardage as your outer,
- matching thread,
- a measuring tape,
- sharp fabric scissors,
- fabric chalk,
- pins,
- buttons,
- a denim or heavy-duty needle.
A denim needle might seem unnecessary when you’re just starting, since your regular needle seems to handle most projects fine. But as you’ll be stitching through several thick layers at once, especially at the pockets and collar, a stronger needle keeps you from snapping needles mid-seam.
Quick Advice: keep a reference garment nearby before you start cutting, something with a silhouette and fit you already like. Tracing it saves you from drafting a whole jacket pattern from scratch.
Measurements and Fabric
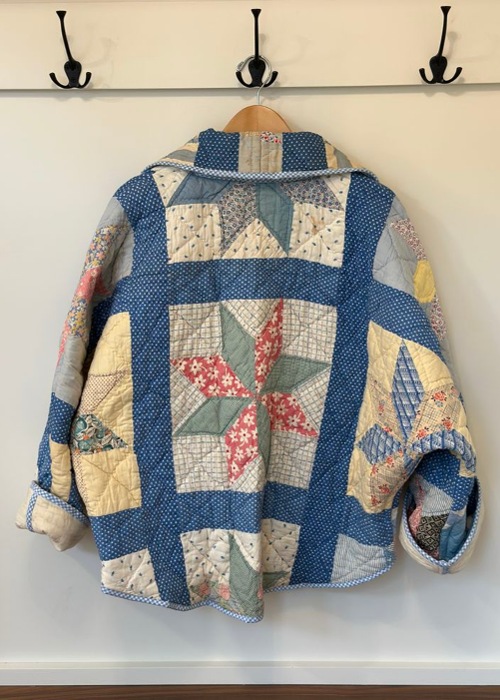
A reference garment and a few key measurements are what decide how your jacket comes together! So, before you touch your scissors, work out these numbers:
Seam allowance, typically around 1 inch unless you want a closer fit; pocket width and height, around 9 inches wide and 4 inches tall work well; your collar width, about 5 inches for an oversized look, plus an extra 3 inches in length for shaping; neckline measurement, plus 1 inch for seam allowance; button spacing, roughly 3 inches apart.
Quick Advice: Lay your reference garment flat and trace its outline directly for your front and back panels before adding your seam allowance on top. This keeps your fit close to a garment you already know works for you.
How to Sew a Blanket Jacket in 8 Steps
Here is the process that will eventually become a part of your normal workflow!
1. Reference Garment and Add Seam Allowance
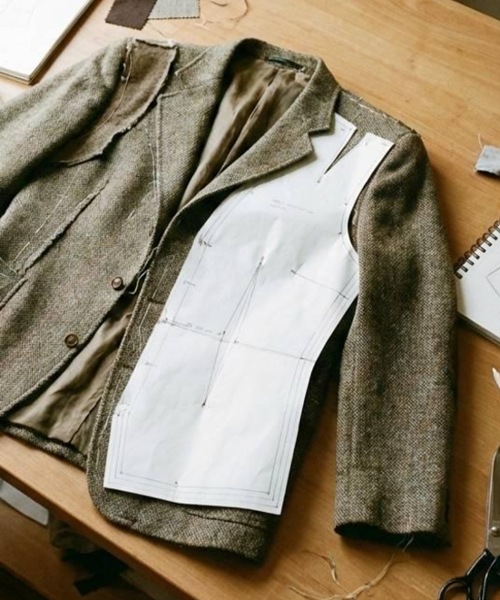
Lay your reference garment flat and trace its front and back panel outlines onto your fabric or pattern paper, then add about 1 inch of seam allowance around each piece before cutting.
Caution: Don’t skip tracing a real garment if this is your first time drafting something this size. It gives you a fit you can trust, rather than guessing proportions from scratch.
2. Cut the Outer and Lining Panels
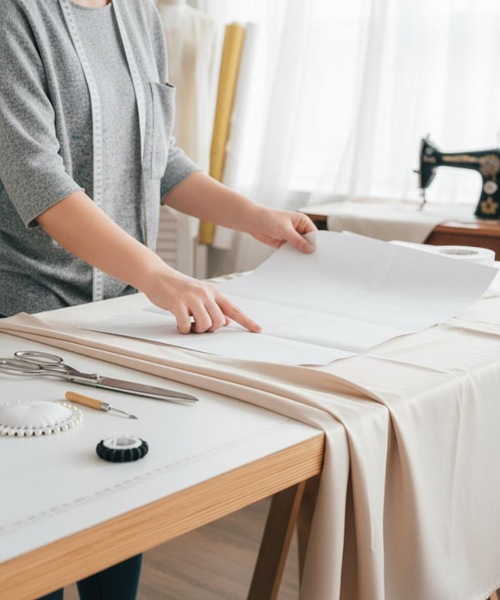
Cut out your front and back panels from your outer fabric, then repeat the same pieces in your lining fabric. You should end up with a full matching set in both materials.
Quick Advice: If your fabric frays easily, run a zigzag stitch or overlock along your raw pocket and panel edges before you move any further into construction.
3. Construct the Pockets
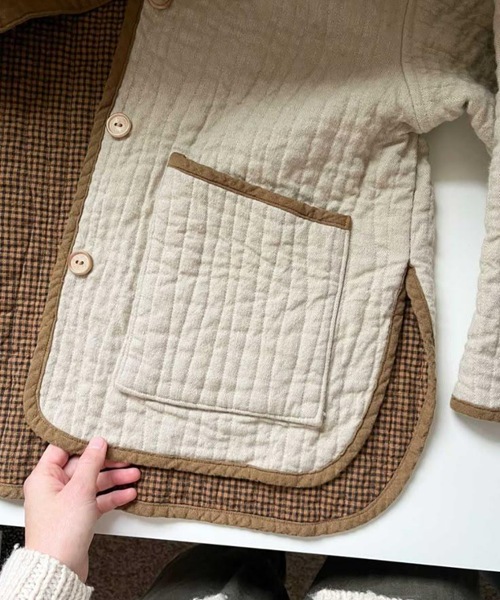
Cut your pocket pieces at least 9 inches wide and around 4 inches tall. Fold the top edge over about half an inch and sew to create a clean hem, then fold the bottom section up about half an inch and mark your sewing line with chalk.
Flip the outer edges of each pocket inward by about half an inch before sewing, so the visible edges stay clean once the pocket is attached to the jacket body.
4. Attach the Lining
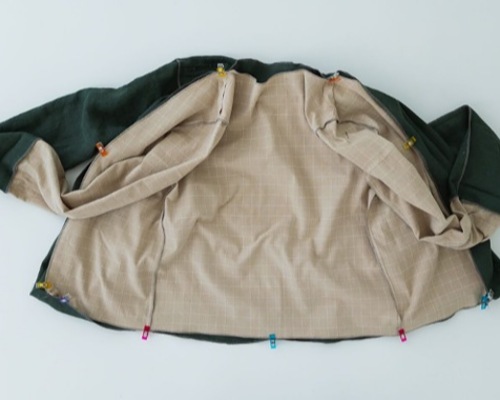
Turn your lining inside out and keep your jacket’s good side facing out, so when they come together, both good sides face outward. Tuck the lining’s sleeves into the jacket’s sleeves before pinning.
Pin your key alignment points first, shoulder seams and center sections, so your collar and front lines will match up later. Stitch a line to attach the lining to the jacket at the neckline, then continue securing the rest of the lining in place.
5. Cut and Shape the Collar
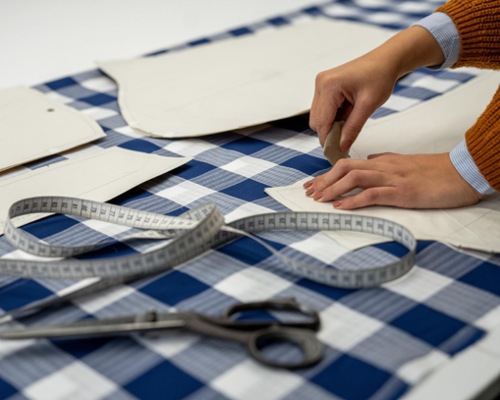
Measure your neckline length to your desired finishing point and add 1 inch for seam allowance to get your cutting length. Cut your collar about 5 inches wide for an oversized look, keeping in mind that roughly 1 inch of that width will be lost to seam allowance.
Add about 3 extra inches to your collar length; this gives you the room to angle the collar back down into your original neckline measurement, creating that classic turned-down shape. Cut two matching rectangles to these measurements.
6. Sew and Attach the Collar
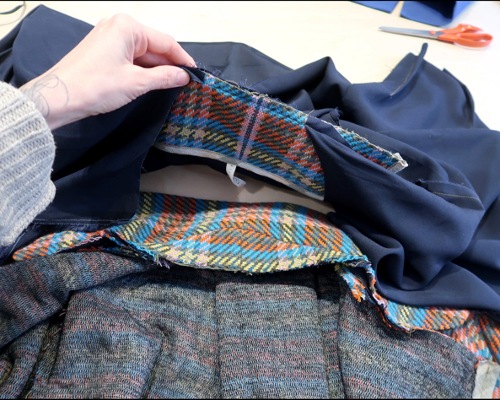
Sew your collar pieces together along the angled edges and the top edge, leaving the bottom edge open so you can turn and attach it. Pin one side of the collar to your jacket first, matching center points for symmetry, then pin the opposite side.
Once your collar is sewn onto the neckline, fold a hem on the remaining unattached bottom edge and sew it down over the seam to conceal the raw edges. Add a topstitch around the collar’s edge to keep it flat and secure.
7. Mark and Sew the Buttonholes
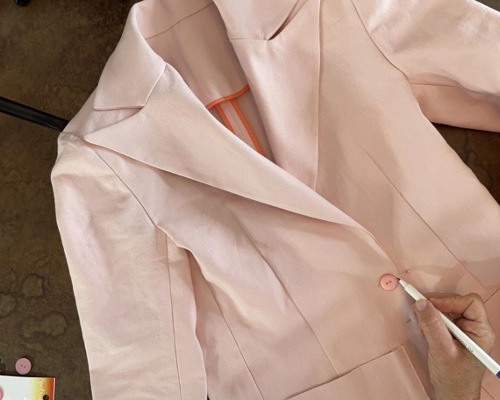
Lay your jacket flat and mark your button placements with chalk or pencil, spacing them roughly 3 inches apart for an even look.
Use a zigzag setting on your machine to sew each buttonhole, adjusting the stitch thickness around the edges as needed.
Once your buttonholes are sewn, open each one carefully with a seam ripper, and test that your chosen buttons fit through cleanly.
8. Attach the Buttons
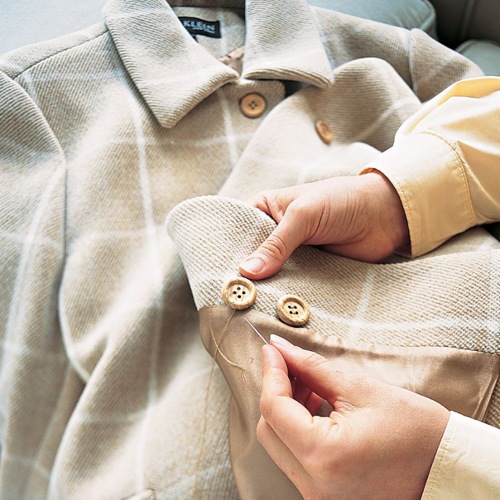
Mark your button placement from the underside of the jacket, lining each one up with its matching buttonhole, then sew your buttons securely in place.
What Is Seam Allowance
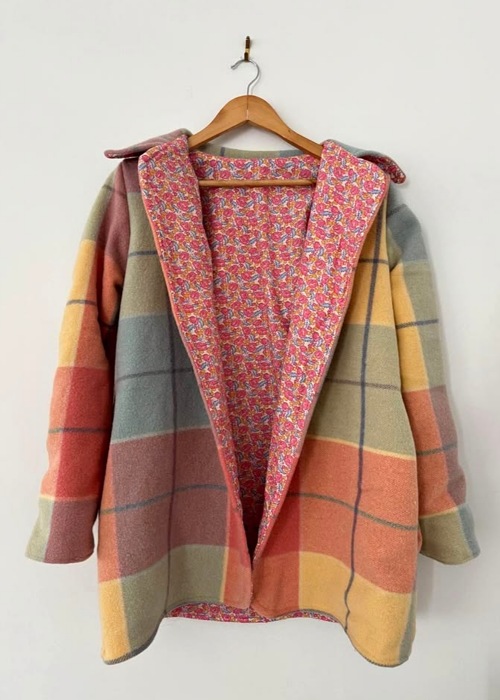
Seam allowance is simply the extra fabric you add around a traced pattern piece to leave room for your actual stitching.
This is simple: without it, your seams would eat directly into your garment’s intended size, making the finished piece smaller than planned.
A seam allowance of around 1 inch is a solid, flexible starting point for a project like this, though you can adjust it slightly for a closer or looser fit.
Interested in learning about it in the next tutorial? Leave us a comment if you do!
Few Blanket Jacket Mistakes to Avoid
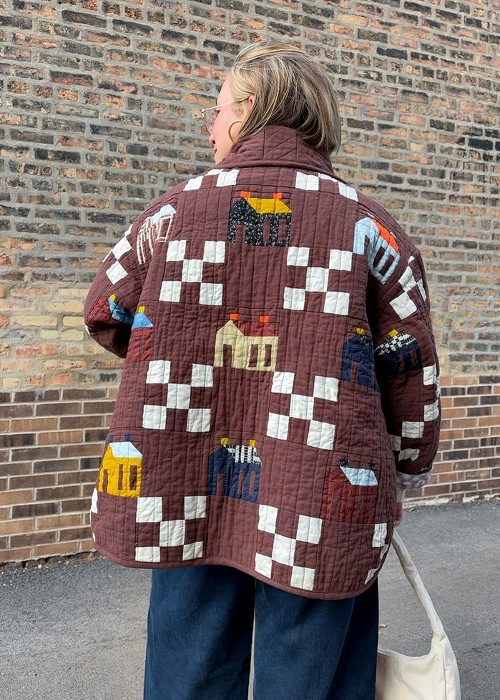
Don’t skip switching to a stronger needle! This is the first thing to keep in mind. A standard needle can struggle, bend, or even snap when it’s pushed through several thick layers at once, especially around your pockets and collar.
If you’re drafting your pattern, don’t skip tracing a reference garment. Guessing proportions on a fabric this heavy and expensive is a lot riskier.
Next, do add that extra length to your collar before cutting. Skipping the 3 inches needed for shaping leaves you without enough fabric to angle the collar back down properly once it’s attached.
Lastly, don’t rush your buttonhole spacing. Uneven spacing is easy to spot once the jacket is finished and buttoned up, so take the extra minute to mark and measure before you start sewing.
Sewing a blanket jacket isn’t complicated; it just rewards a little patience. And we think you’re just on the right path now! Stay tuned for more helpful lessons like these and check out this beginner’s guide on how to start sewing.
Next, we shall discuss how to draft a trench coat variation from the same pattern!