
Check out this easy wrap-pants sewing pattern with simple steps and add a quick, no-fuss staple to your wardrobe today.
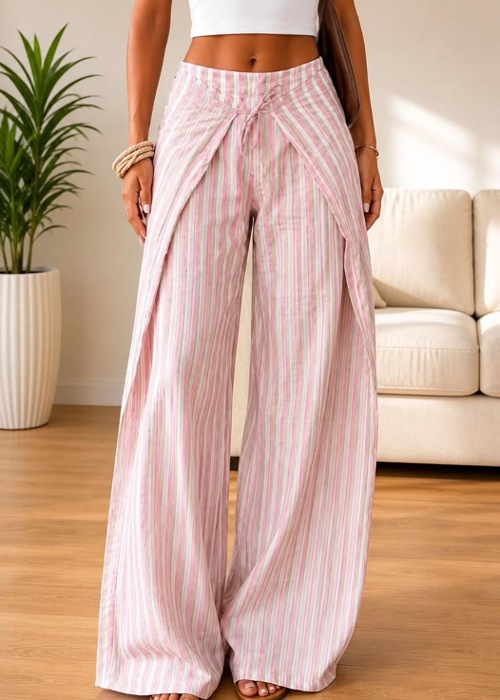
If you’ve been putting off your first pair of pants because buttons, zippers, and a fly front feel like too much, then this project is for you. You’ll practice all while making something you can wear in about half an hour. Happy reading this useful wrap pants sewing pattern guide for beginners!
Wrap Pants as a Quick Beginner Project
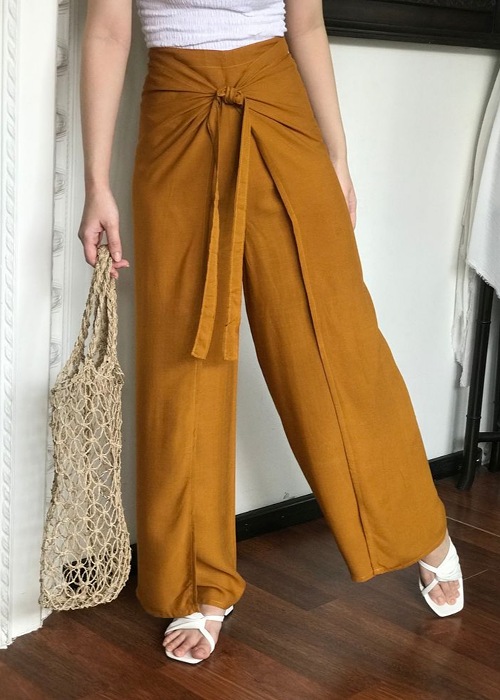
Wrap pants skip the trickiest parts of pant-making entirely. There’s no fly, no zipper, and no buttons to fuss over. The whole thing closes with two fabric ties that wrap around your waist and tie in a bow.
The good news? You don’t have to be an expert to get a great fit. With just a crotch seam, a hem, and a couple of ties, you can turn a flat piece of fabric into a wearable pair of pants in about 30 minutes to an hour, depending on your sewing speed. and skill
Fabric and Essential Tools You’ll Need
To begin, pick a fabric that drapes nicely and feels comfortable against your skin. Silky satin is a popular choice for wrap pants because it moves well and gives the finished pants a relaxed, flowy look.
Skip very stiff or heavily structured fabrics for this project; they won’t wrap and tie the same way.
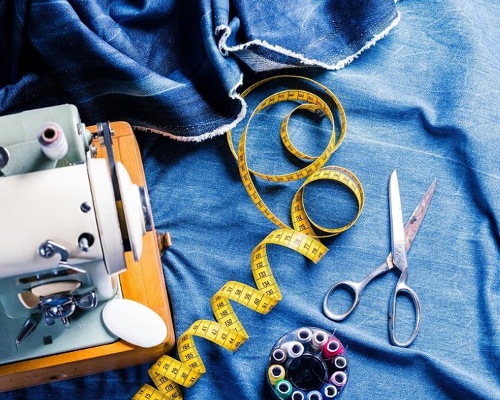
Now, assemble your essential sewing toolkit. Pick a reliable sewing machine threaded with matching all-purpose thread, sharp fabric scissors, and a pack of pins or sewing clips to hold your pieces together while you work.
Then use a fabric marker or tailor’s chalk to mark your measurements directly on the fabric. And a flexible measuring tape to keep everything accurate.
Remember to keep an iron and ironing board handy too! Pressing your hems and ties makes a noticeable difference in how finished the pants look.
Measurements and Drafts
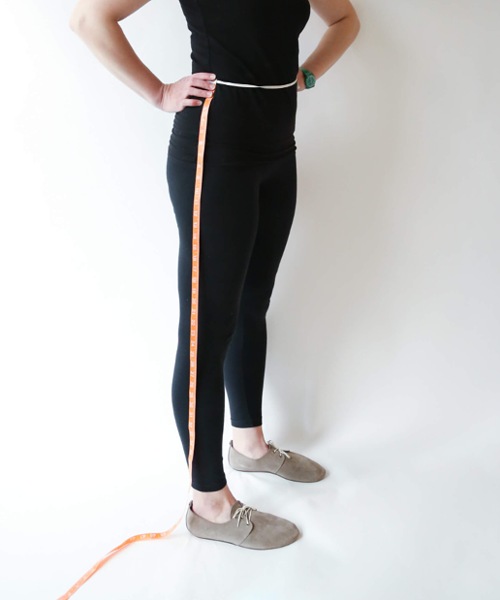
Start by taking your hip measurement, since this decides the width of your fabric. Divide your hip measurement by two. Then add about half of that again for comfortable overlap when the pants wrap closed.
For length, measure from your waist down to wherever you want the pants to end. Add 1.5 inches for hemming. You’ll also need to measure your crotch seam depth carefully. A 4- to 5-inch inward seam allowance is a good starting point.
Double-check this measurement, since an incorrectly marked crotch seam is one of the most common fit issues.
For your ties, plan on each one being longer than 60 inches once finished, so you have enough length to wrap around and tie comfortably. Cut your tie strips about 5 inches wide to allow for folding and sewing down to a finished width of around 2 inches.
Wrap Pants Sewing Pattern in 5 Easy Steps
Before you make that first cut, press your fabric smooth to remove any wrinkles; this makes your measuring and cutting much more accurate.
1. Cut the Pant Legs and Ties
Fold your fabric in half, then in half again, so you can cut both pant legs at the same time. The open edges will become your side seams, while the folded edge is where you’ll mark your crotch depth and other key points.
Mark your step depth in from the closed edge, then mark your length, adding that 1.5-inch hem allowance before you cut.
Once your legs are cut, separate them by cutting along the closed edge; you should end up with two large, matching pieces ready to sew. Cut your two tie strips separately, keeping their width at around 5 inches before folding.
2. Sew the Crotch Seam
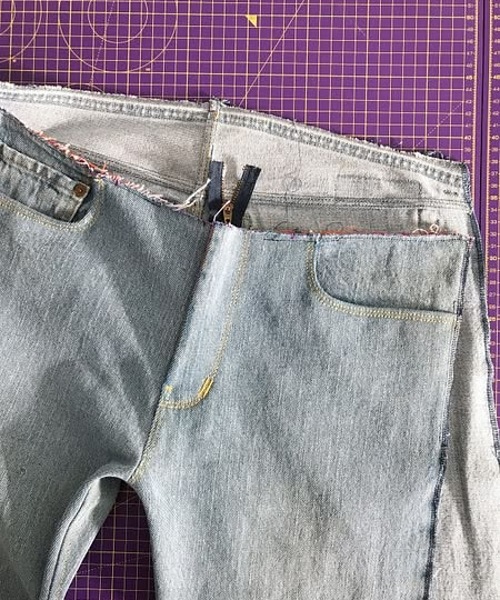
With the right sides of your two pant pieces facing each other, pin and sew along the crotch seam using a half-inch seam allowance. Try the pants on at this point to check your fit before moving any further. This is much easier to adjust now than after the ties are attached.
Quick Advice: Be patient while cutting. Use long, even scissor strokes rather than short, choppy snips, and keep the fabric flat against your table to avoid jagged edges.
3. Hem the Edges
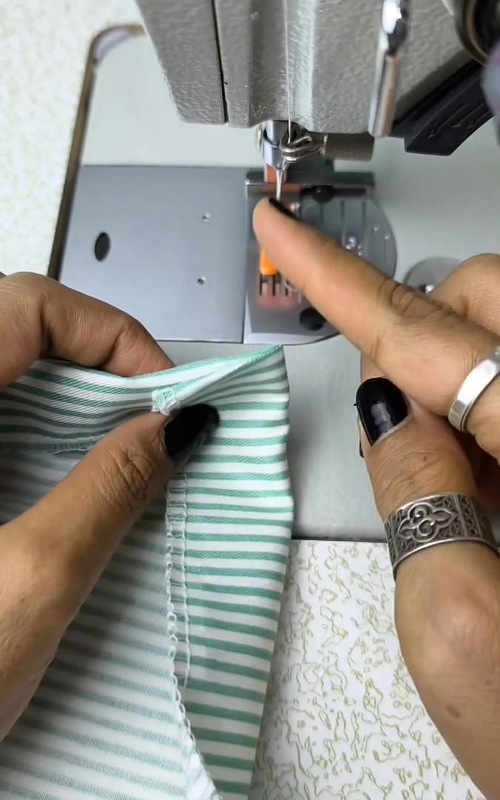
Hem the edges around the entire perimeter of the pants, including the waistline and pant legs, before attaching your ties. Press each hem flat as you go; a pressed hem looks noticeably neater than one left unpressed, so don’t skip this step even if you’re short on time.
4. Create and Attach the Ties
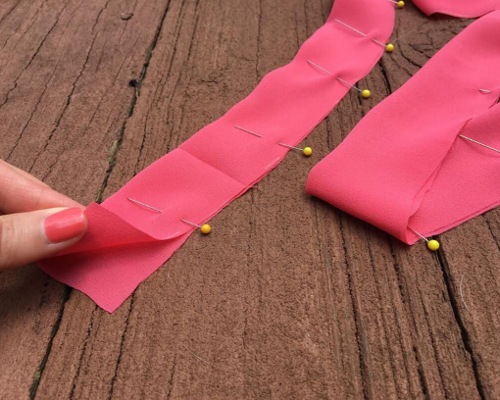
Fold your tie strips in half lengthwise with right sides facing together, then press the ends inward by about half an inch before sewing. This hides the raw edges inside the tie for a clean finish.
Unfold your pressed ties and mark their centers to help with alignment, then insert each tie at least half an inch into the waistline opening on either side. Pin them in place and sew a straight stitch close to the edge, finishing any remaining raw edges as you go.
5. Final Press and Wear
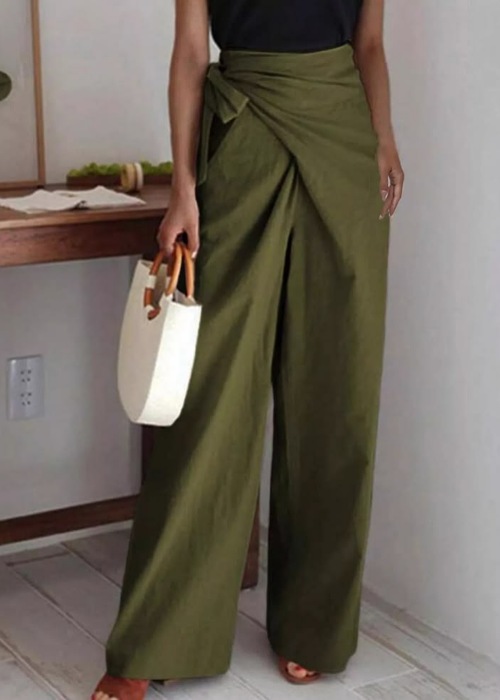
Give your finished pants a thorough press, paying extra attention to your ties and hems. Step into them, wrap the fabric around your waist, and tie the sashes into a bow to secure your fit.
Wrap Pants Mistakes to Avoid
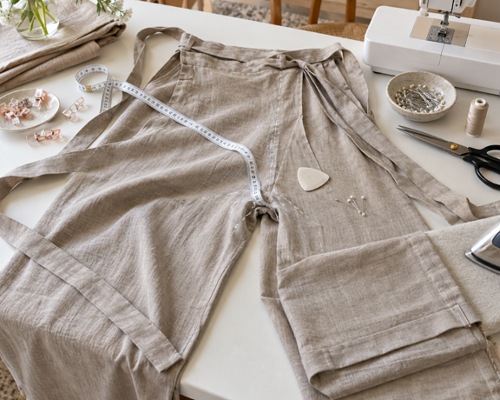
Don’t skip double-checking your crotch seam depth before you cut! This is the first thing to keep in mind. A seam marked too high or too low is hard to fix after the fact, and it’s the detail most likely to throw off your fit.
If you’re cutting your ties, don’t cut them too short. A tie shorter than 60 inches can end up frustratingly hard to knot comfortably once it’s sewn and folded down to its finished width.
Next, do press as you go rather than waiting until the very end. Unpressed hems and ties are one of the easiest ways to make an otherwise well-sewn pair of pants look unfinished.
Lastly, try the pants on after sewing the crotch seam, before you commit to hemming and attaching ties. It’s much simpler to adjust a seam at this stage than to unpick a finished waistline later.
Custom Wrap Pants Sewing Pattern Today
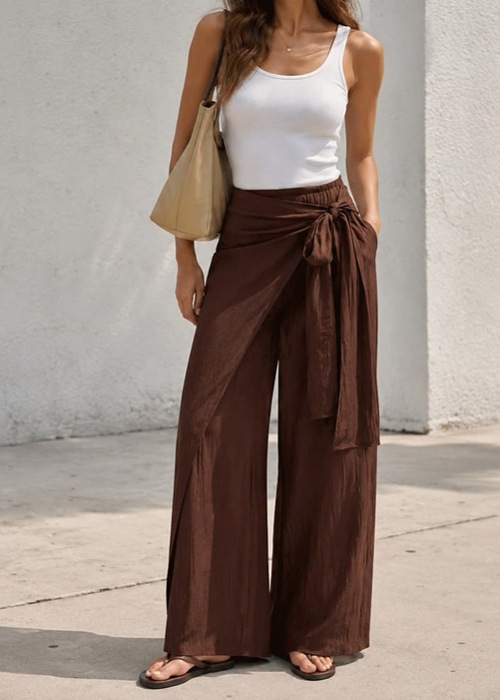
Now that you’ve completed your first wrap pants project, you’ve gone from a flat piece of fabric to a genuinely wearable garment, no fly, no zipper, no buttons required!
You’re ready to experiment with other fabric weights, tie styles, and lengths for your next project. After understanding the basics, when are you making your own pair? Don’t forget to share your experience with us in the comments!