
Want to make your own outfit? Learn how to sew a dress from scratch with beginner-friendly steps for choosing the fabric and everything.
Your first handmade dress probably won’t look like it came straight off a runway, and that’s completely fine. And the goal is to learn how the pieces fit together, practice your sewing skills, and end up with something you can put on. So, here is how to sew a dress from scratch.
Essentials You’ll Need
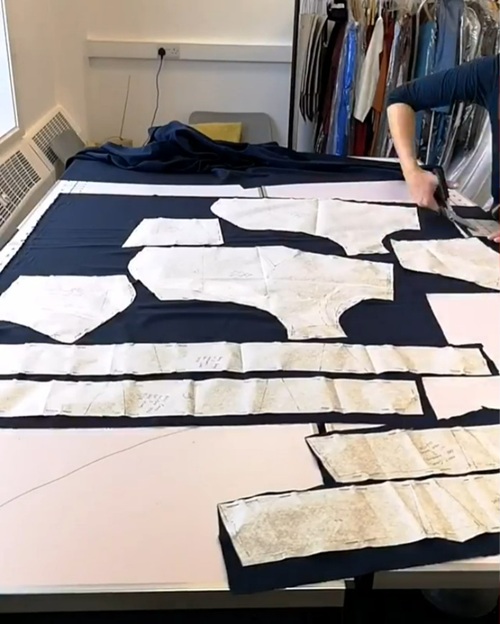
Start with a few basic sewing and drafting supplies. Keep pattern paper or dressmaker’s paper, a clear ruler and curve ruler, a measuring tape, and fabric scissors nearby. You’ll also need sewing thread, pins or clips, a seam ripper, a fabric marking tool, and an iron.
A curve ruler might seem unnecessary when you’re just starting, but you’ll be glad to have one. Necklines and armholes need smooth, rounded lines, and trying to draw those curves freehand can make them uneven.
Quick Advice: Keep a notebook or printed measurement sheet nearby as you work. Write down your measurements as you take them. It’s a small habit, but it saves you from having to measure yourself all over again halfway through drafting.
Where To Begin With
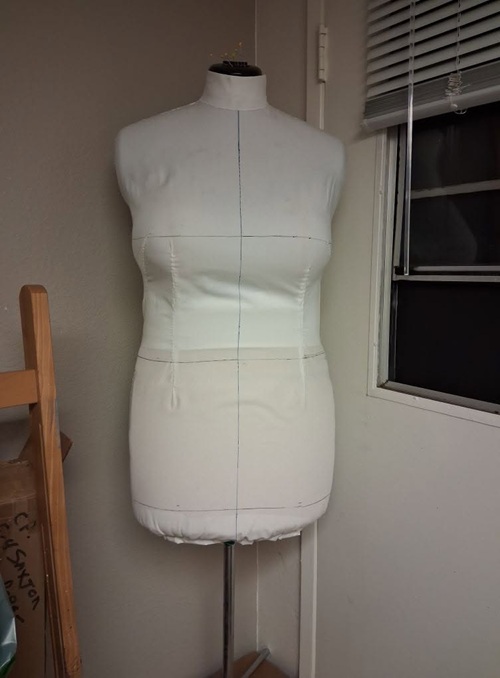
Your own body measurements are what decide how your dress will fit! So, before you touch any paper or fabric, take these measurements:
- your neck circumference,
- shoulder width,
- bust span,
- bust,
- waist and hip circumference,
- Your vertical measurements from shoulder to bust, waist, hip, and hem.
Stand straight while measuring, and ask someone to help you or use a mirror for the vertical points, since these are hard to get accurately on your own.
Beginner’s Tip: Take your measurements over the same undergarments and light clothing you plan to wear with the dress. Measuring over a bulky sweater one day and a T-shirt the next will throw off your whole pattern.
And here’s a small habit worth picking up early: Write down every measurement as soon as you take it. It’s easy to forget a number by the time you reach the paper.
How To Sew a Dress From Scratch
Here is the process that will eventually become a part of your normal workflow!
1. Draft the Front Bodice
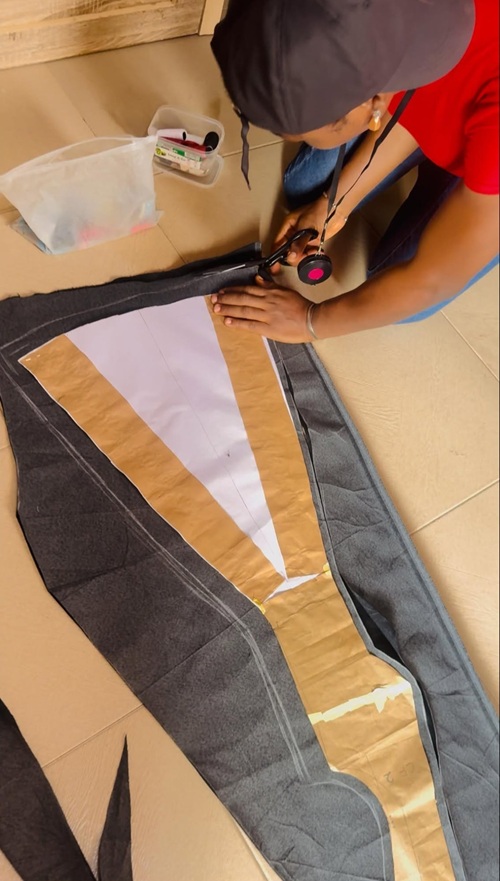
Start by drawing your vertical lines on pattern paper, marking neck depth, armhole depth, bust, waist, hip, and hem. Neck depth comes from your neck circumference divided by five, and armhole depth comes from your armhole circumference divided by two, plus about a centimeter for ease.
Next, work out your horizontal widths. Bust width is your bust circumference divided by four, plus around 1.5 cm for ease. And waist and hip width follow the same idea, with a little extra room built in for darts and movement.
Remember: Don’t calculate every measurement at once and hope it works out. Mark one line, check it against your body or a similar-fitting garment, and then move to the next.
2. Shape the Neckline, Armhole, and Darts
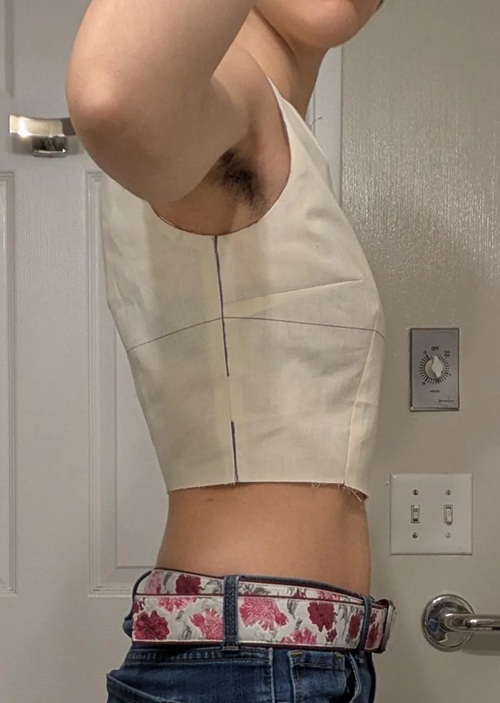
Use your curve ruler to shape the neckline and armhole into smooth curves instead of sharp corners. Mark a point a few centimeters in from the shoulder on the armhole line to help guide the curve.
Add a waist dart below the bust point and a bust dart angled toward it, since these are what turn a flat piece of paper into something that actually follows your shape. Keep the dart width even on both sides of the center line.
3. Draft the Back Bodice
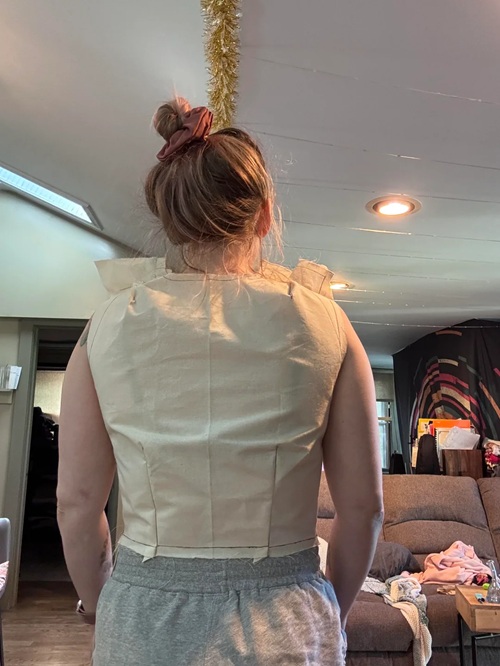
Trace your hip, waist, hem, and side seam lines from the front bodice onto a new sheet of paper, then adjust from there. Take a little width off the bust area on the back piece compared to the front, and raise the back shoulder line slightly to account for the natural curve of your back.
Draft the back neckline a bit lower than the shoulder point, and add a single, narrower dart near the center back for shaping.
4. Check and True Your Pattern
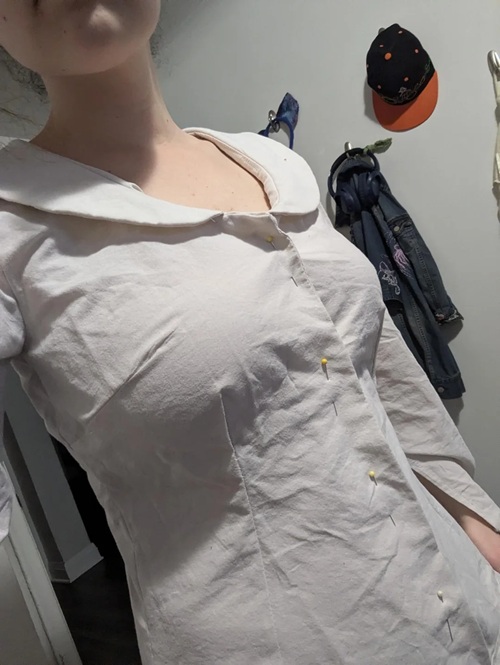
Fold the darts on your front pattern and lay it against the back pattern at the shoulder and side seams, checking that both sides match in length. Round off any sharp angles in the neckline or armhole so the curves flow smoothly once sewn.
This step feels slow, but it’s worth doing carefully. A mismatch here is much easier to fix on paper than after you’ve already cut your fabric.
5. Add the Skirt Pattern
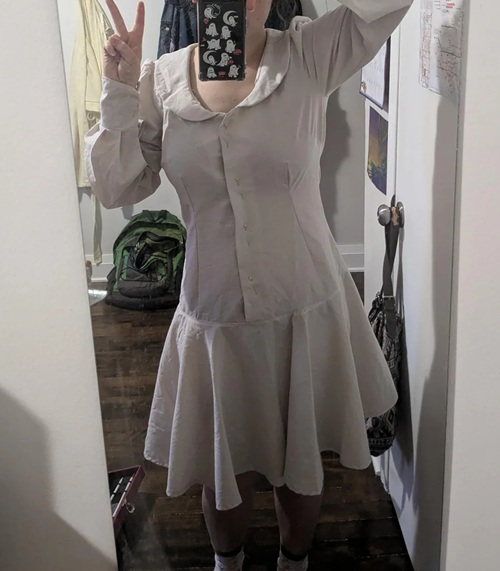
Decide on the shape you want, a straight skirt, an A-line, or something fuller, and draft it starting from your waist and hip measurements, extending down to your desired dress length. Match the waist width of the skirt piece to the bodice waist so the two will join together evenly.
6. Cut Your Fabric
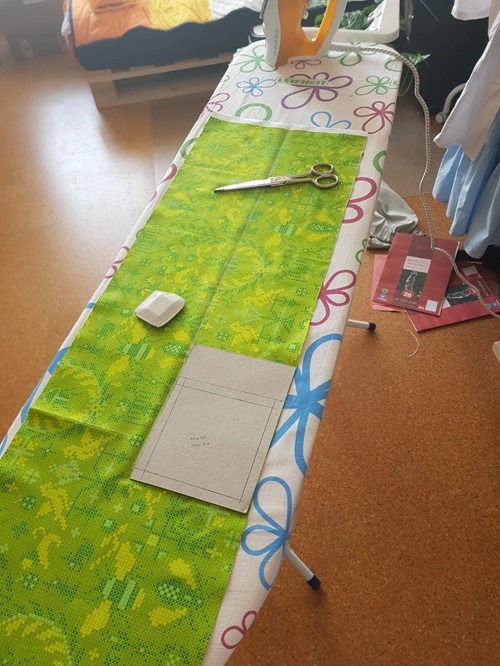
Press your fabric before cutting, since wrinkles can throw off your accuracy. Pin your pattern pieces onto the fabric, following the grainline markings, and cut carefully around each piece, leaving your seam allowance in place.
Don’t pull the fabric while cutting. Let your scissors do the work and keep the fabric flat on the table.
7. Sew the Bodice Together
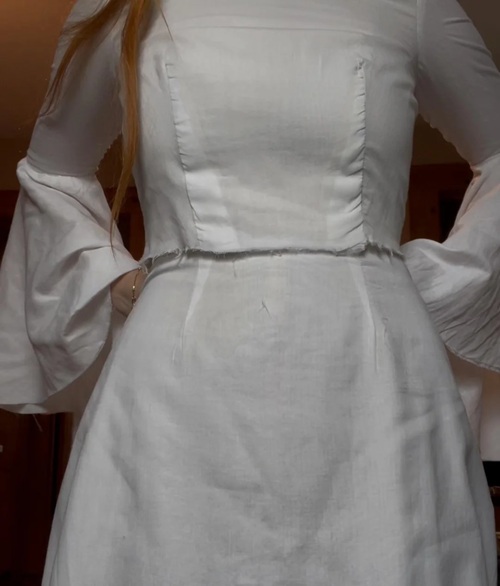
Pin the front and back bodice pieces together at the shoulders and side seams, right sides facing each other, and stitch a straight seam along each line. Press every seam open as you go, since this small habit makes a noticeably neater finish than pressing everything at the very end.
8. Attach the Skirt and Finish the Dress
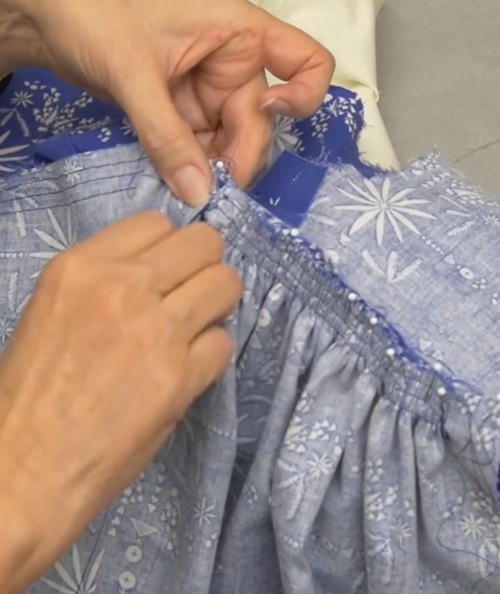
With the bodice complete, pin the skirt to the waistline of the bodice, matching side seams and any center markings, and stitch them together. Try the dress on at this stage if you can, so you can catch any fit issues before you move on to hemming.
Finish the raw edges of your seams so they don’t fray, then turn under and press your hem allowance, and stitch it in place by hand or machine. Give the whole dress a final press, and you’re done!
Hand Sewing for Dress Details
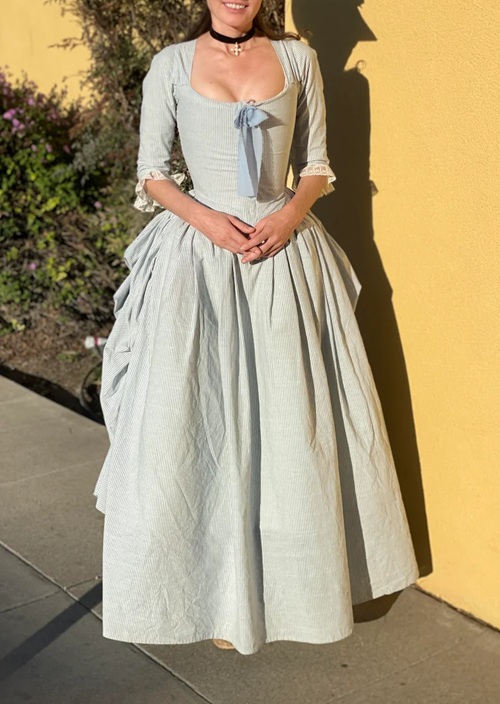
Hand sewing is worth learning even if you plan to make most of the dress on your machine. A few careful hand stitches are useful for closing up a lining, attaching a hook and eye, or finishing a hem so it stays invisible from the outside.
It’s also handy for the smaller fitting adjustments you might want to make once the dress is mostly together, where a hand stitch is easier to control than running the whole thing back through the machine.
So, there’s no need to choose one over the other; sew what you can by machine, and let hand stitching take care of the small, careful details.
Are you ready to start? Sewing a dress from scratch feels like a lot at first, but it becomes far less intimidating once you take it one step at a time. And always remember, your first dress doesn’t have to be perfect. You just have to start.
Next, we shall discuss how to alter clothes without a sewing machine!