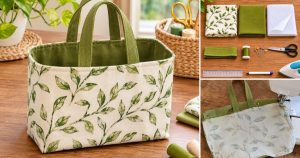

Are you looking for an easy guide to sewing a DIY quilted tote bag? Drop everything and read till the end; you’ll be glad you did!
You don’t need a boutique price tag to get that soft, textured, quilted look on a tote bag. In fact, you just need a few materials and a bit of patience, and this guide on sewing a DIY quilted tote bag is all about that! Have a read and follow along!
Why Quilting Takes a Little Practice
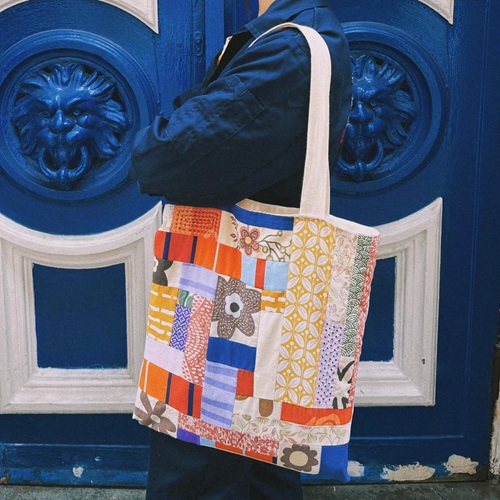
A quilted tote is really just a regular tote bag with one extra layer, quilt batting, sandwiched between your outer fabric and stitched down in a grid. That extra layer is what gives the bag its soft, puffy texture.
And the tricky part isn’t the sewing itself; it’s keeping that extra layer from shifting or bunching while you stitch your grid lines evenly across it.
Well, the good news is that you don’t have to be an expert to get a great result. With a marked grid to follow and a steady hand while quilting, you can get an even, boutique-style texture on your very first bag.
Choose the right fabric for your tote: A sturdy woven cotton or canvas works well for the outer fabric, since it holds up to the extra stitching, while a lighter cotton or poly-cotton blend is a comfortable choice for your lining.
Things You’ll Need to Sew a DIY Quilted Tote Bag
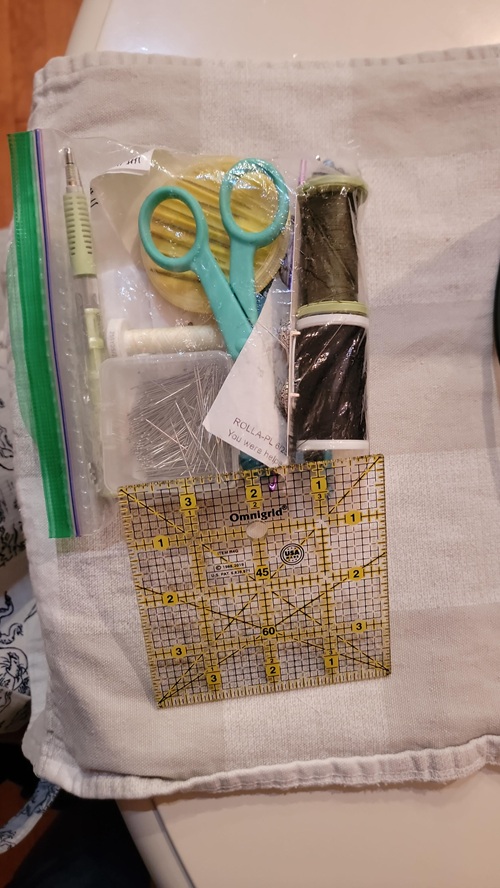
Start with a few essentials:
- outer fabric (sturdy cotton or canvas),
- lining fabric,
- medium-weight quilt batting,
- matching thread,
- fabric scissors,
- sewing pins or clips,
- a measuring tape or ruler,
- a heat-erasable fabric marking pen,
- an iron.
A heat-erasable pen might seem unnecessary when you’re just starting, since a regular fabric marker seems close enough. But as your quilting grid needs clean, evenly spaced lines, and a heat-erasable pen lets you mark with confidence and simply iron the lines away once you’re done.
One more thing: keep your batting pieces nearby before you start cutting fabric, so you can layer and cut everything to matching sizes without hunting for materials halfway through.
Where To Begin With
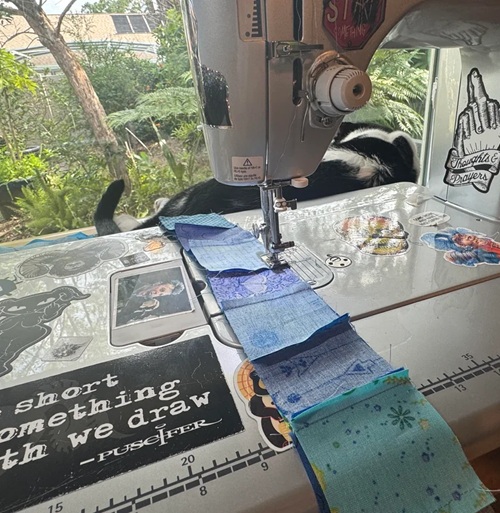
The bag’s finished dimensions are what decide how much fabric and batting you’ll need!
So, before you touch your scissors, work out these measurements:
- bag body width and height,
- corner cutout size for boxing,
- pocket width and placement,
- strap length and width.
For a roomy everyday tote, a bag body of about 17.7 inches wide by 15 inches tall works well, with a 1.5-inch square cut from each bottom corner. A pocket around 7 inches wide, positioned about 4 inches down from the top, and straps 24 inches long by 4.5 inches wide round out the rest of your pieces.
Beginner’s Tip: Fold your fabric in half before cutting so you can cut two matching layers at once, this keeps your outer fabric, lining, and batting pieces symmetrical without measuring everything twice.
And here’s a small habit worth picking up early: Write down your finished measurements before you cut anything. It’s easy to second-guess a number once you’re standing over the fabric with scissors in hand.
How to Sew a DIY Quilted Tote Bag Step-by-Step
Here is the process that will eventually become a part of your normal workflow!
1. Cut Your Fabric and Batting
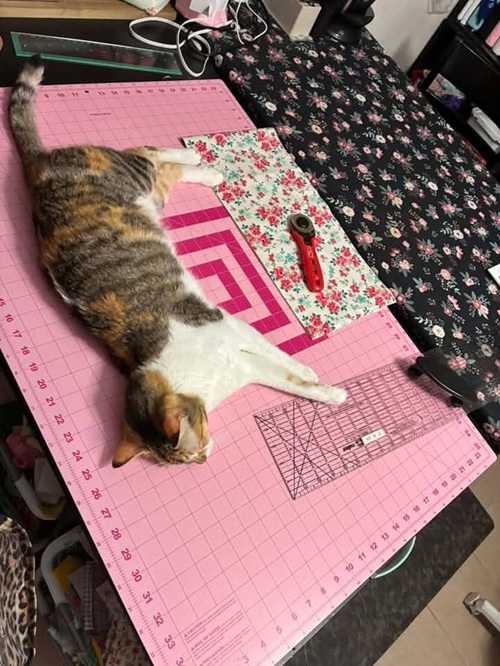
Cut two bag body pieces each from your outer fabric, lining, and batting, using your measurements and corner cutouts. Then cut your pocket piece and two strap pieces, along with matching batting for the straps.
Remember: Don’t rush the cutting stage. A slightly uneven pair of pieces here is much easier to fix now than after everything is quilted and sewn together.
2. Quilt the Outer Fabric
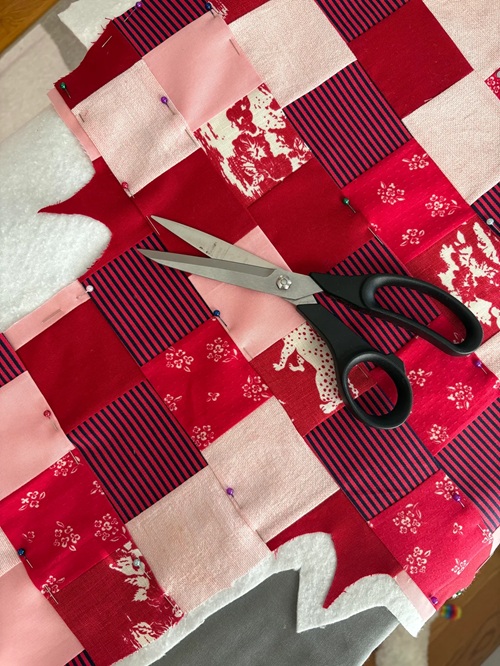
Layer each outer fabric piece over its batting, and use your heat-erasable pen to mark a grid of lines about 1 inch apart, running both vertically and horizontally. Stitch the diagonal lines first to anchor the fabric to the batting, then fill in the rest of your grid.
Quick Advice: Use sewing clips instead of pins while quilting. Pins can be harder to push through the extra layer of batting, and clips hold just as securely without the extra effort.
3. Attach the Pocket
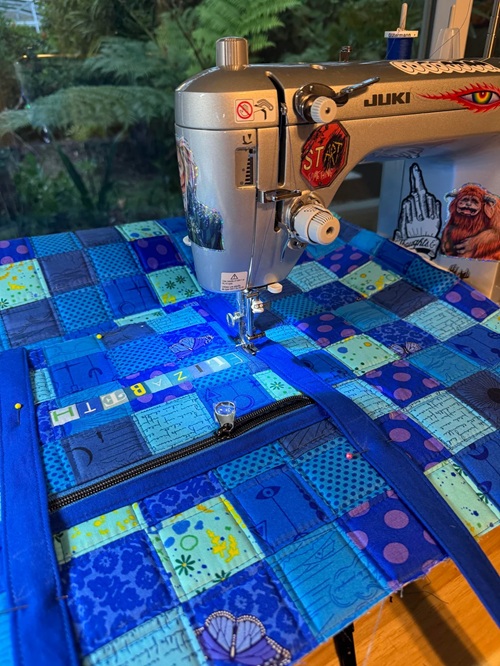
Fold the raw edges of your pocket piece under by about half an inch and press. Pin it centered onto your bag piece, and sew two parallel rows of stitching around the sides and bottom, one close to the edge and a second about a quarter inch inside it, for extra strength.
4. Sew the Bag Body and Box the Corners
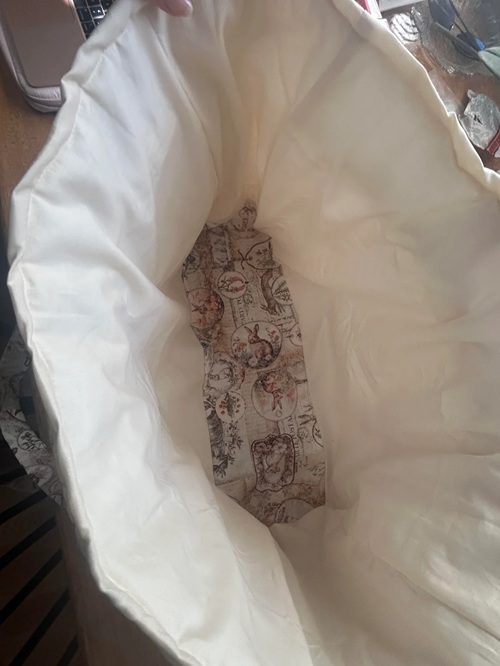
With right sides together, pin and sew the sides and bottom of your outer pieces, leaving the corner cutouts open, then repeat with your lining, leaving a 4 to 5-inch gap unsewn at the bottom for turning later.
To box each corner, pull it open so the side and bottom seams line up in the middle, then sew a straight line across the cutout. Repeat on all four corners, both outer and lining, for a flat, structured base.
5. Construct the Quilted Straps
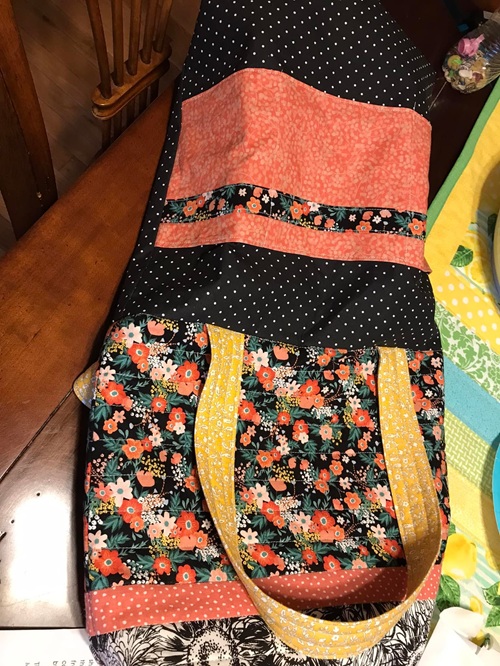
Layer your strap batting between the fabric pieces, fold the long edges in by about half an inch and press, then fold the whole strap in half lengthwise. Pin the open edge shut and sew down both long edges for a sturdy, finished strap.
6. Attach the Straps and Assemble the Lining
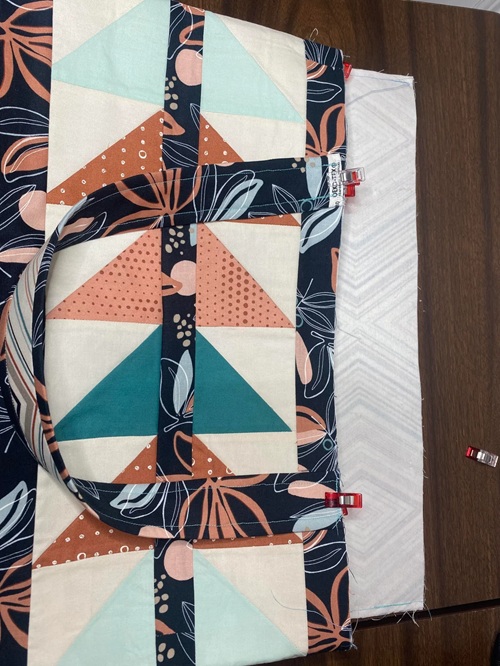
Turn your lining right side out and insert it into your outer bag, which should still be wrong side out. Pin your straps about 3 inches in from each side seam, sandwiched between the layers with the raw ends aligned to the top opening, then pin all the way around and sew, catching the straps securely in the seam.
7. Turn and Finish Your DIY Quilted Tote Bag
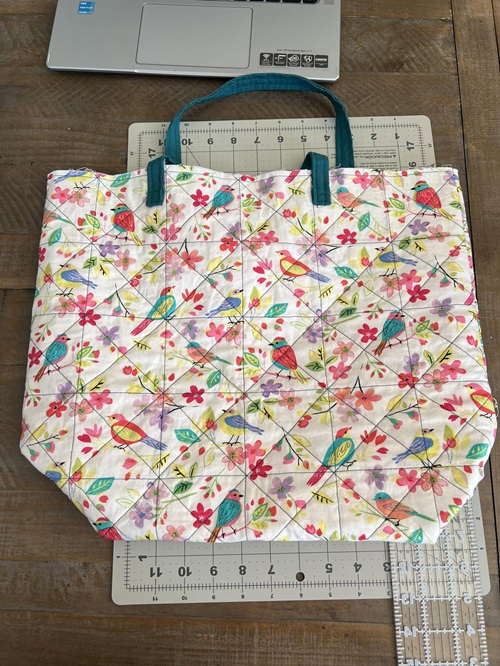
Reach through the opening left in your lining and pull the whole bag right side out, then push the lining down into the bag for a neat interior finish. Press the top edge flat, topstitch around the opening to lock the straps in place, and sew the lining’s opening closed by hand or machine.
Bonus: Want a Diamond Pattern Instead? Try This
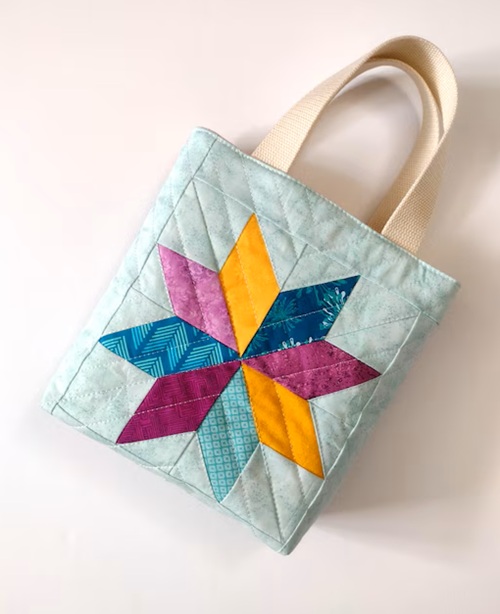
If a straight grid feels a little plain, try quilting your lines on the diagonal instead, running them corner to corner in both directions to create a diamond pattern rather than a checkerboard.
The stitching process is exactly the same, just tilt your marked lines 45 degrees before you start sewing. A diamond pattern tends to look a little more elegant, while a straight grid feels more casual and everyday.
What Is a Boxed Corner, Exactly
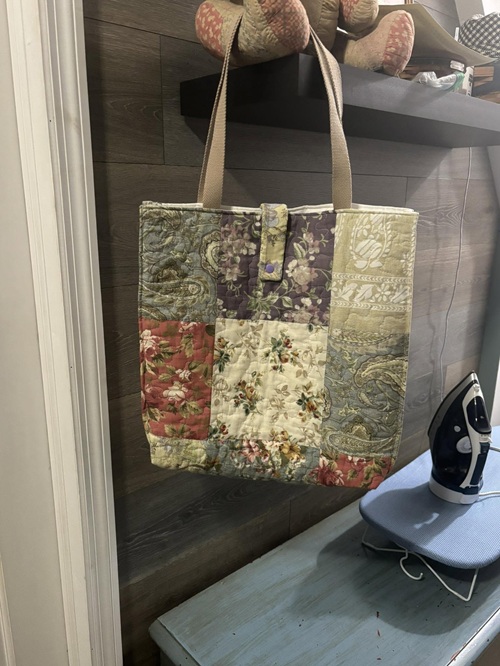
A boxed corner is what gives a flat-bottomed bag its actual depth, instead of leaving it looking like a flat pouch. This is simple: by cutting a small square out of each bottom corner and sewing straight across that opening once the sides are seamed, you fold the bag’s base into a defined rectangle rather than a pinched point.
Interested in learning about it in the next tutorial? Leave us a comment if you do!
Few Quilted Tote Bag Mistakes to Avoid
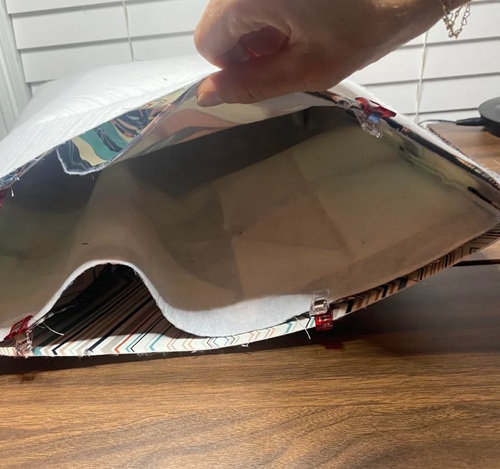
Don’t skip stitching your diagonal lines first! This is the first thing to keep in mind. Without that anchor stitching, your batting can shift out of place before you finish the rest of your grid.
If you’re pressing over a quilted section, use a lower iron setting instead of your usual heat. Synthetic batting can flatten or melt under too much direct heat, undoing all your quilting texture.
Next, do use clips instead of pins while working through the extra batting layer. Forcing pins through thick, padded fabric is a quick way to end up with bent pins and uneven layers.
Lastly, don’t skip backstitching at your boxed corners. That’s where your bag takes the most stress once it’s loaded up and being carried around.
Sewing a quilted tote bag isn’t complicated; it just rewards a little patience. And we think you’re just on the right path now! Stay tuned for more helpful lessons like these and check out this beginner’s guide on how to start sewing.
Next, we shall discuss how to add a ribbon or button closure to your finished tote!