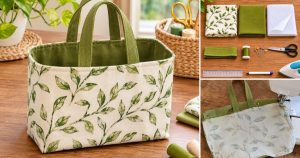

Use this guide to sew your own DIY fabric belt bag that comes with a zipper. These simple steps are perfect for beginners!
You may feel overwhelmed at first by all the information online. Just remember, you don’t need to read everything, only what will actually help you! Here’s everything you need to learn if you’re looking for an answer to how to sew a DIY fabric belt bag.
Why a Fabric Belt Bag Takes a Little Practice
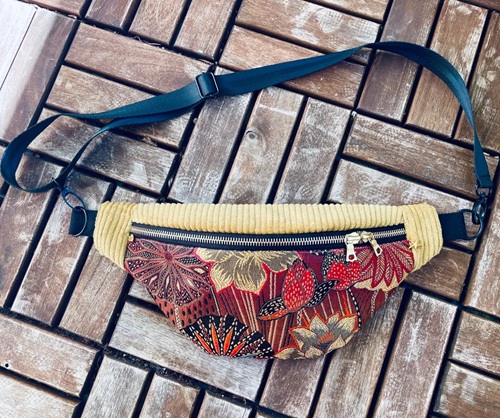
A belt bag is really just two pieces of fabric sewn around a belt. It usually comes with one or two pockets built into the front for your everyday essentials. That part is simple enough!
The tricky part is usually the zipper pocket. It involves cutting a small rectangular opening straight into your fabric! Then folding the raw edges back cleanly around the zipper. It looks intimidating at first, but it’s really just a handful of careful, repeatable steps.
You don’t have to be an expert to get a great result. With a steady hand while cutting your zipper opening and a sewing machine to handle the seams, you can end up with a sturdy, wearable bag on your very first try.
Choose the right materials for your bag: A D-ring belt or a length of webbing with hardware works well as your strap. Plus, a medium-weight woven fabric, roughly 50 by 15 inches for the base, will hold its shape nicely without needing extra stabilizer.
What You’ll Need to Sew a DIY Fabric Belt Bag
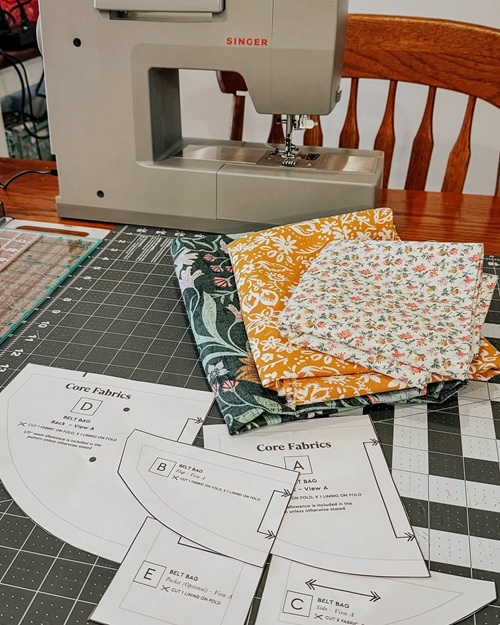
This project works best with a sewing machine. Hand stitching isn’t really feasible for the zipper pocket and the multiple fabric layers involved.
Here are some basic supplies to begin with:
- D-ring belt or belt hardware,
- base fabric,
- lighter-weight fabric for the pocket lining,
- 5-inch or 8-inch zipper depending on your version,
- small length of elastic,
- two snaps or a button,
- matching thread, and
- sewing pins or clips.
Pick a sturdy, medium-weight woven fabric for your base. It holds a seam well and gives your pockets enough structure to stay upright.
Wondering how to choose your closure? A snap is quick to install if you have a snap press. While a button and buttonhole are just as secure and don’t need any special hardware, just a buttonhole foot on your machine.
Avoid very thin or stretchy fabrics for your base, at least for your first bag. They can make your zipper pocket harder to control.
Prepare the Fabric Before Sewing
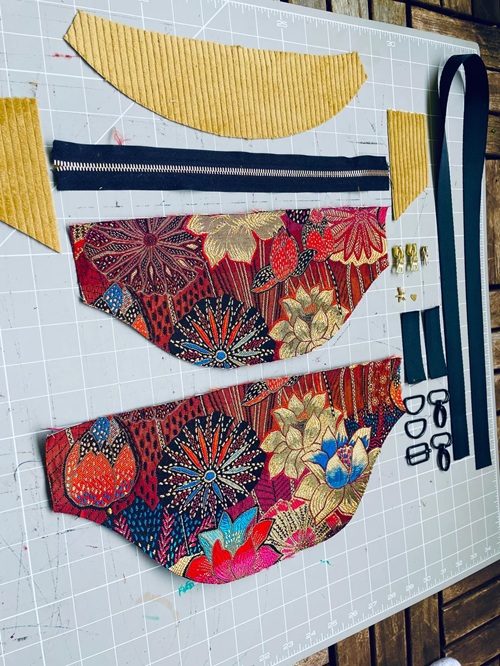
Cut two base pieces for the front and back of your bag, along with your pocket pieces. If your pattern includes an asymmetrical pocket, pay close attention to which way you’re cutting it, since it needs to face the correct direction depending on whether you’ll wear the bag on your right or left side.
Finish your raw edges with a serger if you have one, since it keeps everything from fraying as you handle the pieces. A zigzag stitch works nearly as well if you don’t have a serger.
Quick Advice: At this stage, don’t worry about getting every single edge perfectly finished. Focus on your main base and pocket pieces first, and clean up smaller trims as you go.
How to Sew a DIY Fabric Belt Bag Step-by-Step
The main idea here is to build your bag in layers: pockets and closures first, then the base, and the belt last.
1. Assemble Your Main Pocket
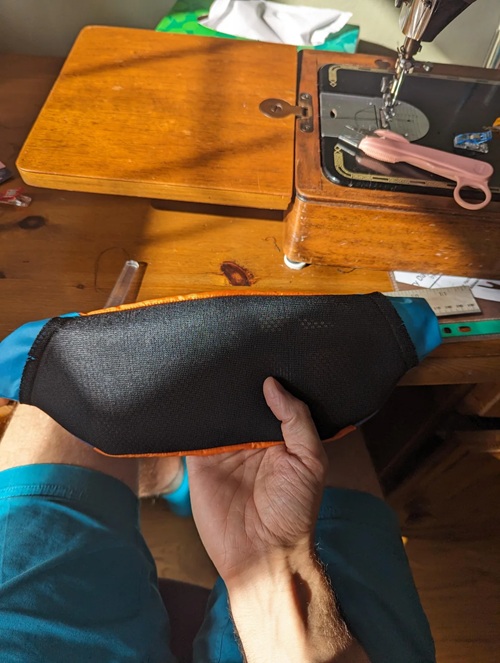
Fold your pocket pieces in half to find their center points. Then align the straight edge of the pocket with the bottom of the bag and the curved edge with the pocket’s opening.
Pin from the center points outward along the curve. Do it before sewing, trimming, and re-finishing any excess fabric if the curve doesn’t lie flat.
2. Install the Zipper Pocket
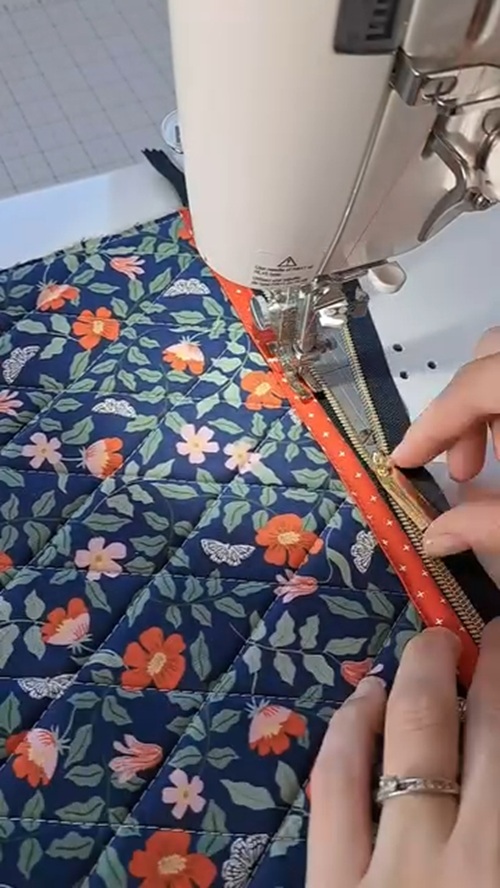
Mark a long rectangle on your fabric with small triangle shapes at each end and a line connecting the triangle points down the center, then repeat the same marking on your pocket lining piece. Pin the two pieces together and sew around the perimeter of the rectangle.
Cut along your center line and diagonally out to each corner to open up the hole, then fold the edges inward and stitch close to the edge. Position your zipper underneath the opening, pin it in place, and topstitch around it to secure it.
Note: Keep your zipper away from the very end of your fabric piece when you position it, this gives you enough room to fold and sew the pocket lining closed afterward.
3. Add Your Closure
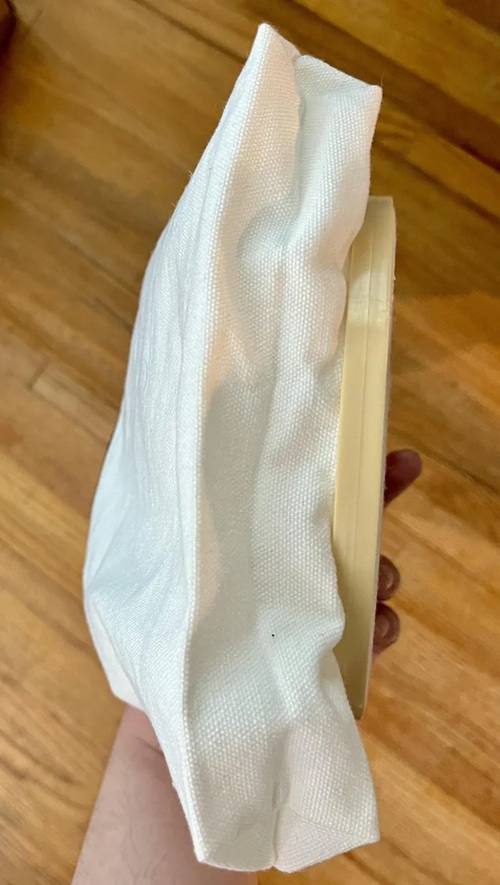
If you’re using a snap, mark the center point on both the flap and the pocket by pinning through both layers so they line up. Use a seam ripper to make a small hole at each mark, then press your cap, stud, socket, and post pieces into place with a snap press.
If you’d rather use a button, install a buttonhole foot on your machine and mark your buttonhole diameter to match your chosen button. Sew the buttonhole following your machine’s built-in sequence, backstitching at the end, then carefully open the center with a seam ripper.
Do mark where the button should sit and sew it in place with a mix of straight and zigzag stitches.
4. Attach Additional Pockets and Elastic
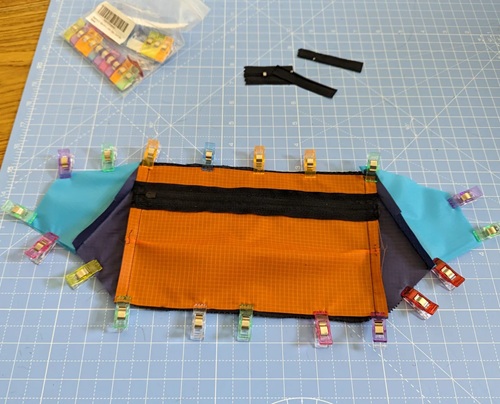
Fold the edges of any extra pockets inward and pin them to your marked placement, then secure with a straight stitch along the sides and bottom. Topstitch along the top fold of each pocket for a clean, finished edge.
If you’d like a small elastic section for pens or brushes, attach a short length of elastic about an inch above your pocket by folding the ends under and stitching them down, then sew a few straight lines across the elastic to divide it into smaller sections.
5. Sew the Base Pieces Together
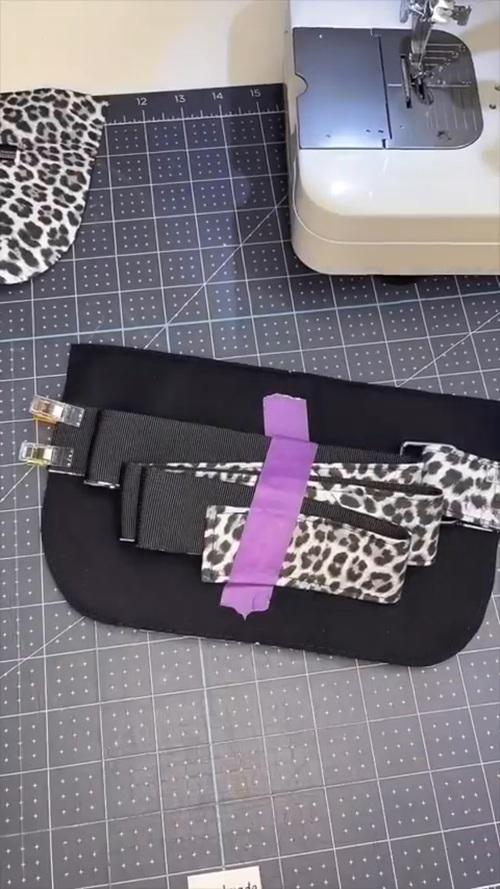
With your pockets and closures finished, sew your two flat base pieces together, leaving the top open for now.
6. Insert the Belt and Finish
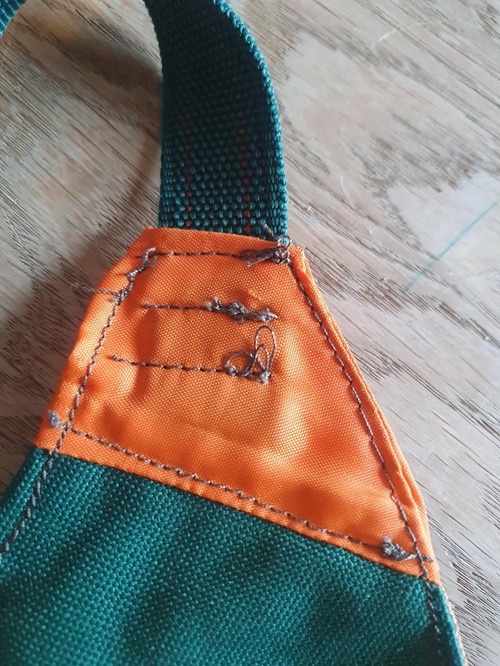
Place your second base piece face down over your finished assembly and pin the top edge. Slide the ends of your belt between the fabric layers, pinning them along the top and sides, and leave a small section open at the bottom for turning the bag right side out later.
Sew around the top and sides, pivoting carefully at the belt ends to accommodate the extra thickness, then turn the whole bag right side out through your opening.
Finish with a topstitch around the entire perimeter to flatten the bag, close up your opening, and give the whole thing a final press with your iron.
Bonus: Want Extra Storage? Try This
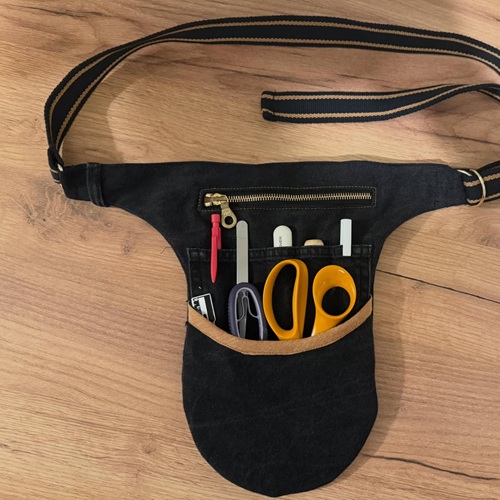
Once you’ve got the basic bag down, you can add on a few extra features, a small pencil holder, a card holder, or even a D-ring attachment for keys, all built the same way as your main pockets: fold the edges inward, stitch them down, and topstitch for a clean finish.
Just remember that more pockets mean more layers to sew through at the final assembly stage, so keep that in mind if you’re adding several at once.
Few DIY Fabric Belt Bag Mistakes to Avoid
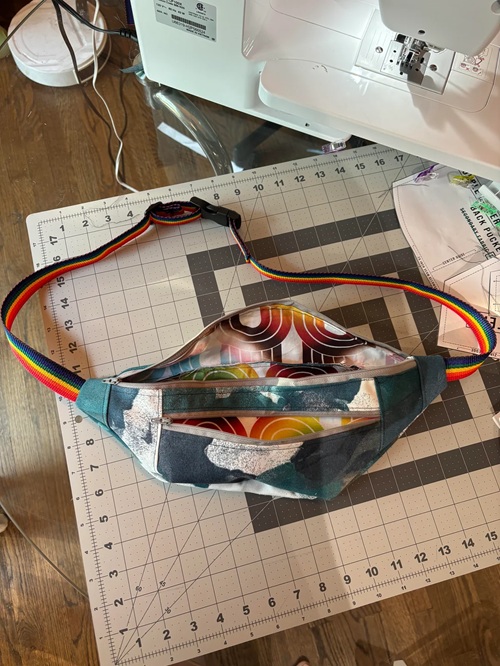
- As beginners, people tend to rush the zipper pocket cutting step, snipping too close to their stitch line and fraying the opening. Take it slow, and cut right up to your corner points without going past them.
- Check pocket orientation before cutting, especially with an asymmetrical piece. Double-check which side you want the bag to sit on before your scissors touch the fabric.
- Leave enough room on either side of your zipper so you can fold and finish the pocket lining cleanly afterward.
- To fix a snagged zipper pocket or an uneven topstitch, a seam ripper is your best friend here! Carefully unpick the stitches and try again, there’s no shame in a second attempt.
Sewing a belt bag by machine may feel tricky at first, especially around that zipper pocket. But once you understand the steps, it gets much easier with practice. So gather your materials, take your time, and don’t worry if your first bag isn’t perfect.
You will get it right on your next try for sure!