
Here is how to sew velvet the right way, with steps that every beginner will love to know before starting!
Velvet may look luxurious, but it can be a little tricky to sew. Its soft pile can shift, seams can pucker, and pressing it the wrong way can flatten that beautiful texture. Here’s how to sew velvet without losing your patience!
Why Is Velvet Tricky to Sew
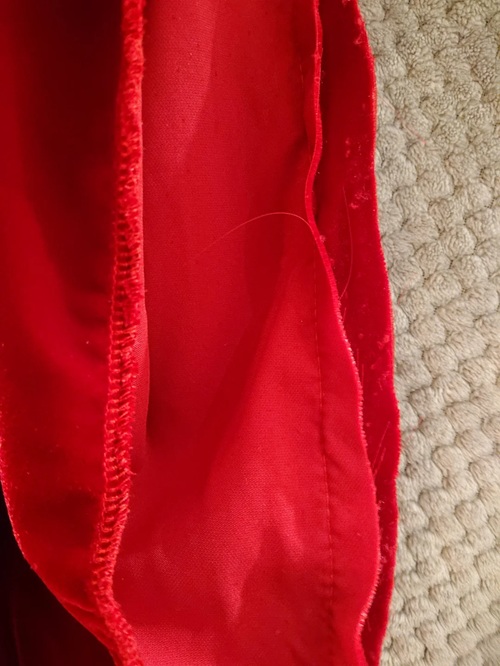
Velvet has a short, dense pile that gives it that soft, royal finish. The same pile, however, can make the fabric shift as you cut and sew, while its nap means every pattern piece needs to face the same direction.
The good news? You don’t have to be an expert to sew velvet. With the right preparation, a little extra support while cutting and stitching, and careful pressing, you can keep the fabric under control and protect its soft texture.
Is Velvet Suitable for Beginners? Yes, beginners can absolutely sew it! Just start with a stable, medium-weight velvet and a simple pattern. Let’s find more details below!
Tools You’ll Need to Sew Velvet
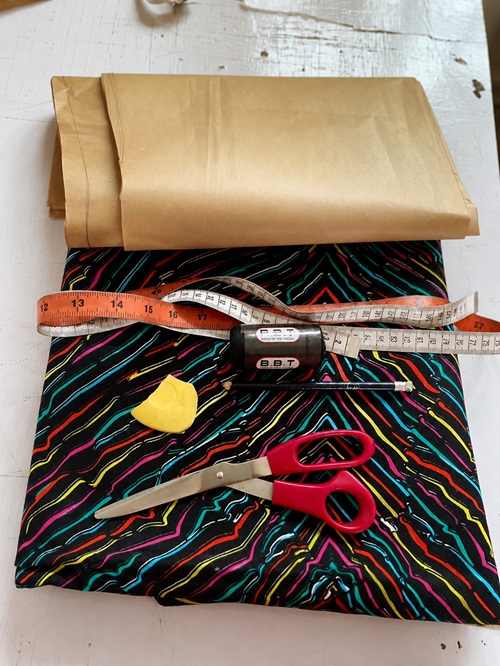
A few supplies like a Microtex or sharp Universal needle, good-quality thread, sharp fabric scissors, plenty of pins or fabric glue, a steam iron, and a spare sheet or paper to stabilize your cutting surface. You can keep a walking foot nearby too; it comes in handy!
Next, pick your needle and thread based on the fabric weight. A No. 10 needle works well for velvet with a thin backing, while a No. 12 suits a thicker one, and either a Universal or Microtex needle will do the job.
Pair it with polyester thread for a bit of stretch, or a good-quality cotton or silk thread if you prefer.
Quick Advice: Always cut a test swatch first and sew a sample seam, since velvet behaves differently from machine to machine, and it’s better to find that out on scrap fabric than on your actual project.
How to Sew with Velvet Step by Step
1. Find the Nap Direction
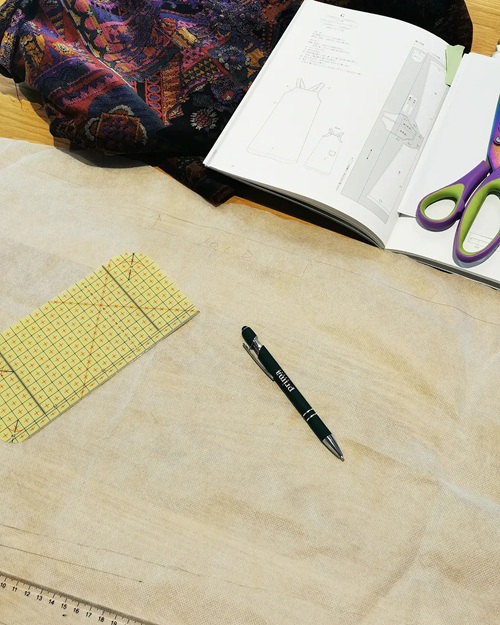
Before anything else, run your hand over the fabric. In the direction of the nap (direction in which the tiny fibers or raised surface of a fabric naturally lies; you can think of it like brushing a carpet!).
When you run your hand one way, it feels smooth and looks lighter; run it the opposite way, and it may feel rougher and look darker.
Decide which direction you like best, then mark it on the back of every pattern piece with an arrow so you stay consistent.
Quick Advice: Once you’ve decided which way the nap should run, place a piece of masking tape or a chalk arrow on the wrong side of each pattern piece. This makes it much harder to accidentally turn one piece around while cutting.
2. Cut Velvet with Care
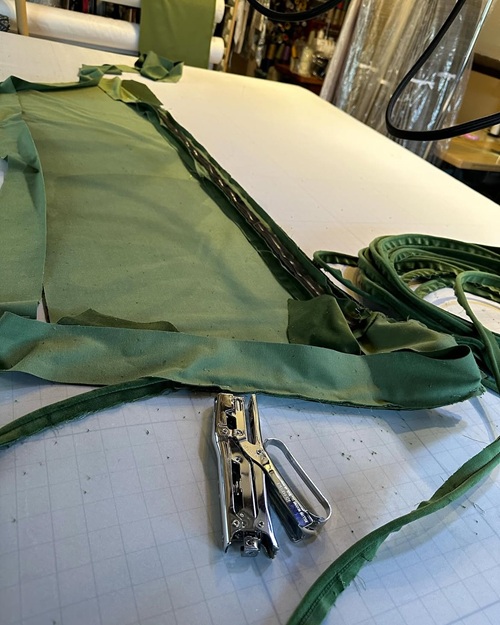
Lay the velvet on a smooth, sturdy surface, and avoid stacking more layers than necessary! You can lay it with paper or a spare sheet underneath to keep it from shifting, and pin your pattern through both layers.
Cut each piece in a single layer whenever possible. This gives you better control over the nap and helps prevent the fabric from shifting between layers.
Place your pattern pieces with the nap running in the same direction, and use sharp scissors for clean cuts. Mark the wrong side of the fabric with chalk or a suitable fabric marker rather than trying to mark the pile!
3. Keep the Seams From Shifting
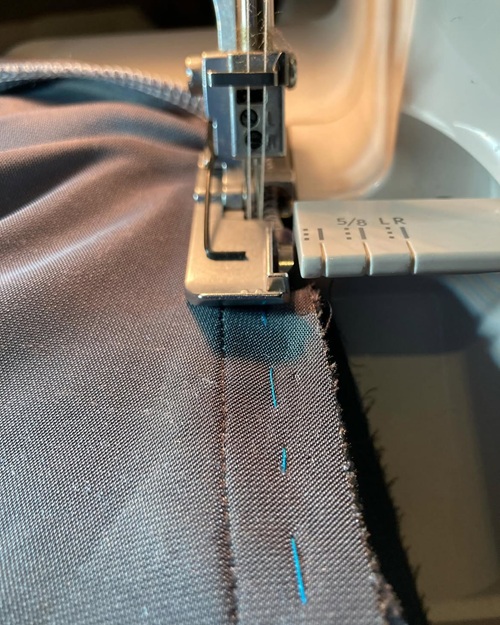
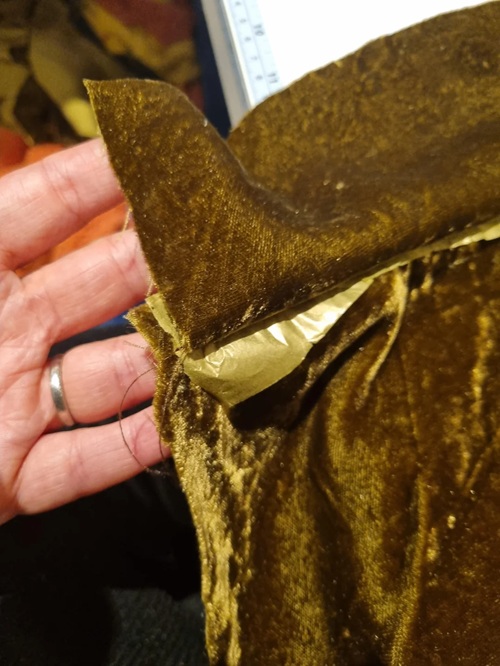
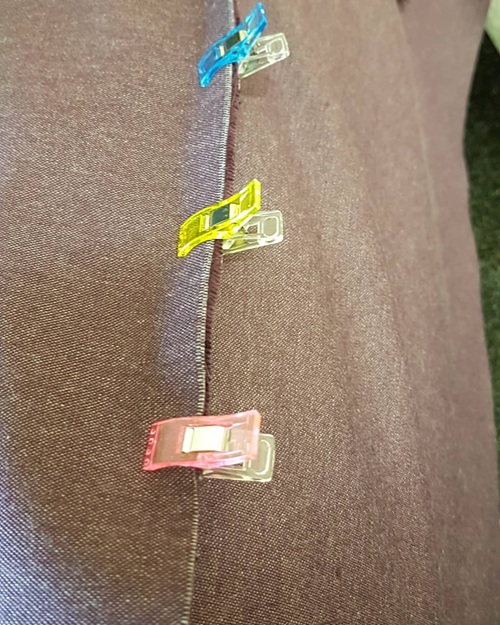
Velvet can move around while you’re sewing, so give the layers a little extra support. Pin generously, use sewing clips, or hand-baste the seam first if you have the time.
If the layers keep shifting, place a strip of lightweight tissue paper between them as you sew. The paper gives the fabric something stable to move against and can help stop the velvet from creeping. Once you’re finished, gently tear it away.
A light coat of temporary fabric adhesive can also help hold layers in place, but always test it on a scrap first.
4. Sew Slowly and Let the Machine Feed the Fabric
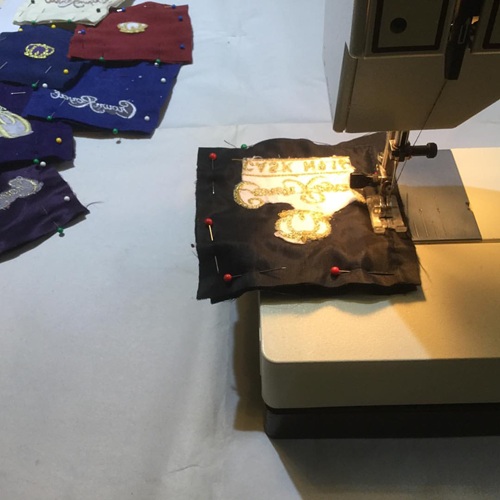
Use a standard straight stitch and start with a stitch length around 2.5 to 3 mm, adjusting it after testing on scrap fabric.
If your machine allows it, reducing the presser-foot pressure or using a walking foot can help the layers feed more evenly.
Caution: Don’t pull or push the velvet as you sew. Let the machine feed the fabric while you gently guide it. Pulling the fabric can stretch the layers against the zipper or seam and leave you with puckering or uneven stitching.
If puckering appears, stop and test your settings on scrap fabric first. Try adjusting the stitch length or presser-foot pressure before making larger tension changes.
5. Press Without Crushing the Pile
Velvet needs a little more care than ordinary cotton when it comes to pressing. Avoid pressing directly on the pile. Instead, test your iron settings on a scrap first and work from the wrong side using steam carefully.
Place the velvet over a soft towel or velvet needle board so the pile has somewhere to settle instead of being flattened against a hard ironing board. Lift and press rather than aggressively sliding the iron across the fabric.
6. Finish the Edges and Hem
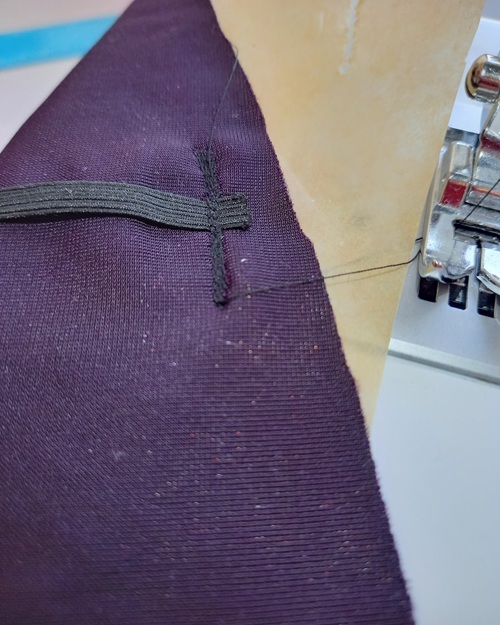
Finish the raw edges with a serger if you have one, or use a suitable zigzag stitch if you don’t. And keep the finish as neat and lightweight as possible, since too much bulk can be noticeable in velvet.
Again, for hems, test your chosen finish on a scrap first. A hand-sewn catch stitch or blind hem can give garments a clean finish without leaving obvious stitching on the outside.
Few Velvet Sewing Mistakes To Avoid
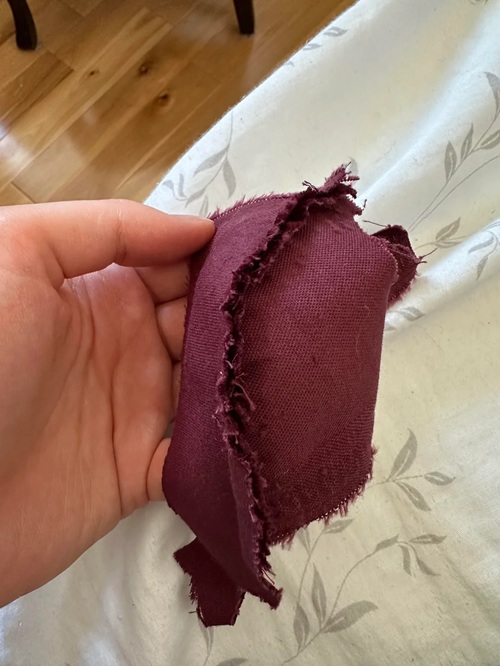
Don’t skip the test swatch! This is the first thing to keep in mind. And yes, a quick test seam on scrap fabric tells you your stitch length, tension, and pressing. Do all this work before you touch the real project.
If you’re choosing a pattern, keep it simple. Velvet is bulkier than most fabrics. Too many seams, darts, or details add unwanted bulk and make pressing harder.
Next, do watch your nap direction. Sleeves cut with the pile running in different directions will catch the light differently and look mismatched side by side!
Lastly, give the fabric room to move on its own. Pulling or stretching velvet as you sew is one of the fastest ways to end up with puckered, uneven seams.
Sewing with velvet isn’t complicated; it just rewards a little patience. And we think you are just on the right path now! Stay tuned for more helpful lessons like these and check out this beginner’s guide on how to start sewing.