
Learn how to sew a wrap top with easy steps. Furthermore, include a stylish, versatile addition to your wardrobe today.
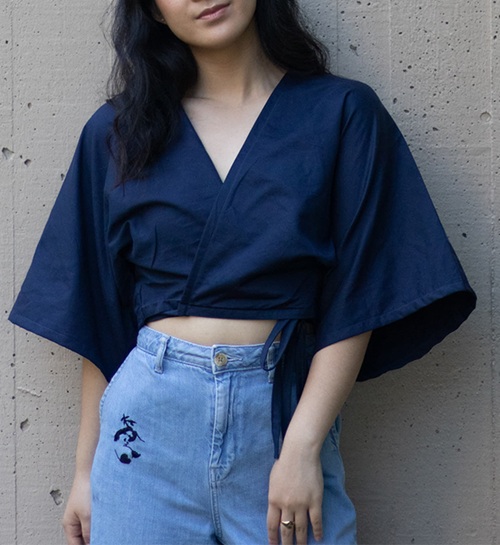
If you’re still getting comfortable with your sewing machine, this is a lovely project to try. You’ll practice measuring, cutting, sewing seams, finishing edges, and adding simple ties, all while making something you can wear. Let’s get started with how to sew a wrap top for beginners!
Fabric and Essential Tools You’ll Need
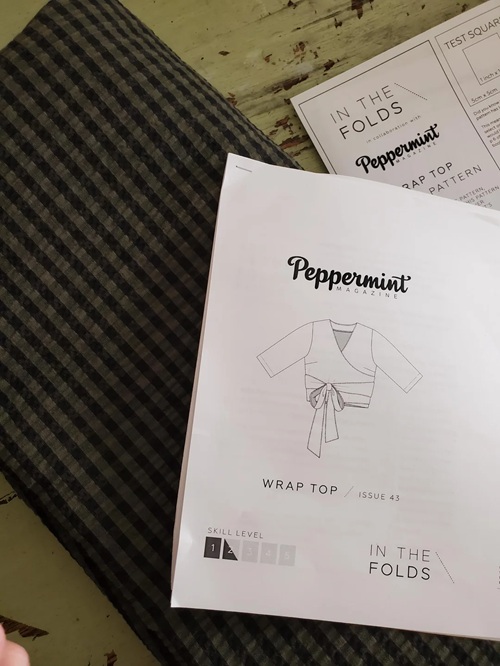
To begin, pick a fabric that’s easy to handle, like woven cotton, linen, or lightweight chambray because they all lay flat, don’t slip while getting cut, and press beautifully with an iron!
Skip slippery silks or stretchy knits for your first project.
You’ll need about 1.5 to 2 metres of fabric (it’s advised to check your specific pattern requirements beforehand).
Now, you need to assemble your essential sewing toolkit to make the process smooth.
Pick a reliable sewing machine threaded with matching all-purpose polyester thread, sharp fabric shears, and a pack of pins or sewing clips to hold your pieces together.
Then a fabric marker or tailor’s chalk is essential for transferring your pattern lines, and a flexible measuring tape to ensure accuracy.
Keep an iron and ironing board handy as you might need to press your seams flat after every step (it’s the secret to a professional-looking finish!)
Measurements and Drafts You’ll Need
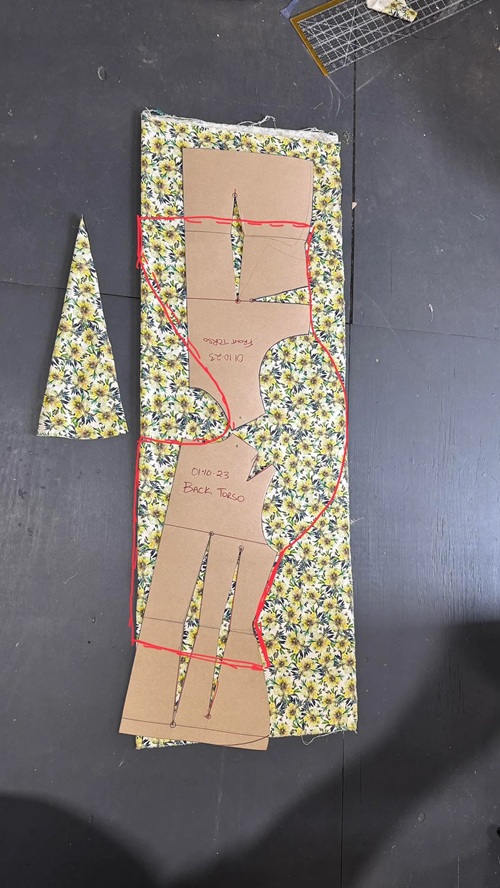
Start by taking accurate body measurements with a measuring tape. Stand comfortably. Measure around the fullest part of your bust.
Measure your waist’s narrowest part and the length from your shoulder to the top edge. Add 3 to 5 centimetres of extra breathing room to your bust and waist measurements. Then divide these adjusted measurements by four to calculate your pattern grid.
Now that your numbers are ready, draft the pattern onto large paper. Draft directly onto the back of your fabric with chalk.
Draw three main pieces. One back panel and two identical front panels. These panels feature a diagonal angle from the shoulder to the opposite waistline for the classic wrap crossover.
Keep an extra 1.5 centimetres around all the edges for your seam allowance; it will give you borders you need to sew the pieces together without shrinking the final size of your top!
How to Sew a Wrap Top for Beginners
Before you make that cut, prep your fabric by washing, drying, and thoroughly ironing it to remove any wrinkles and pre-shrink the material. Fold your fabric in half length (aligning the finished edges), and lay it completely flat on a large table or the floor.
1. Cut the Bodice, Sleeves, and Tie Sashes
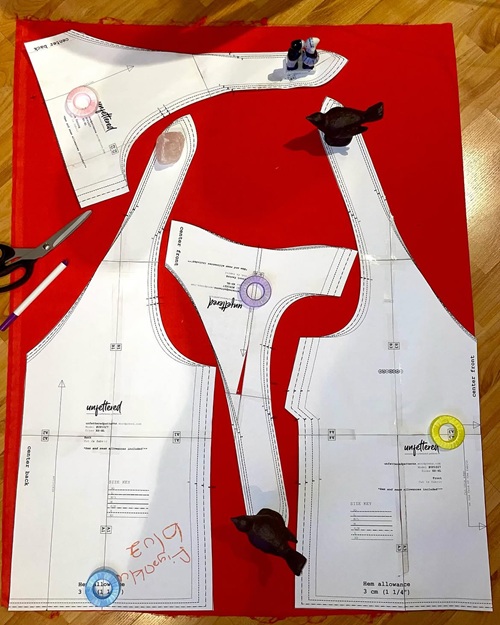
Place your drafted paper pattern pieces onto the fabric with the lines following the grainline, so that the top hangs correctly when worn.
Secure your pattern pieces tightly to the fabric using your pins or fabric weights so that nothing shifts out of place while you work!
Cut smoothly along the exact outer lines you drew for your front bodice panels, back bodice, and sleeves using your sharp fabric scissors.
To make the wrap tie sashes, cut two long, identical rectangular fabric strips.
Pro Tip: Be patient. Take your own sweet time to use long and even scissor strokes rather than choppy snips! Additionally, keep the fabric as flat against your work surface as possible to avoid jagged edges.
2. Assemble the Pieces and Stitch the Shoulder
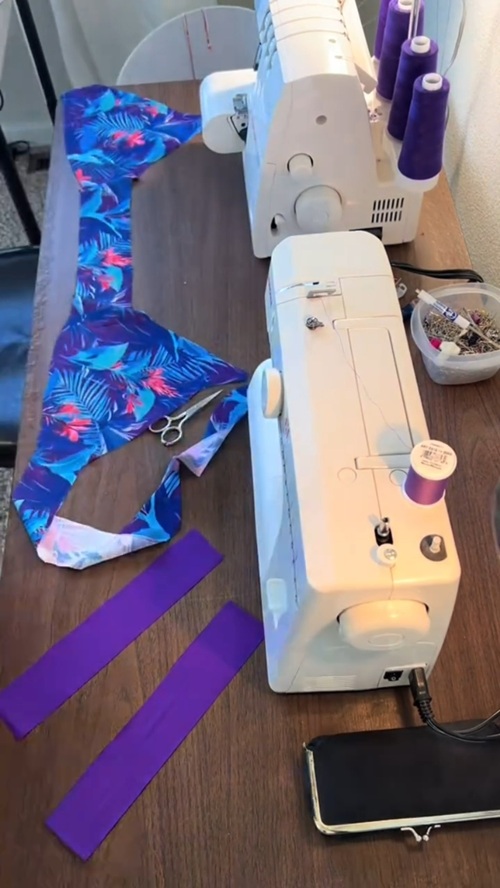
Time to watch the top take shape! Pin and sew the main bodice pieces together. Next, lay your back panel flat with the right side facing up, then place your two front panels directly on top with their right sides facing down.
Align the raw edges of the shoulders and pin them securely. Sew across the shoulders using a 1.5-centimeter seam allowance and backstitch at the beginning and end of each line to lock your threads!
Now that the shoulders are connected, open the top and match the sides from the armpits to the bottom hem with the right sides of the fabric facing each other.
Sew them using the same seam allowance, and take your garment to the ironing board and press the seams flat and open!
3. Attach the Sashes
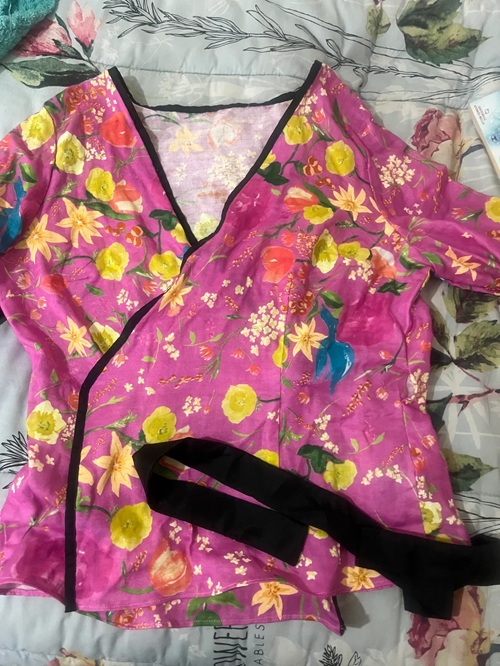
Attach the sashes, take your two long fabric strips, and fold them lengthwise with the right sides facing together. Then, sew along the raw edges and one short end to form a tube! Flip the sashes, push the corners flat, and press them crisp with an iron.
Next, pin the raw and open end of one sash to the front edge of your left wrap panel, and the second sash to the front edge of your right wrap panel. Finally, sew them securely in place!
These sashes will wrap around your body to tie the top closed.
Pro Tip: To get that smooth-fitting wrap top, leave a small pass-through hole in one of your side seams so that the inside sash can slide out to the exterior.
4. Finish the Neckline
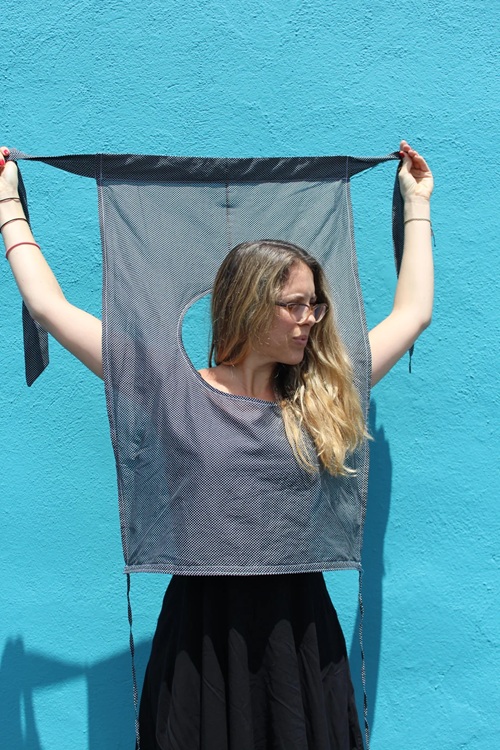
For that polished look, finish the continuous raw edges that run up the front panels and all the way around the back neckline! If you’re a beginner, make a double-fold hem, which completely hides the raw edge inside the fabric fold.
You need to fold the edge over toward the wrong side of the fabric by 6 millimeters and press it flat with your iron, then fold it over by another 6 millimeters and press it again.
Use your sewing machine to sew a straight stitch close to the inside folded edge, which forms a crisp, durable boundary!
Finally, use the same method to finish the bottom hem of your top and the raw edges of your sleeves. Once done, give your garment a thorough press with an iron.
Cut away the loose hanging threads with your scissors. And thread the inside sash through your newly made side pass-through hole!
Wrap it around your waist and tie it into a bow to enjoy your handmade wrap top!
Rock Your Custom Wrap Top
Now that you’ve completed your first wrap-top project, you have transformed from basic straight seams to versatile wardrobe staples!
You’re ready to fly high and experiment with alternative fabric weights, sleeve variations, and lengths for your future sewing projects.
Check out this tutorial on how to sew a skirt by hand in just 7 steps!
After having understood the basics, when are you making your own masterpiece? Don’t forget to share your experience with us in the comment section!