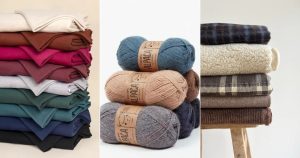

Learn how to sew with knits and stretch fabrics the right way, with steps that every beginner will love to know before starting!
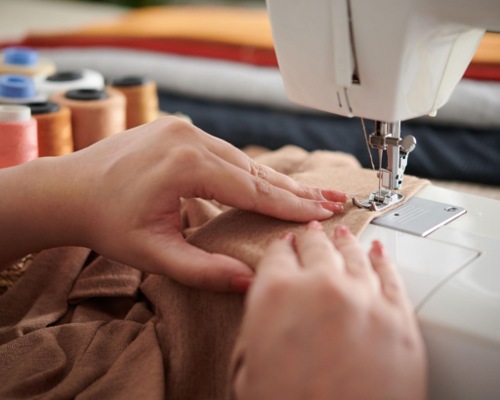
Knits may look easy to work, but they also come with their own set of quirks. The fabric can stretch out of shape as you sew; seams can pop the first time you pull the garment on. And the wrong stitch can leave you with something handmade in all the wrong ways. Here’s how to sew knits and stretch fabrics without losing your patience!
Why Knits and Stretch Fabrics Tricky to Sew
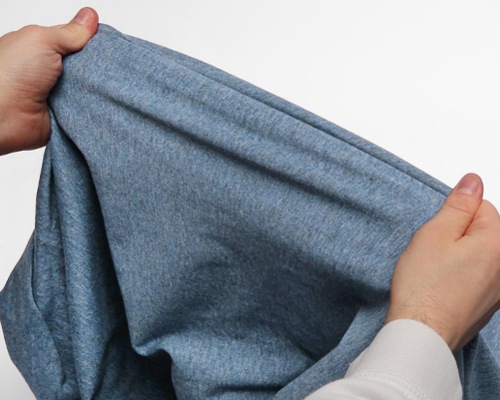
Knits are made of interlocking loops rather than woven threads, and that loop structure is exactly what gives them their stretch.
The same structure, however, means a sharp needle can tear right through the loops. And a rigid straight stitch has no give, so it snaps the moment the fabric stretches.
The good news: You don’t have to be an expert to sew knits. With the right needle, the right stitch, and a gentle hand while feeding the fabric through, you can keep seams strong and stretchy instead of popped and puckered.
Is sewing knits suitable for beginners? Yes, beginners can absolutely sew them! Just start with a stable, medium-weight knit like a cotton jersey, and save the slippery, high-stretch lycras for once you’ve got a few projects under your belt.
Let’s find more details below!
Tools You’ll Need
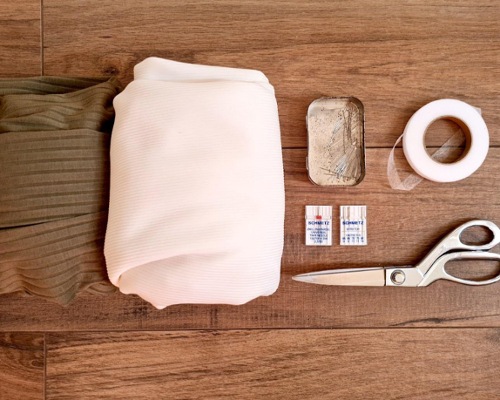
A few supplies: a ballpoint or stretch needle, good-quality thread, pattern weights, sewing clips, a walking foot, and a strip of ribbon or clear elastic to stabilize seams. You can keep a twin needle nearby too; it comes in handy!
Next, pick your needle size based on the fabric weight. A size 70 needle works well for lightweight knits, while a size 90 suits a heavier double-knit or thicker stretch fabric.
Pair it with a stitch that can actually stretch, since a plain straight stitch will pop open the first time the fabric is pulled.
Quick Advice: Always sew a test seam on a scrap of your actual fabric before starting, since knits behave differently from machine to machine. And it’s better to spot skipped stitches or puckering there than on your real project.
How to Sew with Knits and Stretch Fabrics Step-by- Step
1. Find the Wale and the Stretch Direction
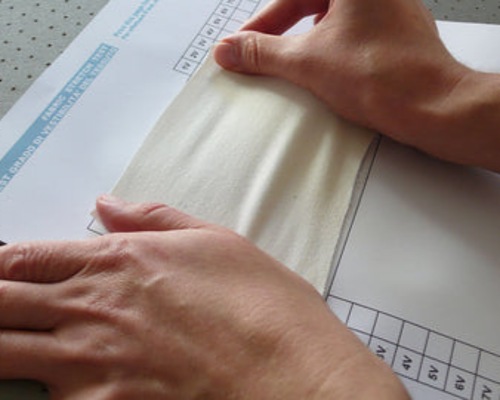
Before anything else, look closely at the fabric’s surface. You’ll often see faint vertical ribs running along it; these are called wales, and they show you the direction the knit was formed in.
Stretch the fabric gently by hand, crosswise and lengthwise, to find which direction has the most give.
Most knits stretch more one way than the other, so line up your pattern with that stretchier direction running around the body, not up and down.
Quick Advice: Mark the way your fabric stretches with a chalk arrow on the wrong side of each pattern piece. This way, you won’t accidentally turn a piece the wrong way while cutting.
2. Cut Knits with Care
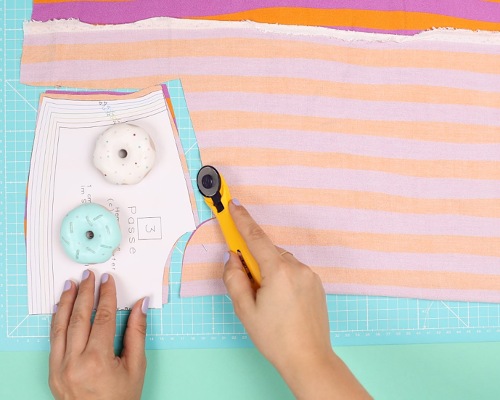
Lay the fabric on a table covered with muslin or an old sheet. This extra friction stops slippery knits from sliding around as you arrange your pattern.
Smooth out any lumps or folds, and line up the wale ribs so they match across your pattern pieces.
Use pattern weights instead of pins to hold everything in place, since pins can shift a stretchy fabric out of position. If the edges keep curling, a light spray of starch settles them down before you cut.
Cut slowly and keep your hands off the fabric as much as possible, since pulling or shifting it mid-cut can twist the loops out of alignment.
3. Stay-Stitch Right After Cutting
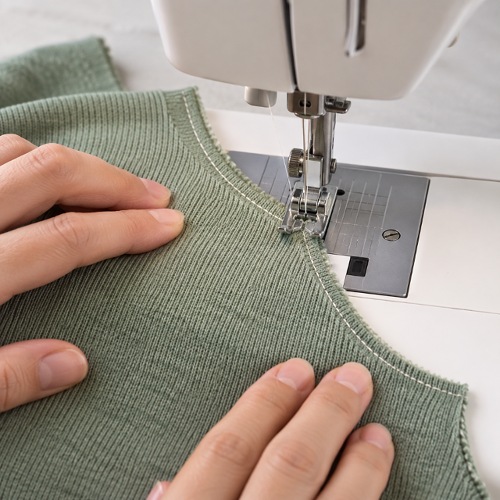
Knits can stretch out of shape just from being handled. So give each piece a little support as soon as you cut it.
Set your machine to a long, loose straight stitch and sew about 1/4 inch from the raw edge around openings like necklines and armholes.
This stay-stitching holds the loops in place while you pin and assemble the garment. You can simply leave it in, since it sits inside the seam allowance once you sew the real seam.
4. Choose a Stitch That Can Stretch
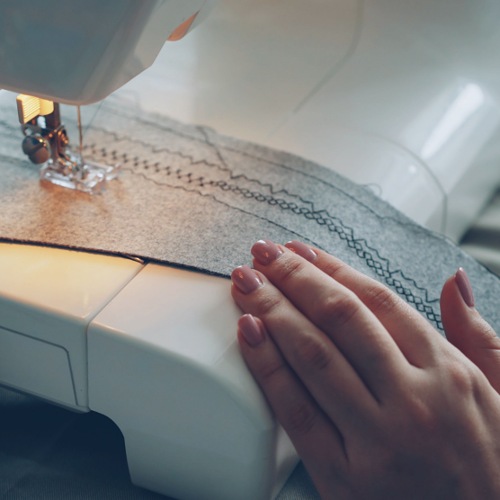
A straight stitch has no lateral give, so save it for basting only. For real seams, a zigzag stitch is a fast, beginner-friendly option that stretches with the fabric and is easy to unpick if you need to.
If you want a stronger, more professional look and don’t mind sewing a little slower. Then a triple straight stitch or a triple zigzag holds up well too.
And if you have a serger, it trims and finishes the edge in one pass while giving the seam natural stretch; this is the most efficient option if you have access to one.
5. Sew Slowly and Let the Machine Feed the Fabric
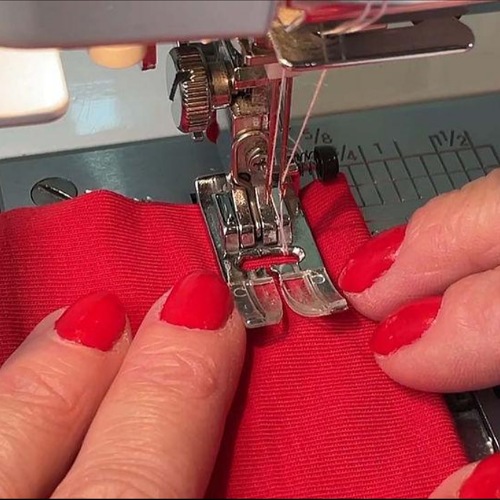
If your machine has a presser foot pressure dial, lower it a little. Too much pressure can stretch the fabric as it feeds through.
A walking foot helps even more, keeping the top and bottom layers moving together instead of letting one get pulled ahead of the other.
Caution: Don’t pull or push the knit as you sew. Let the feed dogs do the work while you gently guide the fabric. Stretching it while the stitch is forming locks that stretched shape in place, and the seam turns wavy once it relaxes.
If a curve is giving you trouble, hand-baste it first. It only takes a few extra minutes and saves you from unpicking a stretched-out seam later.
6. Stabilize the Seams That Take the Most Strain
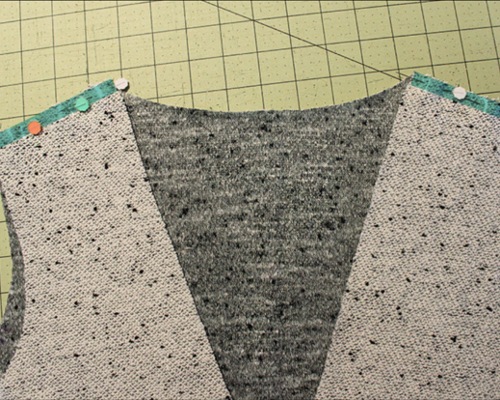
Shoulder seams and wide necklines carry a lot of stress and can stretch out of shape over time.
Sew a narrow strip of ribbon or clear elastic along the seam line on the wrong side to keep it from extending further than it should.
7. Finish the Edges and Hem
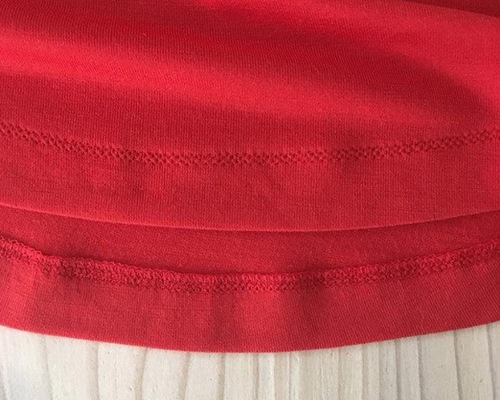
Since knits don’t fray, you can leave internal seams raw without any finishing at all. For exposed edges and hems, a twin needle gives you a clean, ready-to-wear look with a stretchy zigzag stitch forming underneath, or a cover stitch machine if you have access to one.
Again, test your chosen hem finish on a scrap first. Interfacing or a light spray of starch at the hem keeps the edge from rolling while you stitch.
Knit and Stretch Fabric Sewing Mistakes To Avoid
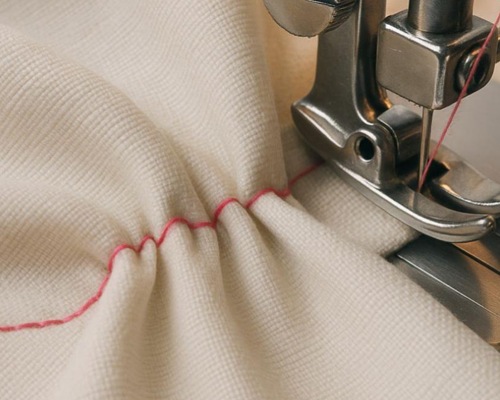
Don’t skip the ballpoint needle! This is the first thing to keep in mind. And yes, a sharp needle tears through the loops instead of sliding between them, and that alone causes most of the skipped stitches beginners run into.
If you’re choosing a stitch, avoid a plain straight stitch for construction seams. It has no stretch of its own, so it snaps the first time you pull the seam.
Next, do watch how you feed the fabric. Pulling or stretching knit fabric as you sew is one of the fastest ways to end up with a wavy, puckered seam once the fabric relaxes.
Lastly, support high-stress seams. Shoulder seams and necklines left without stability can stretch out of shape with wear. So, a strip of ribbon or clear elastic underneath goes a long way.
Sewing with knits isn’t complicated; it just rewards a little patience. And we think you are just on the right path now! Stay tuned for more helpful lessons like these and check out this beginner’s guide on how to start sewing velvet.