
Is your machine leaving gaps in the seam? Here is how to fix a sewing machine skipping stitches and get cleaner seams!
Skipped stitches are often caused by something as simple as the wrong needle, incorrect threading, or a bobbin that’s not sitting quite right. If you’re wondering how to fix a sewing machine skipping stitches, start with these simple checks!
What Does a Skipped Stitch Look Like
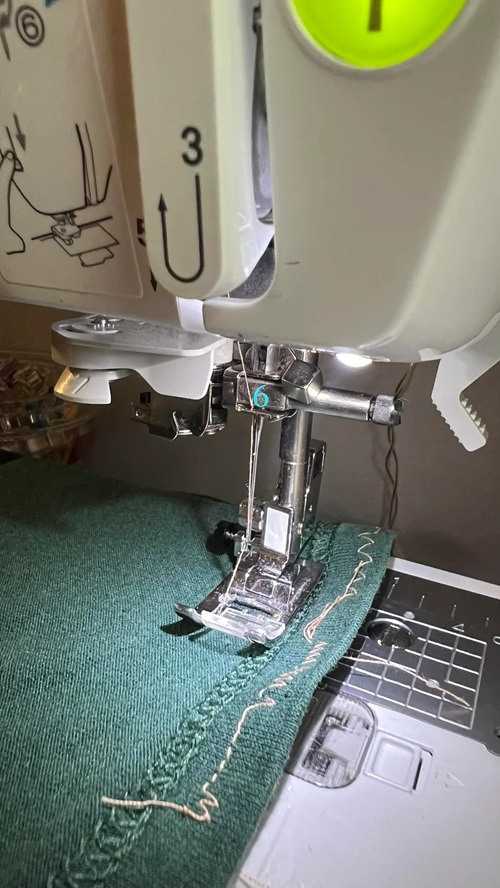
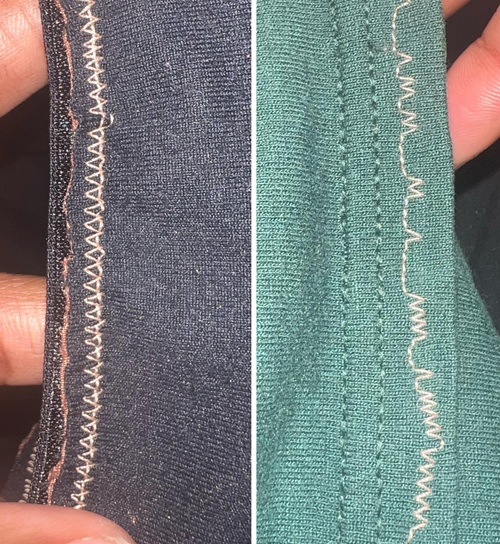
Do you see little gaps where the thread just didn’t catch? That’s a skipped stitch! You may notice them at the beginning of a seam, in the middle of an otherwise neat line, or scattered randomly throughout the stitching.
Besides making the seam look uneven, skipped stitches can leave weak spots that may pull apart with wear.
Keep These Sewing Supplies Nearby
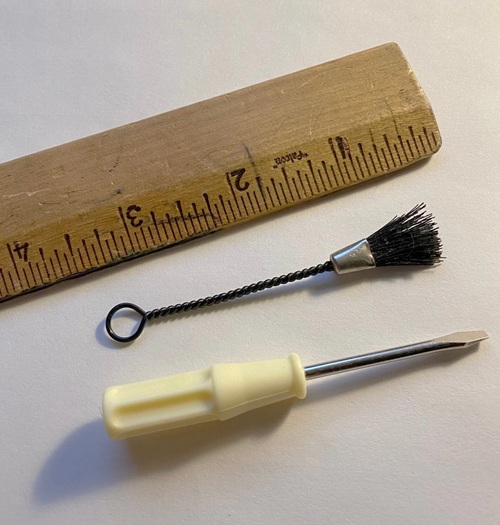
You don’t need a huge repair kit to troubleshoot skipped stitches. Keep a few fresh needles in different sizes, good-quality thread, a lint brush, spare bobbins, and a small screwdriver or brush that fits your machine nearby. You can keep a seam ripper nearby too; it comes in handy!
Then, keep a scrap of the same fabric you’re sewing for testing. This is important because a stitch that looks perfect on cotton may behave completely differently on jersey, denim, or satin.
Quick Advice: Replace the needle at the beginning of a new project if you can’t remember when it was last changed, and replace it sooner if it becomes bent, dull, or damaged.
Steps To Fix Sewing Machine Skipping Stitches
1. Check the Needle First
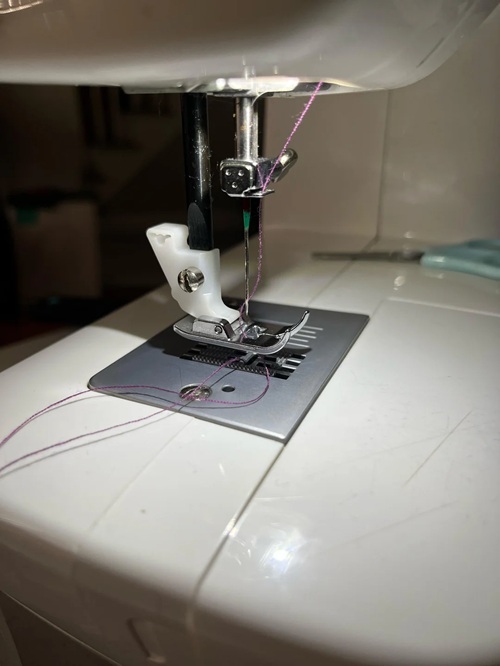
Always start with the needle. Yes, a needle can look fine and still be slightly bent, dull, or installed incorrectly enough to cause skipped stitches.
Choose the needle according to your fabric. You can use a ballpoint or stretch needle for knits, a sharp or Microtex needle for fine woven fabrics, and a heavier needle for denim or canvas.
Push the new needle all the way up into the needle clamp and make sure it is facing the correct direction for your machine.
Quick Advice: If the skipping started after sewing over a thick seam or several layers, replace the needle first. Even a tiny bend can cause problems that aren’t visible to the eye.
2. Take the Thread Out and Rethread It
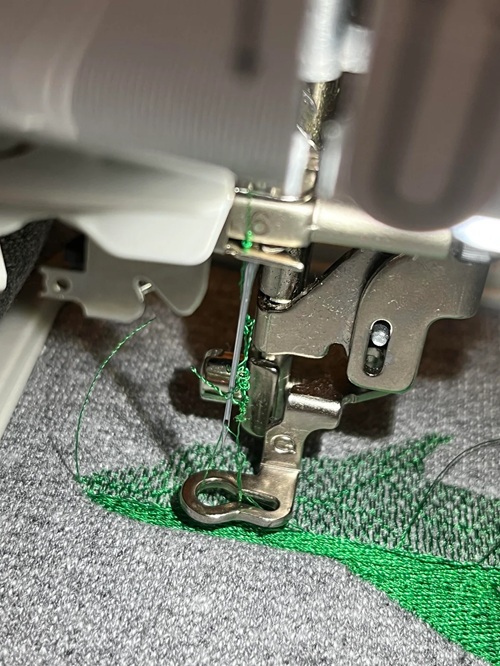
Don’t just check whether the thread looks like it’s following the right path. Remove it completely and start again with the presser foot raised and the needle at its highest position.
Follow every thread guide, including the take-up lever, and make sure the thread sits properly between the tension discs. Missing one small guide can affect how the thread forms its loop beneath the needle.
If the machine was threaded with the presser foot down, rethread it with the foot raised. This helps the upper thread settle properly into the tension mechanism.
3. Check the Bobbin Before the Tension Dial
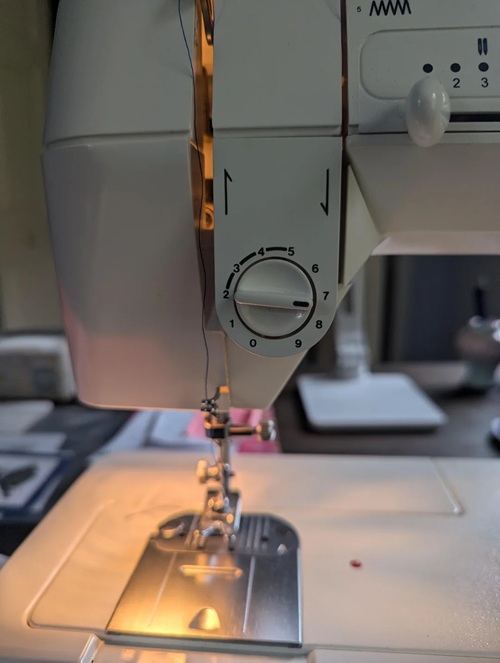
Take the bobbin out and look at how the thread is wound. It should be smooth and even, not loose, lumpy, or piled up on one side.
Then place it back according to your machine’s instructions and make sure the thread is passing through the correct slot or guide.
Also check the bobbin area for lint or a stray piece of thread. Just a tiny buildup around the bobbin case can sometimes interfere with smooth stitching.
Quick Advice: If you’re unsure whether the bobbin is causing the problem, put in a freshly wound bobbin and sew a few inches on scrap fabric. It’s often faster than trying to diagnose a questionable one.
4. Make Sure the Fabric Is Feeding Properly
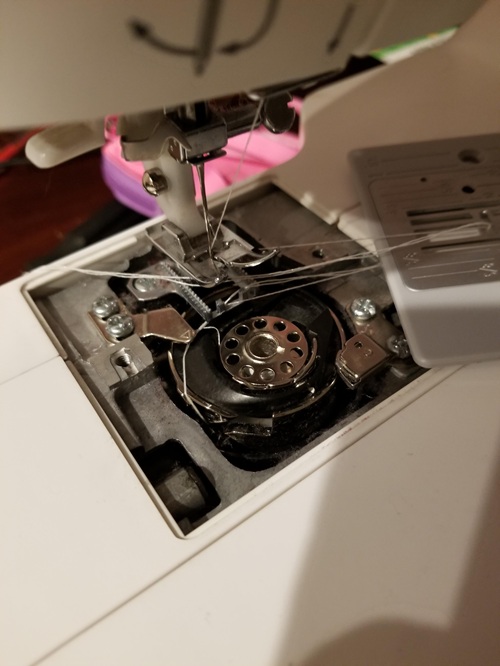
Here’s something beginners often overlook: don’t pull or push the fabric while sewing. The feed dogs should move the fabric underneath the presser foot at a steady pace.
Make sure the presser foot is fully lowered before you start sewing. If your machine allows you to adjust presser-foot pressure, check that setting too, particularly when working with slippery or stretchy fabric.
Try this instead: Sew slowly on a scrap of the same fabric. If the machine stitches fine when you guide the fabric lightly but skips when you pull it, the fabric movement may be part of the problem.
5. Reset the Tension and Test on Scrap
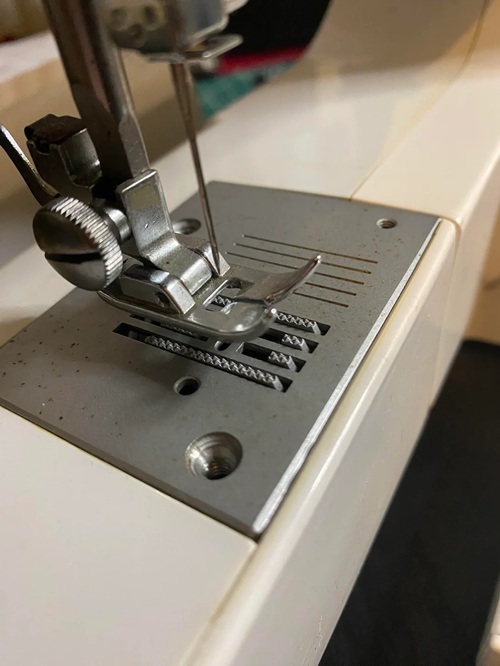
If the needle, threading, bobbin, and fabric feed all look right, now is the time to check the upper-thread tension!
Return the dial to your machine’s recommended starting setting and sew a few inches on a scrap of the same fabric.
Quick Advice: Make only one small adjustment at a time and test again. Don’t turn the tension dial repeatedly, hoping to find the right number. Otherwise, you won’t know which change actually fixed the problem!
6. Clean the Needle Plate, Feed Dogs, and Bobbin Area
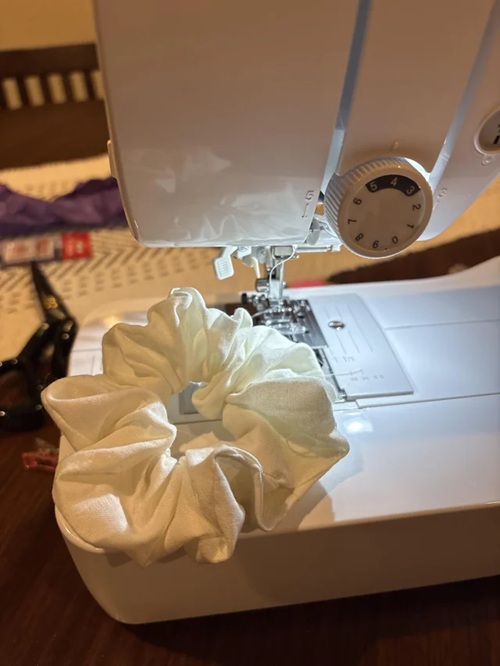
If your machine has been sewing for a while, turn it off and check underneath the needle plate and around the bobbin area.
You may find lint, loose thread, and tiny fabric fibers stuck inside! Use the cleaning brush recommended for your machine to remove the buildup around the feed dogs and bobbin area
If your manual says the machine needs oiling, follow! Once everything is clean, put the machine back together, insert a fresh needle, and sew a test seam.
Bonus: Notice When the Skipping Happens
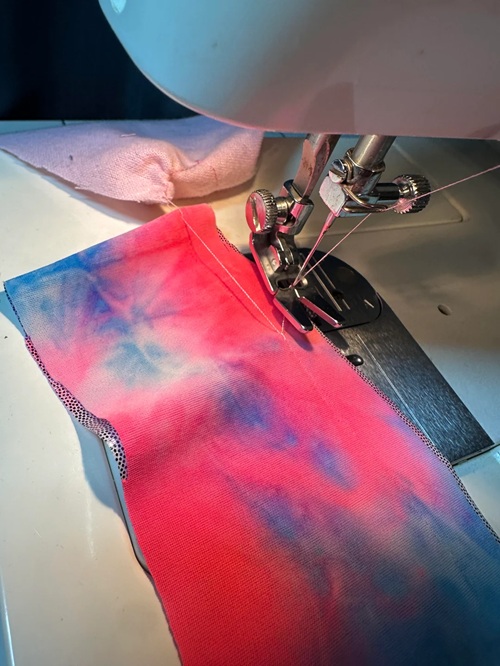
Pay attention to where and when the skipped stitches appear. If they happen mainly on stretchy fabric, at thick seams, or when you start sewing, the cause may be different.
If the machine works on light cotton but skips on knits or several layers, the fabric, needle, presser foot, or feeding method may be the real issue.
A universal needle isn’t ideal for every fabric. Ballpoint or stretch needles are better suited to many knits, while sharp or Microtex needles work well for fine woven fabrics. Denim, canvas, and other heavy materials need a needle strong enough to pass through several layers without bending.
Quick Advice: Don’t immediately return to your actual project after making a fix. Sew a few inches on a scrap of the same fabric, using the same thread and stitch length you plan to use. Check both sides of the seam for any uneven stitches.
When the Problem Is Machine Timing
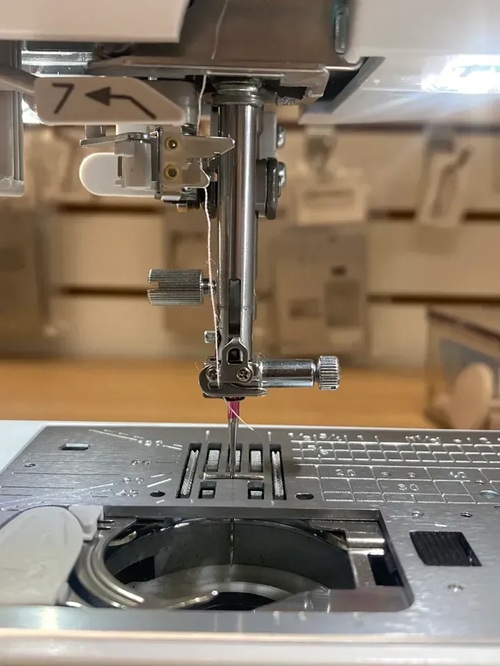
Your machine’s needle and bobbin hook have to meet at precisely the right moment so the hook can catch the thread loop and form the stitch.
If you’ve tried the basic troubleshooting steps and nothing works, especially with a fresh, correctly installed needle, the timing may be out of alignment.
Don’t start turning internal screws or dismantling the machine yourself. This is one of those jobs that’s better left to a qualified sewing-machine technician.
Quick Check: If the machine also makes unusual clicking or knocking sounds, stop sewing and have it checked rather than continuing to troubleshoot it yourself.
Small Habits That Prevent Skipped Stitches
A little routine care can save you from many skipped-stitch headaches. Replace needles when they become dull or damaged, clean lint from the needle plate and bobbin area regularly, and use the needle and thread suited to the fabric you’re sewing.
Besides, keep your machine covered when it’s not in use, too, especially if you sew only occasionally.
If the machine suddenly starts skipping, stop and check it instead of sewing through the problem. A quick needle change or rethreading can often solve the issue before it turns into damaged fabric, broken thread, or a much bigger repair.