
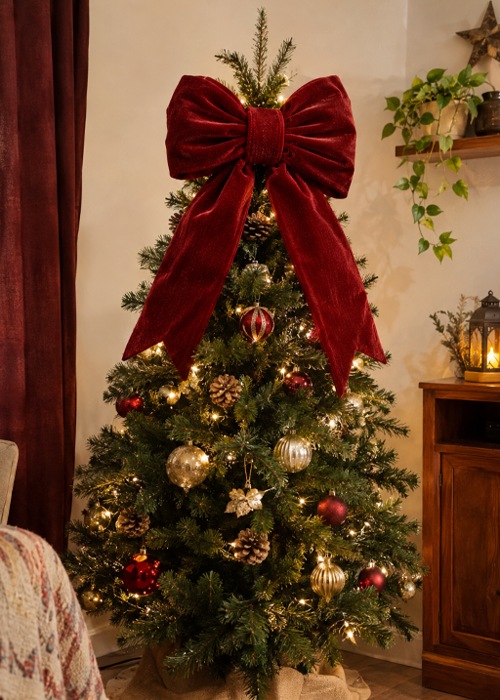
Elevate your holiday decoration game with a giant bow Christmas decor ornament! It’s easy to make and comes together using minimal equipment.
Make a beautiful bow Christmas ornament to decorate the top of your Christmas tree with this beginner-friendly sewing tutorial. You can make this using padded fabric and a simple fabric tie. Customise it with your favourite Christmas fabrics and colours to elevate your festive décor!
Materials and Supplies Needed
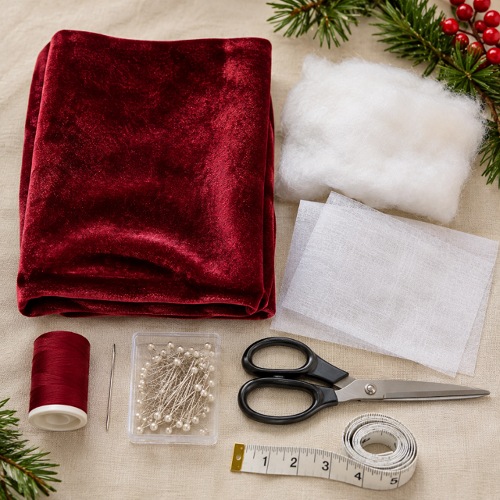
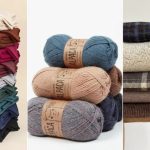
- 1 yard (or 1 metre) of main fabric – cotton drill, corduroy, or another medium-weight fabric
- 1 yard (or 1 metre) of batting or wadding
- Light- to medium-weight fusible interfacing
- Matching sewing thread
- Sewing machine
- Fabric scissors
- Measuring tape or ruler
- Fabric pins or clips
- Iron and ironing board
Step-By-Step Tutorial for Giant Bow
Step 1: Cut the Fabric Pieces
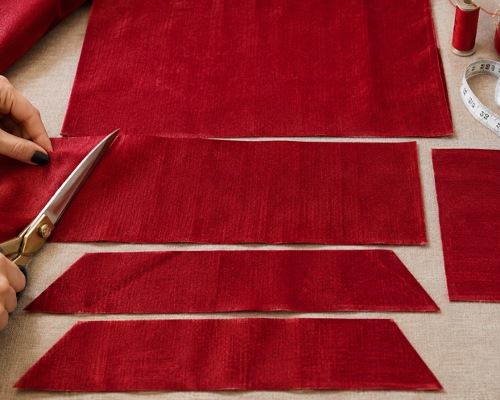
Firstly, start by preparing the fabric pieces for the bow. Cut four large rectangles for the padded bow section and centre backing. Next, cut two additional rectangles of the same measurements for the bow’s trapezoid-shaped decorative section.
Further, cut one long, narrow rectangle measuring approximately 8 × 120 cm (3¼ × 47½ inches) for the bow tie.
Finally, cut two large rectangles from your batting or wadding, matching the measurements of the main bow pieces.
Step 2: Prepare the Padded Bow Section
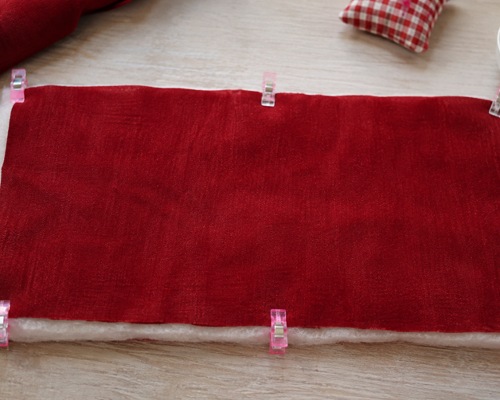
Now apply light to medium-weight fusible interfacing to the wrong side of the four large main-fabric rectangles to give them extra structure. Take one batting piece and place a main-fabric rectangle on top with the right side facing up.
Place another main-fabric rectangle over it with the right side facing down. Finish with the second batting piece on top.
Sew along both longer edges to join the layers, leaving the short ends open.
Step 3: Turn and Shape the Padded Fabric
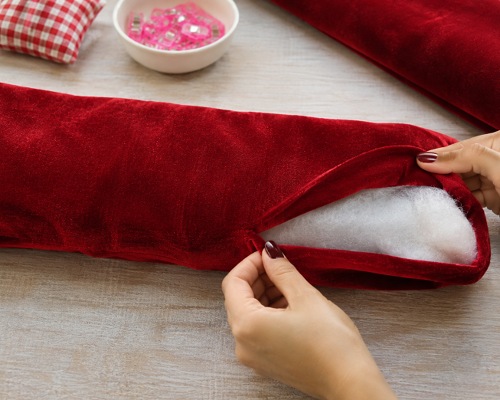
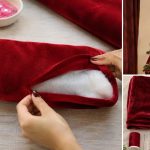
Next, use one of the open ends to turn the fabric right side out, ensuring the main fabric is on the outside. Fold the padded rectangle in half with the raw short ends aligned. Sew the ends together to form a loop.
Trim away excess fabric around the seam and turn the loop inside out so the seam sits neatly inside the tube. This forms the padded main section of your oversized bow.
Step 4: Make the Trapezoid-Shaped Backing
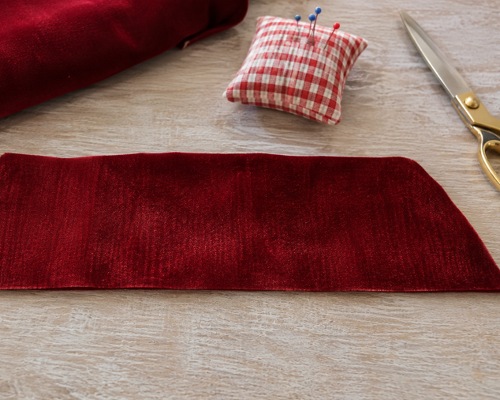
Now take the remaining two main-fabric rectangles and place them together with their right sides facing. Trim the corners on both sides to create a trapezoid shape.
Sew around the edges, leaving an opening of approximately 10 cm (4 inches) along the top edge. Trim away the excess fabric and turn the piece right side out through the opening.
Press it neatly with an iron and stitch the opening closed. Set this piece aside for assembly!
Step 5: Sew the Center Tie
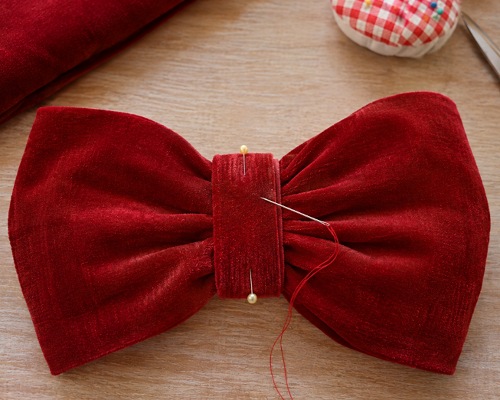
Now take the long, narrow fabric rectangle measuring approximately 8 × 120 cm. Fold and press both short ends inward by about 1 cm.
Fold the rectangle in half lengthwise and press. Open it and fold both long edges towards the centre crease. Fold it in half again so all the raw edges are enclosed.
Stitch along the folded edges to secure the tie. This forms a neat fabric strip that will hold the bow together and help attach it to the Christmas tree.
Step 6: Assemble the Giant Bow
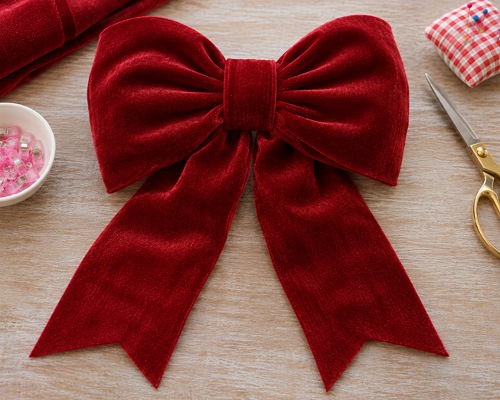
Now that all the pieces are ready, it’s time to assemble your Christmas tree topper!
Take the trapezoid-shaped piece and pinch it at the centre to create soft folds. Next, take the padded fabric loop and fold it into a bow shape. Position the padded bow on top of the pinched trapezoid piece.
Wrap the long fabric tie around the centre of both pieces. Tie a firm knot at the back to secure the layers together. Finally, adjust the folds until your bow looks full and evenly shaped.
Step 7: Attach the Bow to Your Christmas Tree
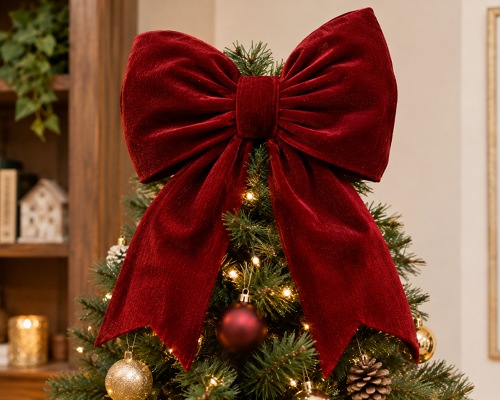
Place the finished giant bow at the top of your Christmas tree. Use the remaining lengths of the fabric tie to secure it around the top branch.
Now adjust the bow loops and decorative backing until everything looks balanced. Your oversized handmade Christmas tree topper is ready!
Tips for Making a Beautiful Giant Bow
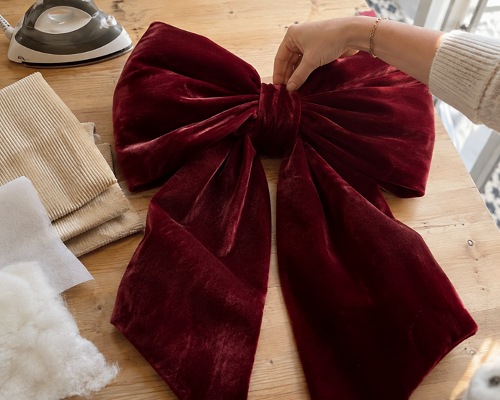
Choosing structured fabrics such as cotton drill, corduroy, and medium-weight options helps the bow hold its shape. Also, use fusible interfacing to add extra stiffness and to prevent the bow from looking floppy!
Don’t skip the batting if you want to give the bow its lovely oversized, full appearance. Press as you sew because ironing the folds and seams helps achieve a clean, professional finish.
Finally, adjust the centre tie, secure the bow firmly, but avoid pulling it so tightly that the loops lose their shape.
Common Mistakes to Avoid
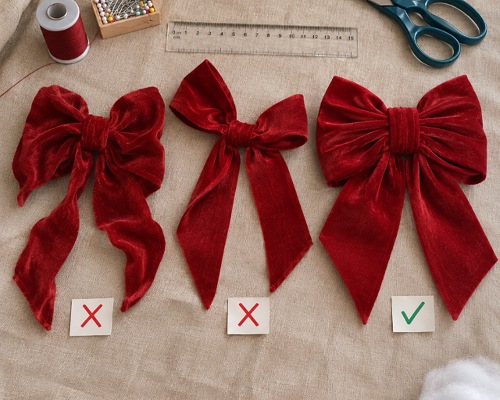
Never choose fabric that is too lightweight because thin fabric may make the bow look floppy. Use medium-weight fabric with interfacing for better structure.
Don’t skip the batting as it adds volume and padding. Without it, the main bow section may look flat. Avoid cutting the trapezoid unevenly so that the decorative backing looks balanced.
If you make the centre tie too t,ight it can flatten the loops and affect its shape. In addition to that, avoid pulling the tie excessively when securing the bow.
Finally, do not skip pressing the folds, seams, and tie as it creates a neater finish and makes assembly easier!
It’s time to soak in the Christmas spirit with this beautiful, handmade decoration. How about trying your hand at these quilted angel Christmas ornaments?