
Everything you need to know about how to make a DIY kaftan dress is right here! This easy sewing tutorial will guide you best.
Want a breezy dress that looks stylish without taking hours to sew? A kaftan dress might be just what you need! With its loose fit, flowing shape, and simple construction, it’s a lovely project for beginners.
Follow this easy tutorial to learn how to make a DIY kaftan dress using basic sewing skills and a few simple steps
Why DIY a Kaftan?
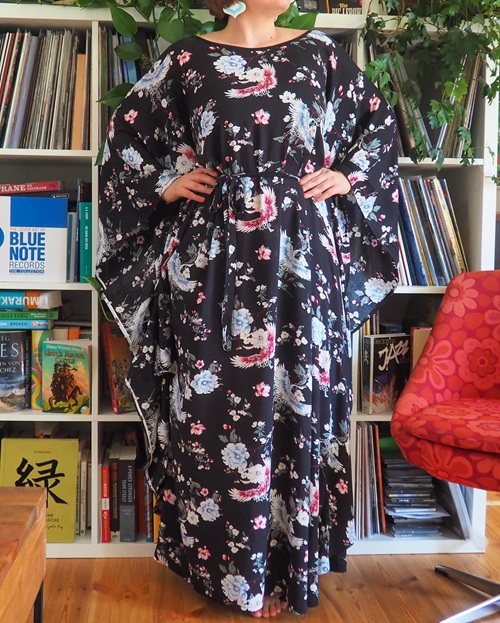
Kaftans are hands down the best project for beginners, as their design relies on simple, geometric shapes like straight lines and rectangles!
You can skip the tedious process that involves complex patterns, curved armholes, or precise contouring. Also, with no zippers to insert, buttonholes to stitch, or tailored sleeves to design, it’s the best place to start mastering sewing machine skills and straight stitching!
A kaftan has high wearability due to its flowy fit, removing the anxiety of making any fitting mistakes.
Tools and Materials You’ll Need
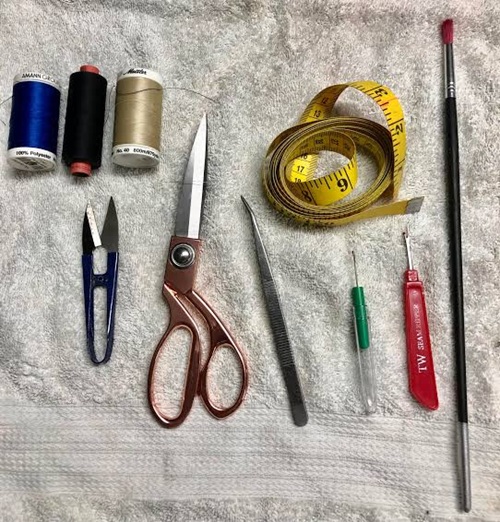
To get started, you will need just a handful of basic sewing essentials like 2.5 to 3 meters of lightweight or flowy fabric (cotton lawn, rayon, linen, or double gauze), a sewing machine fitted with a universal needle, and all-purpose polyester thread for durability.
Pick a sharp pair of fabric scissors or rotary cutter for clean and fray-free edges. A measuring tape, sewing pins or fabric clips, fabric chalk or washable marker.
An iron with an ironing board, which is the fashion industry’s best-kept secret!
How to Prepare the Fabric
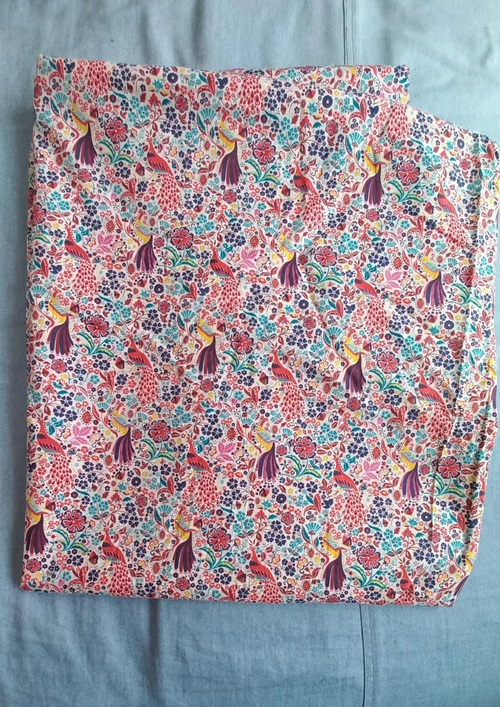
Picking the right fabric for your kaftan is essential, as it will make or break your project! A lightweight and flowy fabric that drapes beautifully without adding bulk is the best choice.
As mentioned in the previous point, rayon, cotton lawn, linen, or double gauze work very well.
Quick Advice: Avoid slippery materials like silk or satin for your first project, as they are slightly difficult to handle!
Here is a trick that really helps: Before you begin, pre-wash your fabric. This crucial step shrinks the fabric before it is sewn, ensuring your completed kaftan doesn’t warp or shrink down a size during its first trip through the laundry.
Once dry, give the fabric a thorough press with an iron to eliminate all wrinkles and creases. Starting with flat, crisp fabric guarantees that your measurements and cuts will be perfectly straight and accurate.
How to Measure and Cut the Kaftan
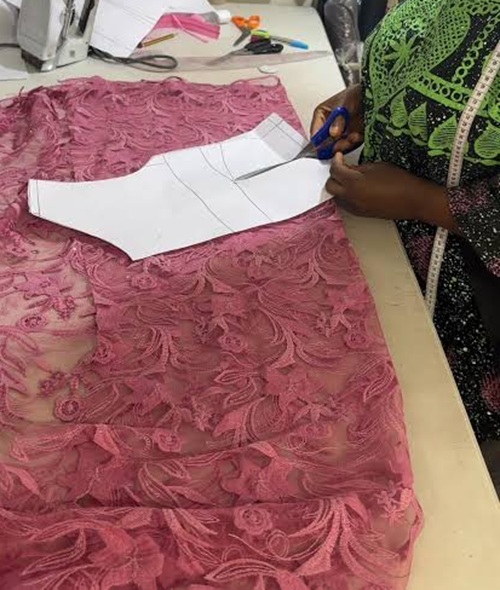
Since a kaftan relies on a flowing silhouette instead of a tailored fit, measuring it is pretty simple! Use a flexible tape measure for two primary distances: desired total length and ideal sleeve span.
For length, measure from the highest point of your shoulder down to where you want the hem to fall. Then, extend your arms out and measure from elbow to elbow (or wrist to wrist) to establish the total width of the fabric. Add just a few extra inches for hem allowances and fold your fabric into quarters.
Start by mapping out the neckline along the main folded corner. Pick a universally flattering V-neck or a simple boat neck, mark your width and depth with chalk, make a smooth connecting line, and carefully cut through the layers.
Keep the outer edges straight and blocky, simple trim the fabric to your calculated length and width. Your fabric is now ready to go under the sewing machine!
How to Sew a Kaftan in 5 Easy Steps
1. Hem the Neckline
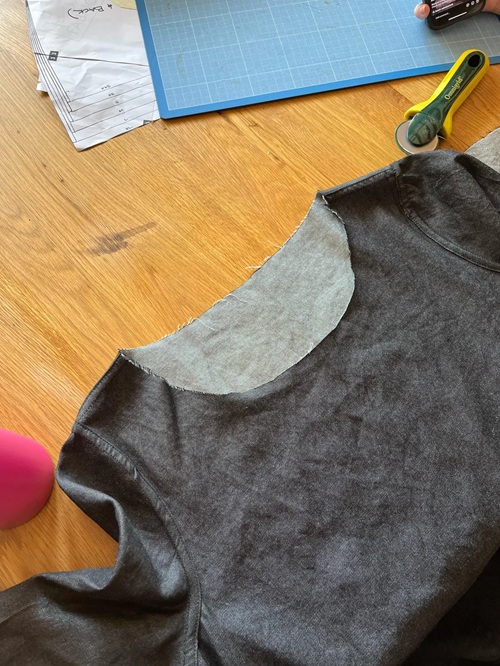
Start by unfolding your fabric so that the front and back panels come together. Next, pin and sew a nadouble-fold fold hem around the raw edges of your neckline to give it a clean and finished look.
2. Finish the Outer Edges
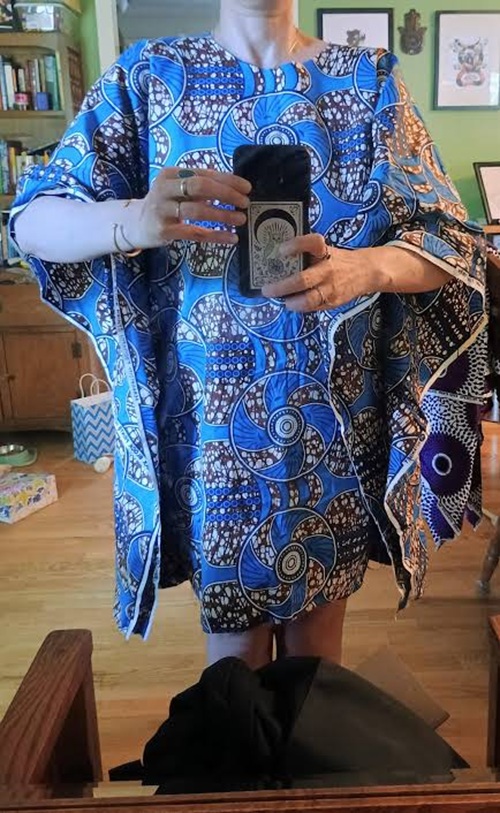
Now, roll a small double hem along the left, right, and bottom edges of the fabric. Stitch these down to prevent fraying and to form clean edges for your sleeves and hemline.
3. Mark the Side Seams
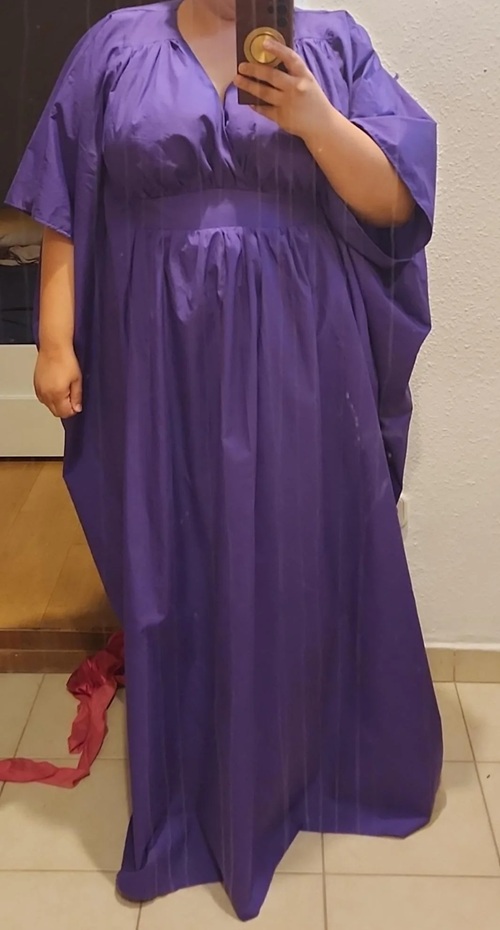
Next, lay the kaftan flat with the right sides facing inside. Use a tailor’s chalk to mark your side seams. Now, measure in from the outer edge to your desired fit,
Ensure that you’ve left enough room from the top fold down for comfortable armholes!
4. Stitch the Sides
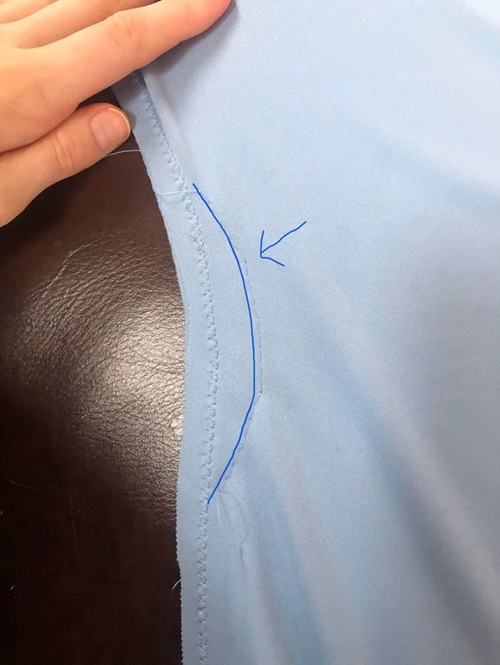
Once that’s done, pin along your chalk lines, then sew a straight line from the bottom of the armhole opening all the way down to the bottom hem on both sides.
5. Press and Wear
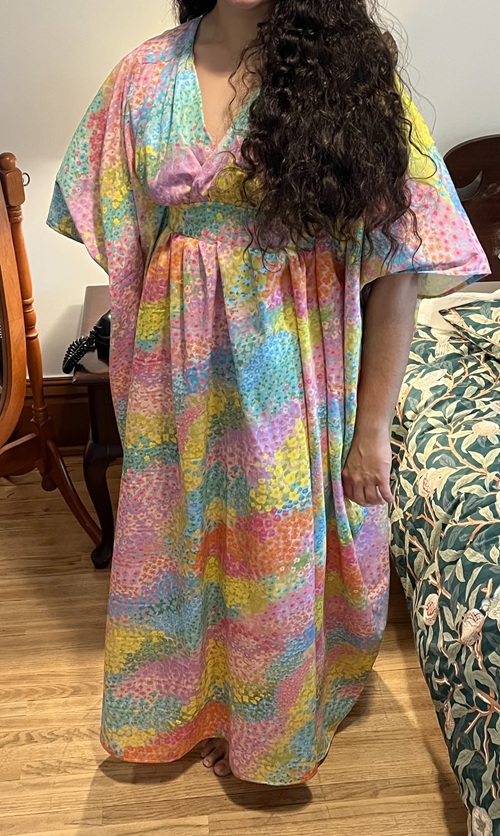
In the end, clip any loose threads, press your new seams flat with an iron to give them a crisp look, and turn your finished kaftan right-side out!
Pro Tips for a Professional Finish
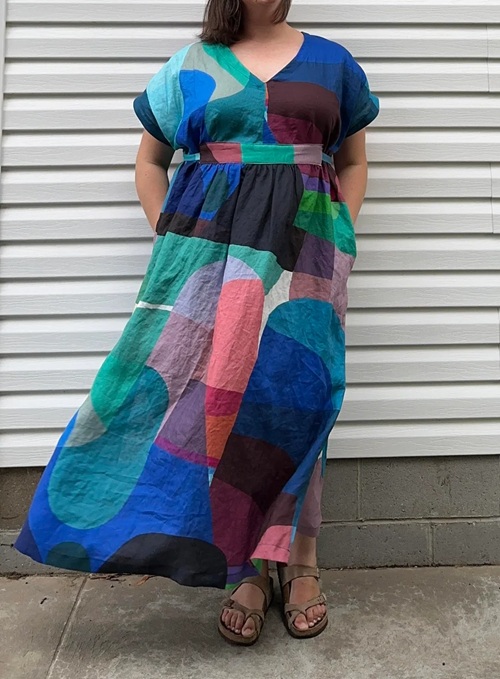
The ultimate secret to transforming a homemade garment into a professionally stitched piece is pressing your seams as you sew!
This will eliminate puckering, and before sewing your side seams, press your double-folded hems flat to form sharp edges that won’t slip under the sewing machine foot!
Also, match your sewing tools to your fabric type to prevent snags and skipped stitches that can ruin the look!
For easy-breezy, lightweight fabrics, pick a sharp size 70/10 or 80/12 needle to avoid punching holes in the delicate weave.
For a flawless finish on the inside, sew French seams along the sides to hide the raw fabric edges!
Seems like sewing a Kaftan is pretty simple; just follow the right steps, and you’re good to go. Do give it a shot and let us know how it went!