
Here is how to appliqué with a sewing machine, with a beginner-friendly approach and techniques that make it simple!
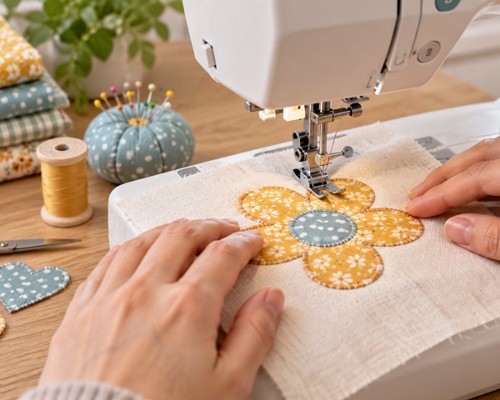
Want to add a clean, professional-looking design to your fabric project fast? Machine appliqué gets you there much faster, and it doesn’t need complicated techniques either! In this beginner-friendly guide, we’ll show you how to place, secure, and finish an appliqué with a sewing machine.
Plus, a few small tricks to help prevent puckering, fraying, and messy edges!
What Makes Machine Appliqué Different From Hand Appliqué
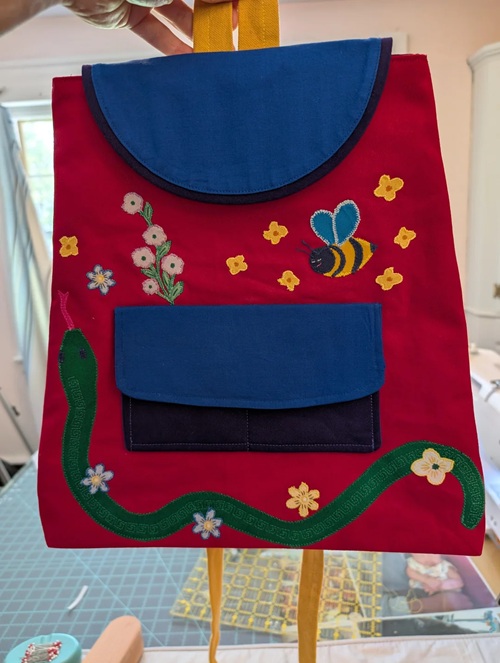
Machine appliqué works by stitching your fabric shape directly onto the background, rather than hand-stitching a folded edge. Rather than turning the raw edge under, the machine usually secures it first, then stitches over the raw edge to seal it, so no folding is involved.
The biggest challenge here isn’t neatness in the same way it is with hand stitching; it’s accuracy. Fabric that shifts even slightly before it’s secured can throw off your placement, and trimming too close or too far from your stitch line can leave a bulky or fraying edge.
Here is what you need! First, choose a simple design and test your stitch settings on a scrap first. It doesn’t require advanced sewing skills, just careful placement, patient trimming, and a stitch that suits your project.
Is Machine Appliqué Suitable for Beginners? Yes! Machine appliqué is a great technique for beginners because the machine does a lot of the precision work for you. Start with a simple shape, like a leaf, circle, or heart, rather than a design with lots of tiny points.
Tools You’ll Need to Appliqué with a Sewing Machine
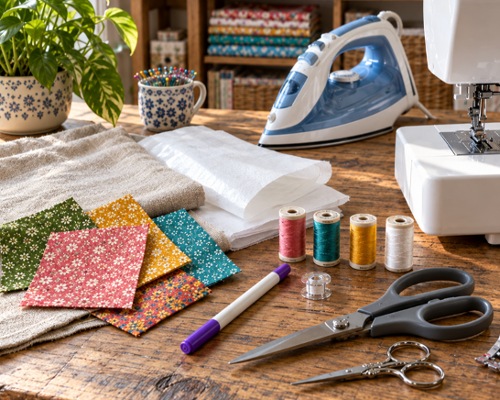
Next, pick your thread based on how visible you want your stitching to be. A thread that matches your appliqué fabric blends in nicely, while a contrasting thread turns your stitch line into a decorative feature of its own.
Pair your thread with a bobbin thread in a neutral or white shade. The bobbin thread usually doesn’t show on the front and doesn’t need to match anything.
Quick Advice: Always fuse your adhesive to the back of your appliqué fabric and press it smooth before you cut your shape. A pre-fused piece holds its form and won’t fray or shift while you’re stitching.
How to Appliqué with a Sewing Machine: Easy Steps
You are advised not to start with your final project. Practice the whole process — placement, trimming, and finishing stitch — on a scrap piece first, so any mistakes happen there instead of on the real thing.
1. Prepare Your Fabric and Design
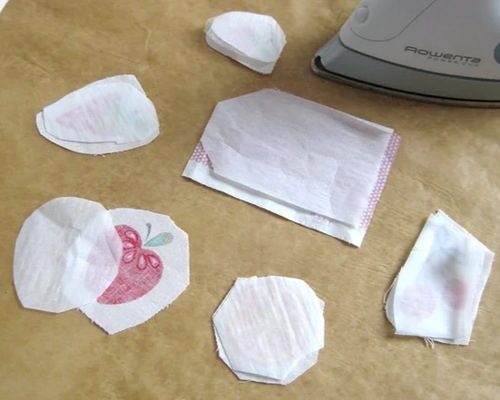
Trace or mark your design onto your fused appliqué fabric, then cut it out carefully. Mark the center of your background fabric too, so you can position everything accurately before you start stitching.
Hoop your background fabric with a stabilizer underneath if you’re using an embroidery machine. You can also keep your stabilizer and pieces nearby if you’re stitching on a regular machine.
2. Stitch or Mark Your Placement Line
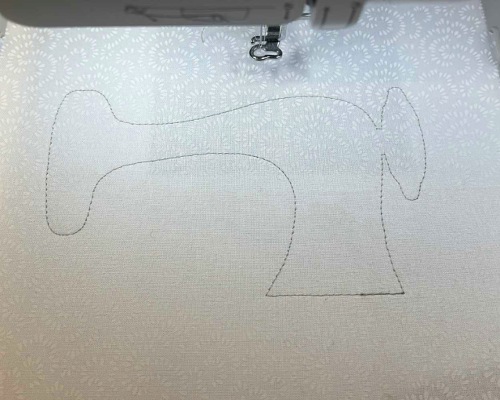
If your machine can sew a placement stitch, sew a simple outline showing exactly where your first fabric piece should go. Then remove the paper backing and lay the fabric over that outline.
If you’re working without an embroidery design, position your fabric piece by eye or with pins instead. Use your marked center point as a guide.
3. Secure the Fabric With a Tack-Down Stitch
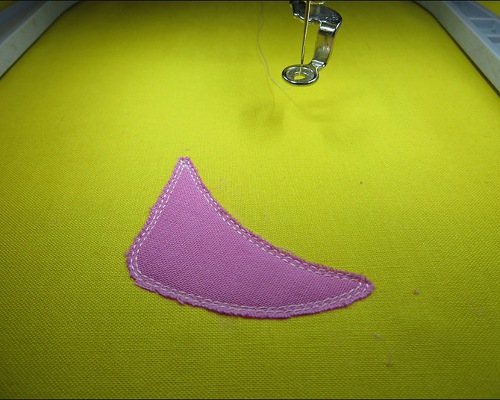
Stitch a simple line around the edge of your fabric piece to hold it firmly to the stabilizer and stop it from shifting during the next steps.
Once that’s stitched, carefully trim the excess fabric close to the stitch line, being careful not to cut into the stitching itself.
4. Layer Any Additional Pieces
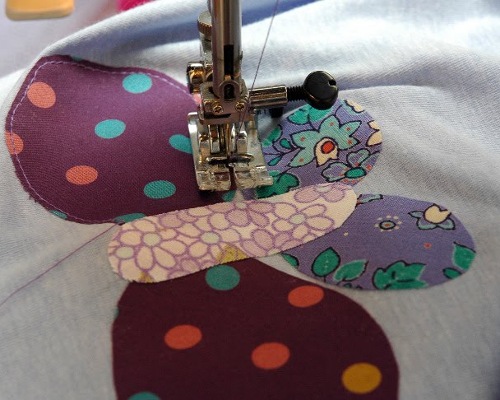
For designs with more than one fabric piece, repeat the placement and tack-down process for each one. Making sure every new piece fully covers the stitch lines underneath it. If a lower layer might peek through a piece stitched on top of it, trim away that excess fabric from underneath before you continue.
5. Choose Your Finishing Stitch
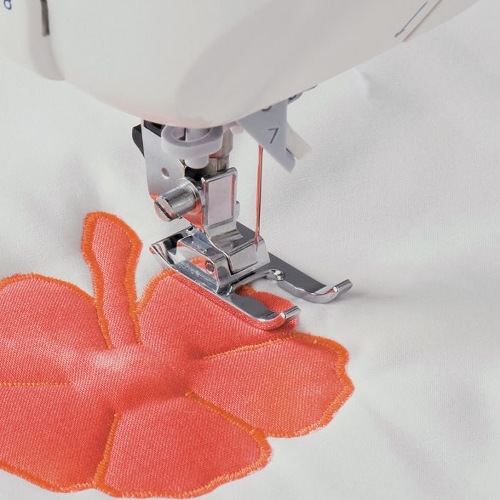
This is where you seal the raw edges and give your appliqué its final look. A dense satin stitch gives a polished, decorative border and works well if your embroidery machine can manage it directly.
If you’re using a straight stitch instead, use an open-toed foot for better visibility. Secure your start with a couple of backstitches. Then guide the stitching by keeping the edge of your foot aligned with your fabric’s edge, pivoting with the needle down at any corners.
For a bit more security than a straight stitch offers, try a tight, narrow zigzag instead, something around a width of 2 and a length of 1.5, keeping most of the stitch landing on the appliqué fabric itself. Easy?
6. Trim, Remove the Stabilizer, and Press
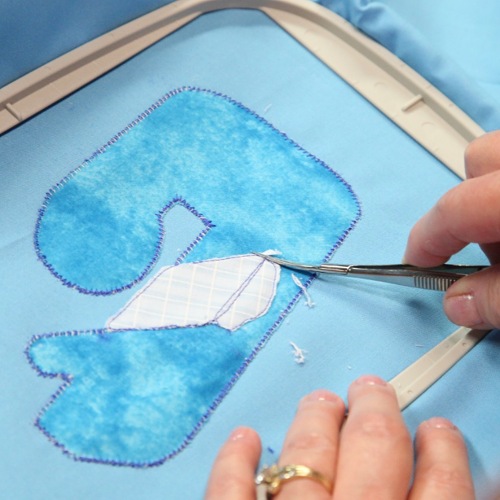
Once your finishing stitch is complete, carefully remove the piece from the hoop if you used one, and gently peel away the stabilizer from the back. Give the whole piece a final press with your iron to smooth out any wrinkles and set the stitching in place.
These open-toed presser feet might come in handy!
Two Ways to Stitch the Edge, and When to Use Each
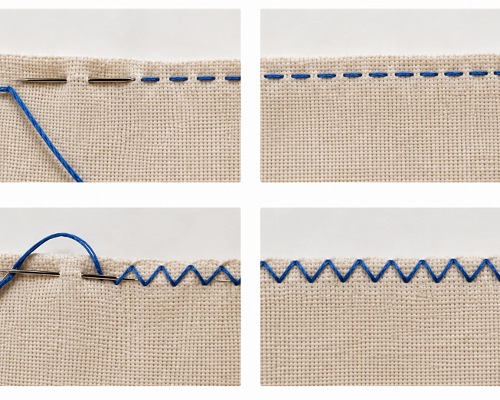
A straight stitch is the fastest option, since your edges are already secured by the tack-down stitch. It gives a clean, simple finish for straightforward shapes.
A narrow zigzag takes a little longer but wraps the raw edge more securely. Which is worth it for pieces that’ll see a lot of wear, like a patch on a bag or the knee of a pair of kids’ pants.
If your machine has a buttonhole stitch, that’s worth experimenting with too! It gives a decorative, secured edge that looks a little different from a plain zigzag.
Few Machine Appliqué Mistakes to Avoid

Don’t skip fusing your adhesive before cutting! This is the first thing to keep in mind. Fabric that isn’t fused can fray or shift the moment it’s under the needle, undoing all your careful placement.
If you’re trimming close to a tack-down stitch, go slowly and use small, sharp scissors. Cutting too close risks nicking your stitching, while leaving too much fabric shows past your finishing stitch.
Next, do check each layer before covering it with the next one. A previous stitch line or a sliver of fabric peeking out from underneath is much easier to fix now than after the whole design is finished.
Lastly, test your finishing stitch on scrap fabric before committing to your actual project. A zigzag that’s too wide, or a satin stitch that’s too dense, can pucker the fabric in ways that are hard to undo once they’re sewn.
Appliqué with a sewing machine isn’t complicated; it just rewards a little patience. And we think you are just on the right path now! Stay tuned for more helpful lessons like these and check out this beginner’s guide on how to start sewing.