
Sewing can be tricky, but these simple tricks for sewing velvet will make it easier. Learn how to handle velvet!
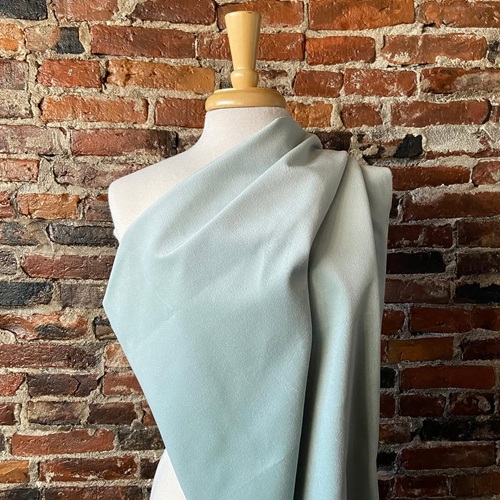
Thinking about sewing velvet but worried you’ll ruin the fabric? Don’t be! Velvet needs a little more care than cotton, but the right techniques can make it easier to control. These simple tricks to sew velvet will help you get started with more confidence!
Tricks to Sew Velvet Correctly
1. Give Some Breathing Room Before You Even Cut It
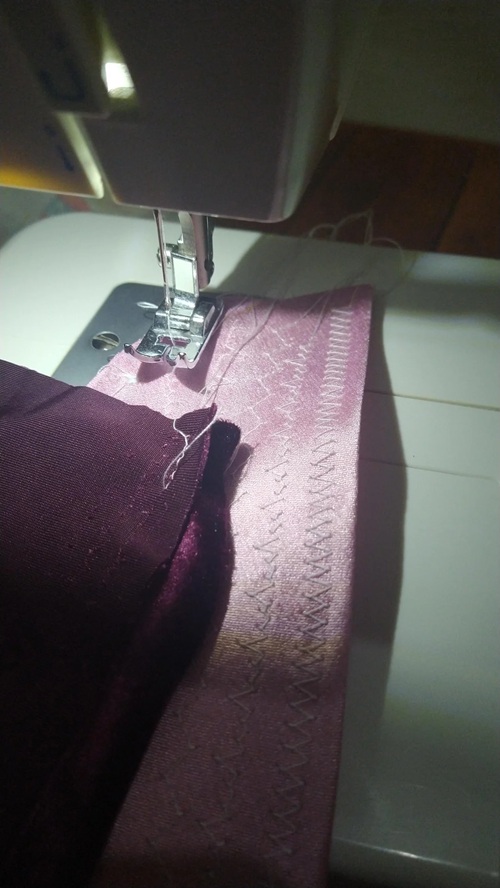
Velvet can pick up creases, crushed spots, and changes in the pile before sewing even begins. That’s why storing it under a stack of fabric or leaving it folded tightly for days can create problems!
Here is what you can do instead: Whenever possible, roll velvet loosely with the pile facing inward rather than making sharp folds. If you need to hang it, support it from the selvages instead of using regular clips on the main fabric. And before cutting, lay it flat and give the pile time to relax.
Quick Advice: Don’t assume a crease will disappear just because you’ll eventually press the garment. Heat and pressure can actually make a crushed pile more noticeable.
If the fabric has a stubborn mark, test your steaming method on a scrap before trying to rescue the actual piece.
2. Pin Velvet Where the Stitches Will Hide the Damage
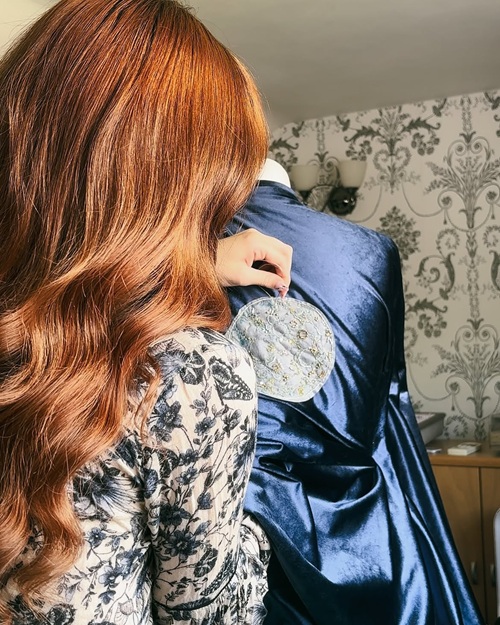
Velvet doesn’t always forgive pinholes, especially when the pile is short or dense.
Instead of scattering pins across the garment, keep them inside the seam allowance and place them perpendicular to the seam so you can remove them easily as you sew.
Again, for areas that tend to shift, such as curved seams or slippery layers, hand-basting can actually be more reliable than adding more pins.
Besides, a temporary fabric adhesive can also help, but use a very light amount and test it first because some adhesives leave residue or change the appearance.
A useful trick: If the velvet keeps creeping even after pinning, baste a short section first and check the layers from the right side. If the nap still looks even, continue.
3. Let the Machine Feed the Velvet
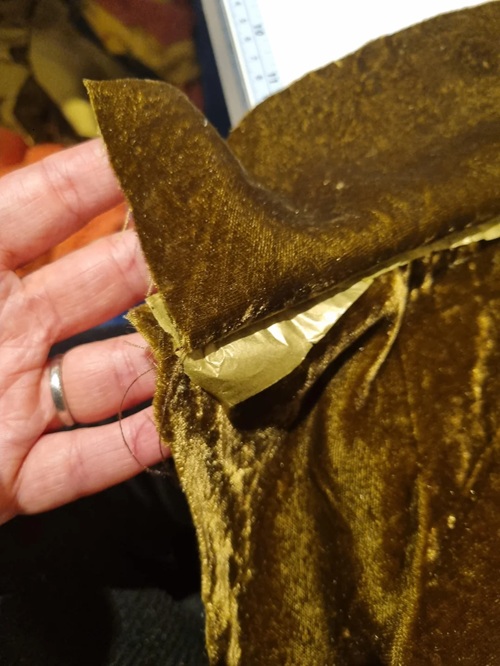
One of the easiest ways to distort velvet is to pull the fabric through the machine when the layers aren’t feeding at the same rate!
Eventually, the top layer creeps forward, leaving you with a seam that looks fine at one end and slightly skewed at the other.
Do this instead: Keep your hands relaxed and guide the fabric rather than stretching or pushing it. A walking foot can make a noticeable difference because it helps move the upper and lower layers together.
If you don’t have one, try sewing a short test seam first and check whether the layers are shifting.
Pay attention to your presser-foot pressure if your machine allows you to adjust it. Too much pressure can compress the pile and make feeding harder; reducing it slightly may help.
4. Press Velvet Without Flattening
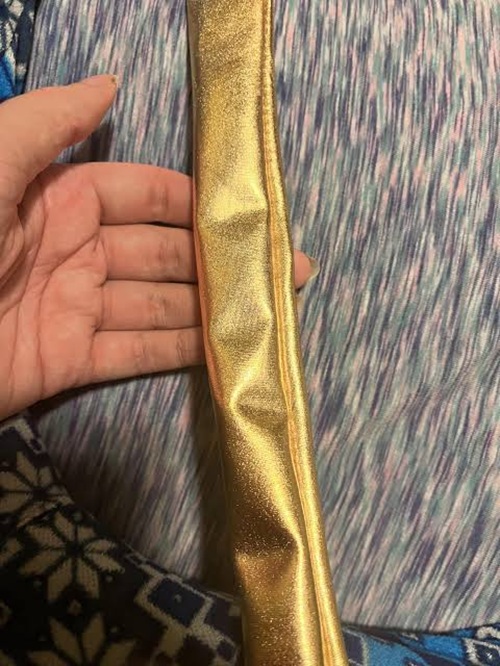
Pressing the pile directly against a hard ironing board can flatten or permanently change its texture. Instead, work from the wrong(back) side and give the pile something soft to rest on, such as a thick towel or velvet pressing board.
You can, rather than dragging the iron across the fabric, use steam and light hovering motions.
Then, just let the steam relax the fibers instead of forcing them flat. And for seams, press only as much as needed to open or shape them.
Quick Advice: Always test your pressing method on a scrap first. Different velvet fibers like cotton, rayon, polyester, and blends can react very differently to heat and steam.
5. Treat Seam Allowances as a Separate Problem
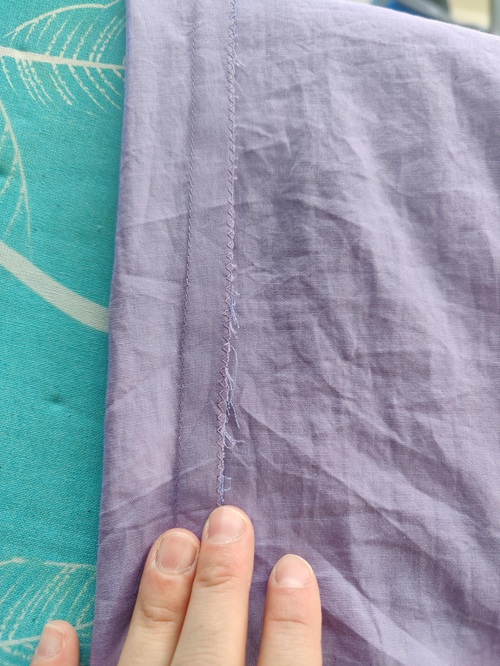
Velvet can develop strange marks along the seams because the seam allowances create some extra layers and pressure underneath the pile, which can leave an unwanted ridge or imprint on the right side.
The simple way to fix this is to, after sewing, avoid automatically pressing every seam as you would with cotton.
Instead, press from the wrong side with minimal pressure, using a towel or soft surface underneath.
If a seam allowance is leaving a visible impression, place a strip of paper or a narrow piece of scrap fabric beneath the allowance while pressing to create a little separation from the garment’s right side.
Quick Advice: Before trimming bulky seam allowances, check your pattern and fabric. Reducing bulk can help velvet sit more smoothly, but cutting away too much can weaken a curved or stressed seam.
6. Catch Crushed Pile Early
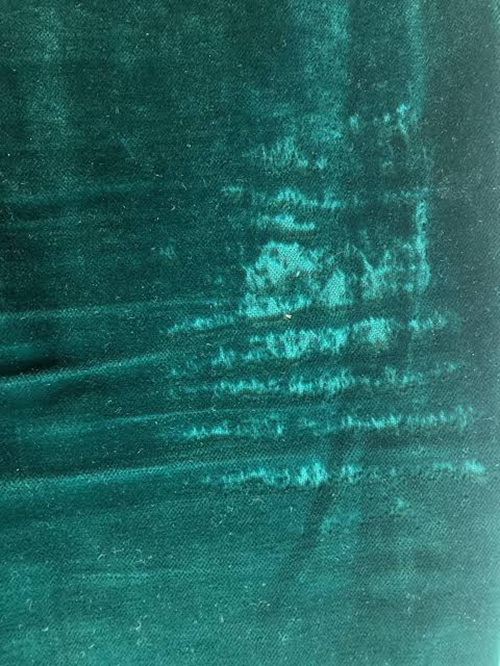
If you notice a shiny, flattened patch on velvet, don’t immediately press it again. More heat and pressure may make the damage worse.
First, check whether the pile has simply been brushed in the wrong direction or genuinely crushed.
Use a soft brush or your fingers to gently lift the pile back into its natural direction. For a stubborn area, hold steam above the fabric without touching it, then let the velvet cool and dry naturally before checking it again.
Here’s the part many beginners miss! Always compare the repaired area with an untouched section under the same light.
Velvet changes color depending on how its pile catches the light, so a patch can look “fixed” from one angle while still being visibly different from another!
Mistakes To Avoid Crushing the Pile
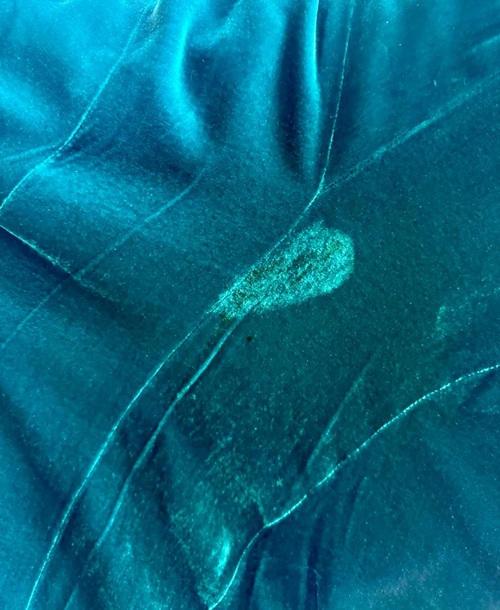
Do you see those flat, shiny, or discolored patches? That’s a crushed pile, and it happens when the fibers on the surface get pressed down (often from an iron, pins, or too much pressure).
The easiest way to prevent it is to never press velvet directly on a hard ironing board. Instead, you can place a thick towel or terrycloth underneath the fabric and use steam gently from the wrong side.
Besides, don’t press the iron down or drag it across the velvet either!
Be careful with pins, too! A pin pushed through the main fabric can leave tiny holes or flatten the pile. Whenever possible, pin inside the seam allowance, where any marks will be hidden later.
If you notice a flattened spot, lightly steam the area from a short distance and gently brush the pile back into place with your fingers. Let it cool before checking it again.
Sewing Tools That Help The Process
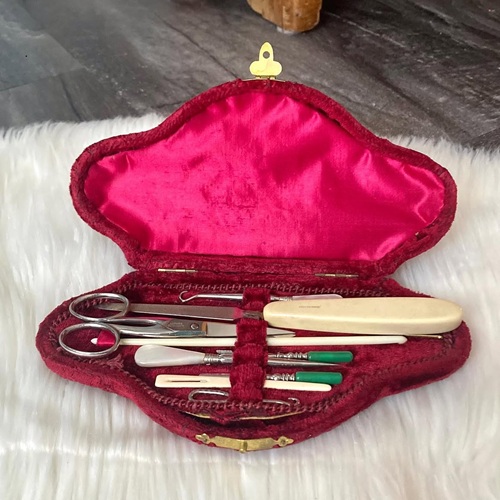
A few supplies like a spare scrap of the same velvet, a handheld steamer, a soft towel or terrycloth pressing cloth, fine pins, and a walking foot if your machine has one. You can keep a soft-bristled brush nearby too; it comes in handy!
Next, think about where crushing is most likely to happen. Yes, don’t just sew and press the same way you would with cotton.
Quick Advice: Always keep a small offcut of your project’s velvet aside as you sew, since that scrap becomes your best repair tool if any crushing does happen later.
Sewing velvet without crushing the pile isn’t complicated; it just rewards a little patience. And we think you’re on the right path now! Stay tuned for more helpful lessons like these and check out this beginner’s guide on how to start sewing.