
This holiday season, decorate your home with a beautiful folded fabric ornament. And this sewing tutorial is here to help!
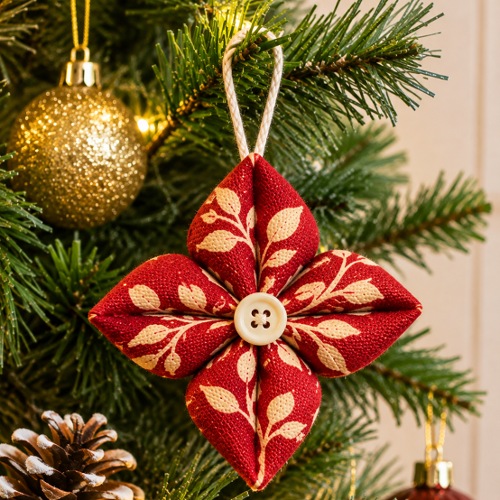
Make your own folded fabric ornament with two contrasting fabrics and a handful of simple folds. They’re quick to sew, and they make great last-minute gifts or seasonal decor. Read till the end to learn more!
Materials Needed to Begin With
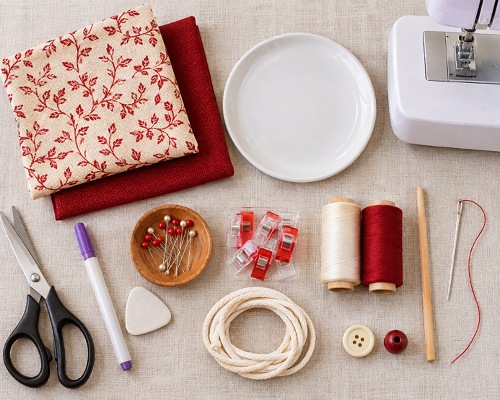
- Light fabric
- Dark fabric that semi-coordinates with the light one
- Round object, about 7.5 inches across, like a pan lid or plate
- Fabric marker or chalk for tracing
- Fabric scissors
- Sewing machine and matching thread
- Pins or sewing clips
- Chopstick or similar tool for turning
- Iron, hand-sewing needle, and thread
- Tapestry needle
- Cord, about 8 inches long
- Button or bead (optional)
Folded Fabric Ornament Steps
Step 1: Cut the Fabric Circles
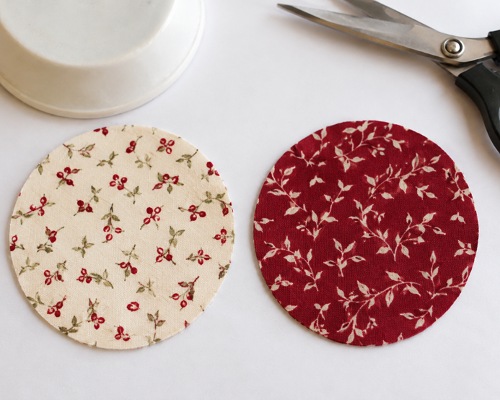
Start by choosing two semi-coordinating fabrics, one light and one dark, so your ornament has plenty of contrast. Small prints work best.
Now trace around your 7.5-inch round object on each fabric, and cut out two identical circles
Note: Because the folding technique depends on clean, matching circles, take your time while cutting. Even a small difference between the two circles shows up in the finished ornament.
Step 2: Sew the Circles Together
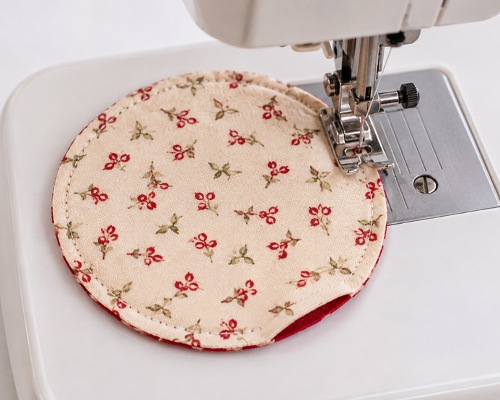
Next, layer the two circles with their right sides together. Sew around the edge using a 1/4-inch seam allowance, and backstitch at the start and the end.
However, don’t sew all the way around. Leave an opening of about 1.5 inches along one edge, so you can turn the circles right side out.
Step 3: Turn and Press
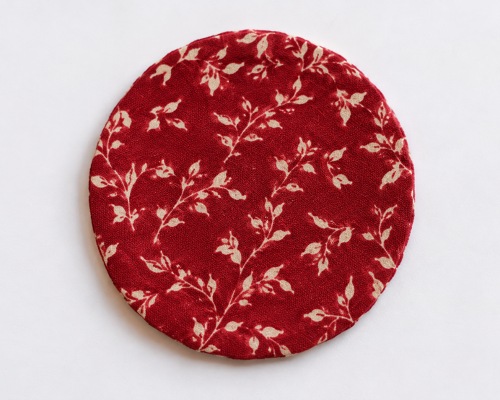
Then turn the fabric right side out through the opening. Use a chopstick to push out the curves gently and make sure the seam lies flat. If you’d like a crisper finish, press the circle flat with an iron.
Pro Tip: Push the curves out gently instead of poking hard. This keeps the seam smooth, and it protects the fabric.
Step 4: Topstitch the Edge
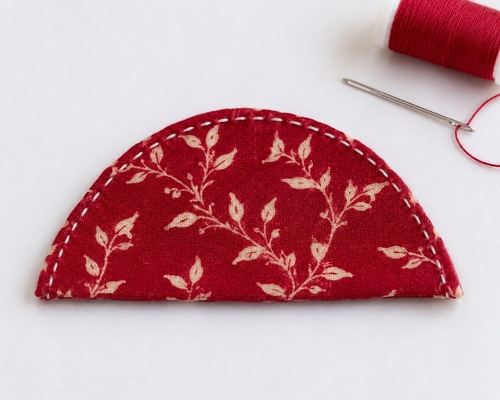
Now fold the turned circle in half, and press the folded edge to make a crease. After that, turn the raw edges of the 1.5-inch opening under by about 1/4 inch, which gives you a clean edge to stitch.
Topstitch around the entire circle, about 1/8 inch from the edge. This closes the opening and gives the ornament a finished look. Backstitch at the beginning and the end to secure your stitches.
Step 5: Fold the Circle Into Quarters
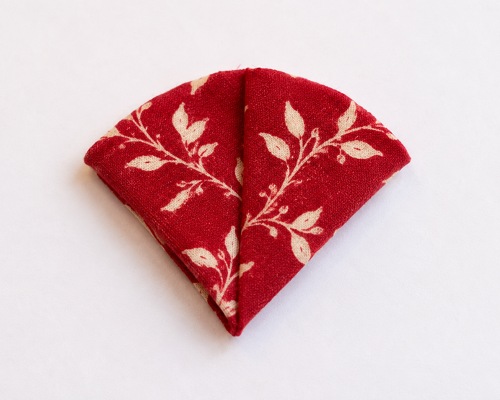
Before you fold, decide which fabric color will be the dominant outer color, since this color will be folded inward. Then fold the circle in half, and fold it in half again to make four equal sections. Press a crease at every fold.
Step 6: Stitch the Creases Together
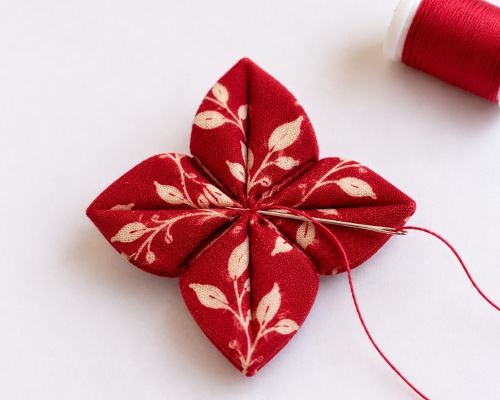
Next, thread a hand-sewing needle with thread. Stitch through the creases on one side, then through the matching creases on the other side, pulling the fabric together as you go.
Finally, secure your stitches by running the needle through the small opening at the base. Then tie off the thread.
Step 7: Shape the Petals
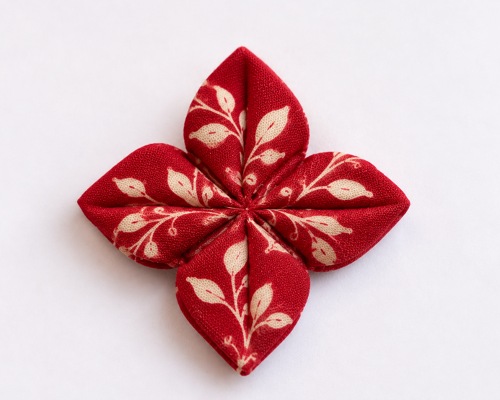
Gently flatten the stitched shape so the four points lie flat against the back. Now turn the points outward to make the petals of the ornament.
Straighten and adjust the petals until they’re evenly spaced and lie flat. As a result, your ornament has a neat, balanced shape.
Step 8: Add the Hanging Cord and a Finishing Touch
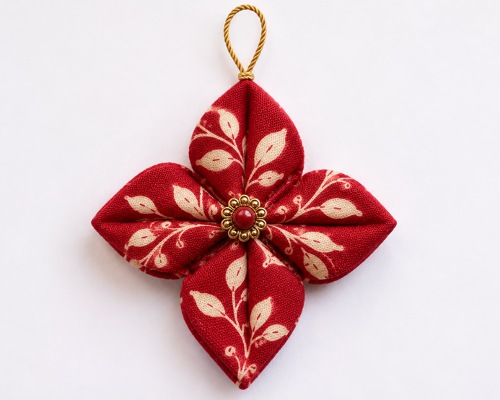
Thread a tapestry needle with about 8 inches of cord. Insert it under one of the back corners, and bring it out through the center point. Then tie a knot to secure the cord for hanging.
Also, if you like, sew a button or bead onto the center. It covers the stitching and also makes a lovely decorative look!
Pro Tip: A festive button, like a holly leaf, hides the gathered points in the center and makes the ornament look extra special.
Tips for Sewing Folded Fabric Ornaments
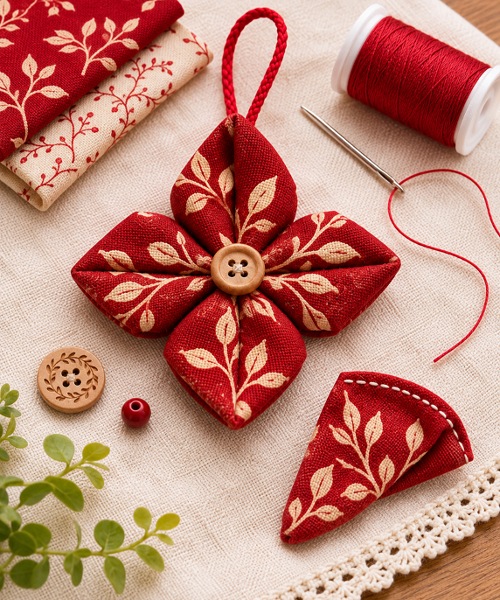
Pick two fabrics that look attractive together, one light and one dark, because the contrast makes the folds stand out. In addition, small prints keep the design from looking too busy.
Press each crease firmly as you fold. As a result, the points come together neatly when you stitch. Also, take a moment at the end to adjust the petals so they’re evenly spaced and lie flat.
Finally, finish your ornament with a hanging cord and a button or bead. The finished shape looks like a stylized flower, or, as the tutorial jokes, a “crab rangoon,” so it’s a fun one to make in bulk for gifts!
Common Mistakes to Avoid
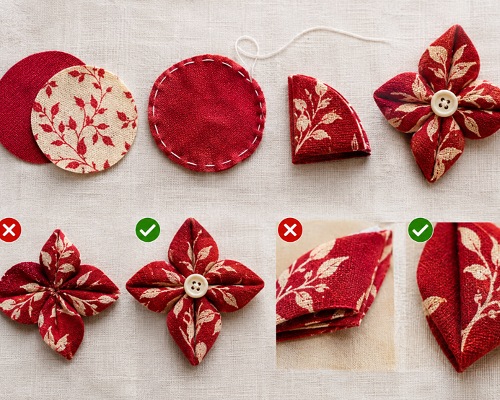
Remember to leave the 1.5-inch opening when you sew the circles together. Without it, you can’t turn the fabric right side out, and you’ll have to unpick your seam.
Also, don’t skip turning under the raw edges of the opening before you topstitch. If you do, the raw edges can show, and the finish won’t look clean.
Decide which color will be the dominant outer color before you start folding. Once the creases are pressed and stitched, switching is hard.
Lastly, tie off your thread securely through the opening at the base. If the stitches loosen, the points can pop apart, and the ornament loses its shape.
Make your holiday decor stronger with these quick folded fabric ornaments! Try this no-sew fabric star as your next DIY project.