
Are you looking for an easy guide on how to sew a tote bag? Drop everything and read till the end; you’ll be glad you did!
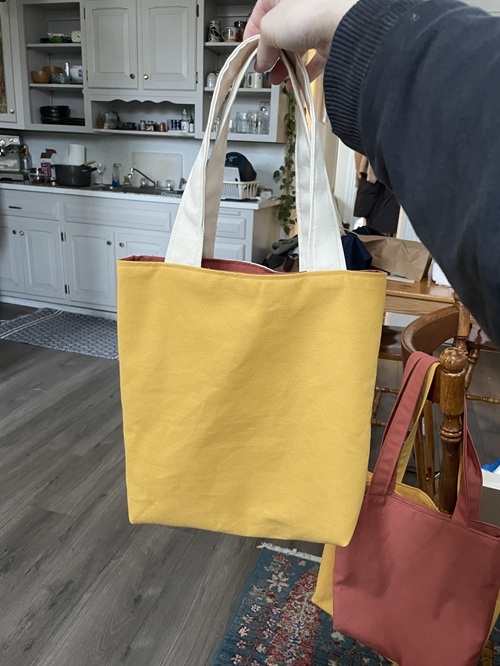
Tote bags are cool, practical, and spacious. You practically use them every other day! What if you could sew one of your own as per your liking? Let’s start with the basics first. This tutorial for beginners will tell you exactly how to sew a tote bag, step-by-step, and what you need to take care of before you start!
Materials You Need to Sew a Tote Bag
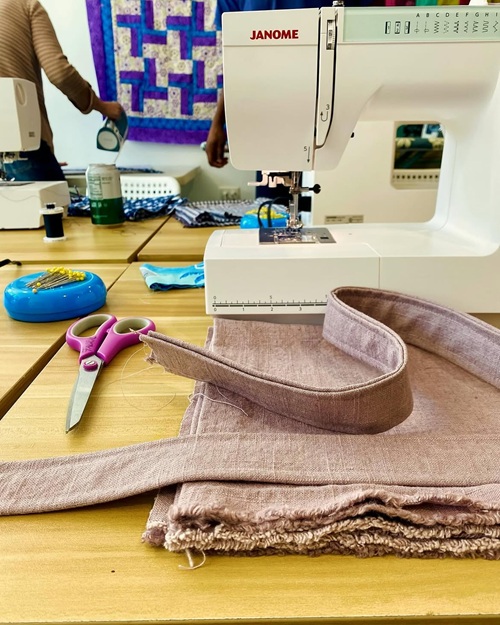
A quick run to the local craft store will cover most of your tools and equipment. Start with about 1 yard of medium-weight cotton canvas or sturdy woven cotton. Canvas holds its shape nicely, while quilting cotton is easier to sew but needs interfacing.
Next, buy a spool of matching all-purpose polyester thread, some sharp fabric scissors, and sewing pins or clips (to hold the fabric pieces before stitching).
It is also essential to use a standard sewing machine that is fitted with a universal needle, a measuring tape or ruler, and an iron to press the seams flat!
Do you need interfacing for a tote bag? Well, not always. If you’re using a sturdy canvas, you may be able to skip it. But lightweight cotton can benefit from fusible interfacing, which adds body and helps the bag hold its shape.
Tote Bag Measurements and Cuttings
Dimensions
For a roomy everyday tote, cut two 15 × 16-inch rectangles. This gives you enough space for books, a notebook, a water bottle, and other daily essentials.
For the straps, you will need two long strips of fabric that are 4 inches wide and 28 inches long. This way you can comfortably wear it over your shoulder!
As a simple route for you as a beginner, skip making the fabric straps and buy 1.5 yards of ready-made cotton webbing strap and cut it into two equal 27-inch pieces!
Cutting
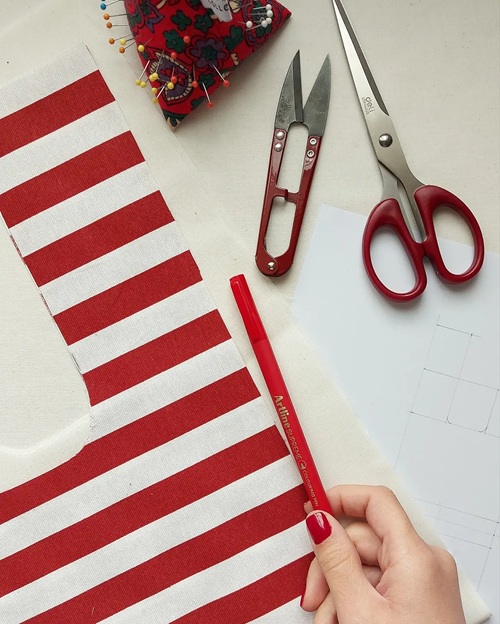
Lay your fabric on a flat and hard surface, and use a quilting ruler or a standard tape measure to make your straight lines with a piece of chalk or a washable fabric marker.
Move the blades of your fabric scissors in long and smooth strokes to avoid uneven edges.
Quick Advice: Always wash and iron your fabric to avoid warping or shrinkage, and line up the natural fabric grain with the rectangles so that the bag hangs straight!
How to Sew a Tote Bag in Easy Steps
1. Gather Materials and Tools
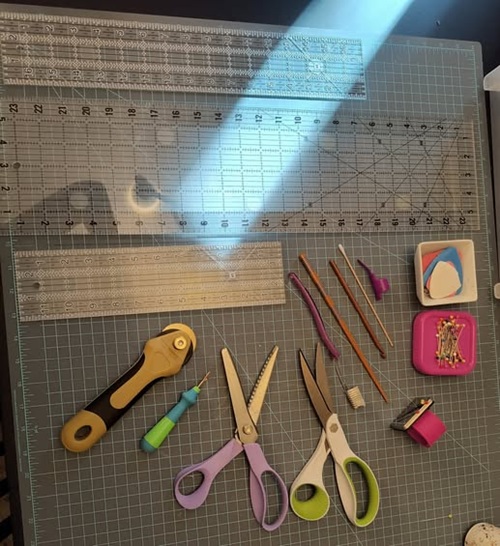
First and foremost, set a sewing station with half a yard of outer fabric that is sturdy, like a canvas fabric. Next, pick half a yard of lightweight fabric for the lining. You will also need two 22-inch-long straps with matching threads, pins, scissors, an iron, and a sewing machine!
2. Cut Your Fabric Pieces
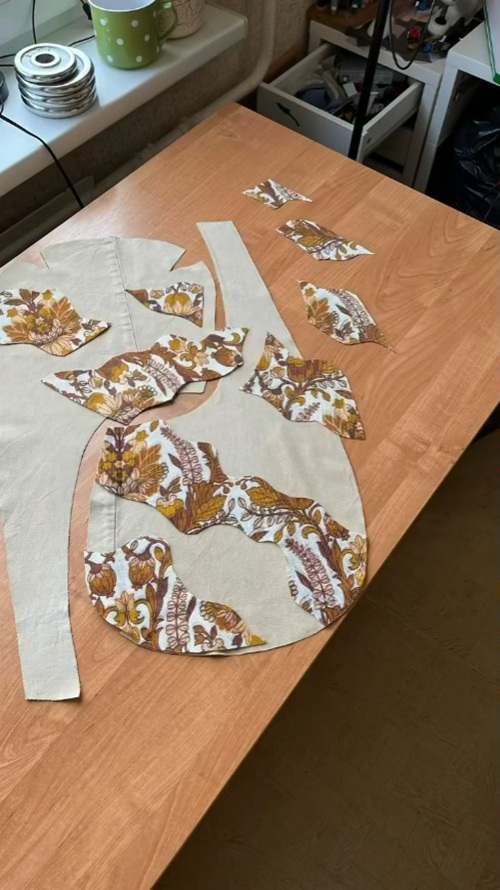
Sewing becomes like a cakewalk if you’ve cut your fabric correctly! For a tote bag, cut 15 × 16-inch squares from your exterior fabric. Then, cut two similar-sized squares out of your lining fabric. You’ll now have a total of four fabric squares.
3. Sew the Main Pieces Together
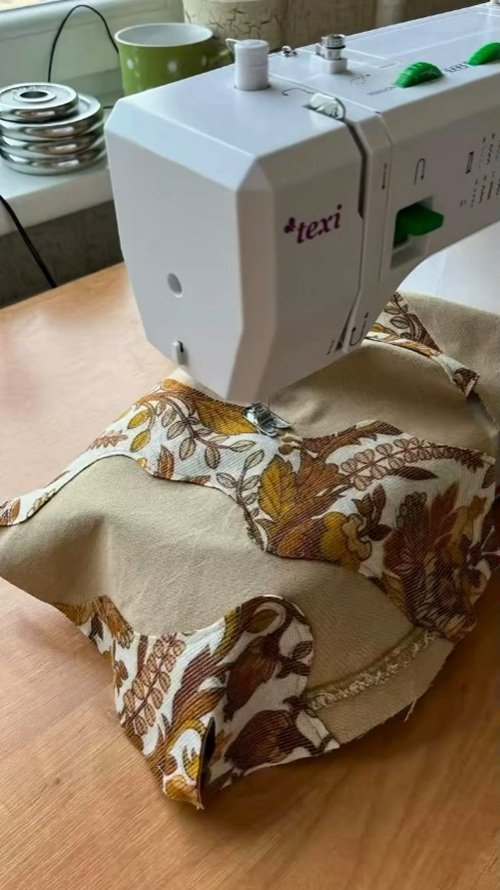
Now keep your exterior fabric squares together, with the “right” sides facing each other. Next, pin the two sides and the bottom edge, leaving the top open. The three pinned sides need to be sewn. Repeat the same step with the other two lining pieces!
4. Create Boxed Corners for Depth
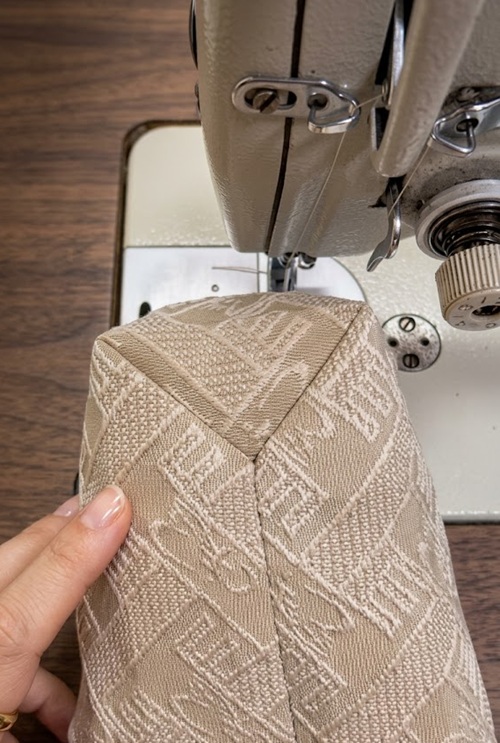
The bottom of your bag needs to be nice and flat. Grab the bottom corner and pull it apart to flatten it into a triangle. Next, line the side seam with the bottom seam and measure 2 inches down from the tip. Sew a straight line across it and trim the excess triangle tip off.
Repeat the same for all four corners of your bag pieces!
5. Pin and Baste the Handles
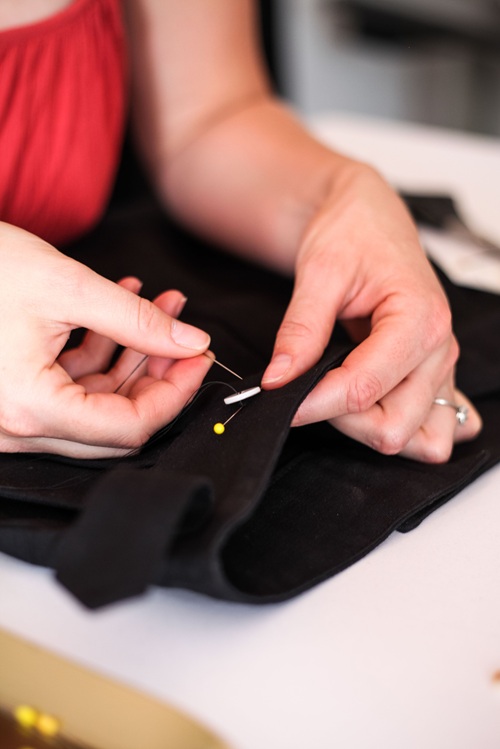
Now turn the bag inside out and place the end of one strap against its top raw edge. Pin it down to exactly 3 inches in from the side seam. Next, loop the strap around and pin the other end 3 inches from the opposite side seam.
Repeat this on the other side of the bag for the second strap and sew a quick, loose line over them to hold them in place.
6. Put It Together and Topstitch
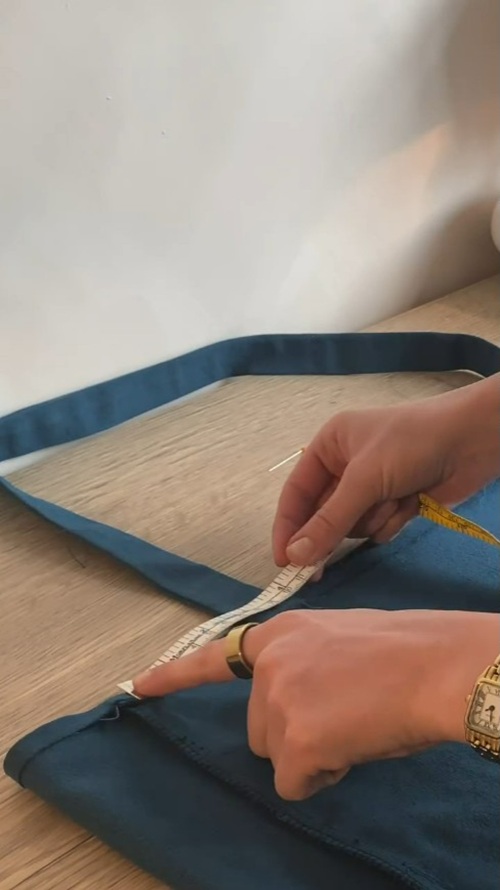
Let’s get ready for the final touches! Keep your lining bag inside out. Insert your exterior bag inside the lining bag, keeping the straps tucked inside. Pin the top edges together, sew all the way around while leaving a 4-inch gap open.
Pull the right side of the bag out through that gap, tuck the lining, iron the top flat, and sew the final line around the top edge to close the gap!
7. Attach The Straps
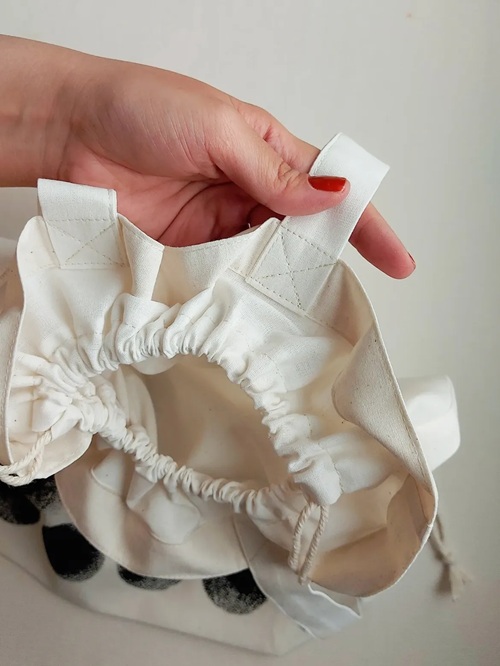
To make durable tote bag straps, you need to make a sturdy, multi-layered band and anchor it to your bag with reinforced stitching! Cut the fabric about four times wider than the size of the finished strap.
Next, fold the outer edges into the center and fold the whole strap in half again. This way, you’ll hide all those raw, fraying edges inside!
After folding and ironing the straps, sew straight lines down both the long edges to lock the layers together.
Tips for a Perfect Boxed-Corner
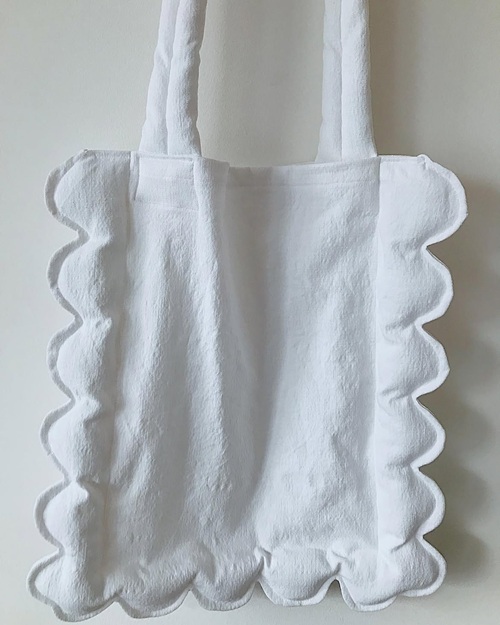
The key here is flat seams and precise alignment before you start sewing! Iron out the seams to eliminate any bulk and use a ruler and fabric marker to draw a straight line that’s perpendicular to the seam line to ensure symmetry.
Backstitch directly over the center seam intersection where the stress is highest so that your corner stays flat. A half-inch seam allowance while trimming the excess fabric triangle is highly recommended.
Finally, trim the raw edge with pinking shears or sew a zigzag stitch over it to prevent fraying of the bag!
Care and Washing Tips
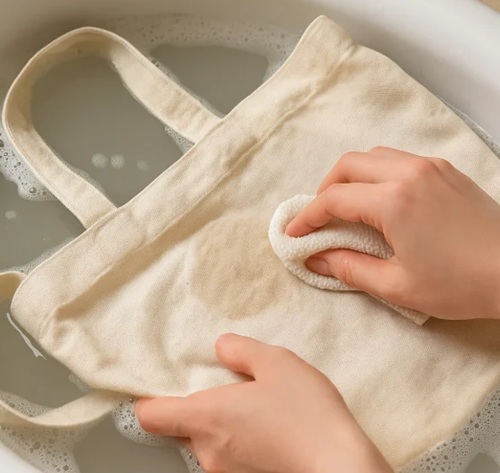
If you want your tote bag to keep looking like new, then spot-clean small stains with a damp cloth and mild soap. To clean the whole bag, use cold water and a gentle detergent.
Avoid tossing it in the washing machine completely, as it may warp and ruin the shape of your boxed corners!
Once you’re done washing, never wring or twist the fabric – it can tear your reinforced stitching. Remove excess water by laying it flat between towels, lay it flat or hang it to air dry. Then, just press the bag with a warm iron and smooth out wrinkles, if any!
So, are you ready to sew your first tote bag? Do you share your experience with us when you do. Happy sewing!